Overview
LanGuard’s security scanner results, deployment results, computer information, and agent information are stored in a database along with other agent scan information. The scan data is then stored in a Microsoft SQL Server database.
The ability to change the scan schedule comes handy when generating the scan data reports. This allows you to select a preferred time and period for the LanGuard agent's scan.
This article enumerates the steps required in order to change the scan schedule for an individual agent.
Process
Follow the steps below to change the scan schedule for the LanGuard agent:
- On the server open the LanGuard interface.
- Open the Dashboard tab.
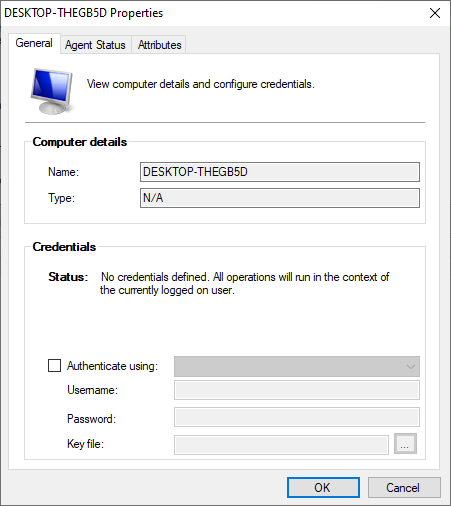
- On the left side open the Properties of the computer or group you wish to change the schedule for.
Note: Alternatively you can navigate to the Configuration tab > Agents Management > Locate the device. Then, right-click and select Properties.
- Click the Agent Status tab.
- Click the Change scan schedule button.
- Set the time and period for the agent to scan.

Note: The new schedule time may take up to 5 minutes before taking effect on the LanGuard agent.
Priyanka Bhotika
Comments