Overview
After an upgrade or migration when using a Brooktrout SR140, you find that all of your faxes are failing. This article will provide instructions for verifying your Brooktrout SR140 configuration to ensure it was properly updated and what to do if it was not.
Diagnosis
You find all faxes are failing with "Operation was aborted by user" or "Unknown Error" errors after an upgrade or a migration.
Prerequisites
- Upgrade or migration has just been completed
- Using Brooktrout SR140
- You have a backup of the FaxMaker and Brooktrout configurations OR the old server was not upgraded during the migration and is still operational.
Solution
There will be two files that will be compared from the new server to the backup or old server and they will be in this location by default: c:\Program Files (x86)\GFI\FaxMaker\Brooktrout\TR1034\Boston\Config
- callctrl.cfg
- btcall.cfg
Once the files have been collected for review they should be opened in a text editor and compared to the files from the server before the upgrade took place. If using Notepad ++ line numbers are also included in the list.
Any item that is blank after the = sign requires an input of some sort not populated from a dropdown box, such as an IP address in the following format: 10.10.10.10:5060
callctrl.cfg file
- 57 model=SR140
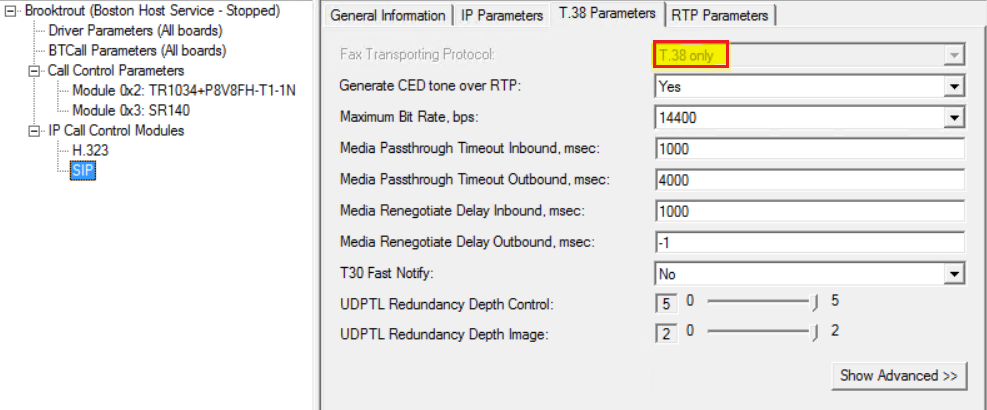
- 78 fax_transport_protocol=t38_only=t38_only, t38_first, t38_never
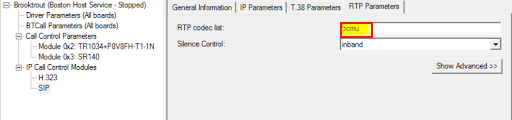
- 99 rtp_codec=pcmu, pcma
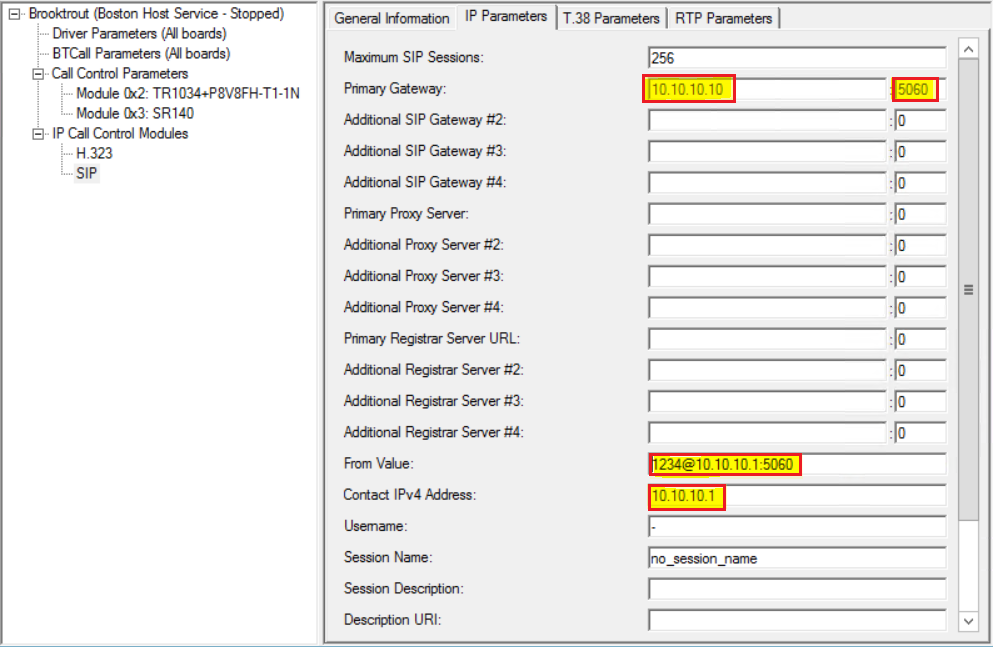
- 106 sip_default_gateway=
- 138 sip_From=
- 139 sip_Contact=
If using SIP registrations then the following fields will also be required:
- 110 sip_proxy_server1=
- 114 sip_registration_server1=
- 115 sip_registration_server1_aor=
- 116 sip_registration_server1_username=
- 117 sip_registration_server1_password=
btcall.cfg file
Default values are listed below
In this file, unlike the callctrl.cfg, there are no = signs at the end of the lines.
- 7 ced_timeout 4000
- 18 line_compression 5
- 31 v34_ci_enable 1
- 32 v34_2400_baud_ctrl 1
- 33 v34_enable 1
Loading the new configuration
- Once the new files are updated with the information from the old files, save them in the text editor you are using.
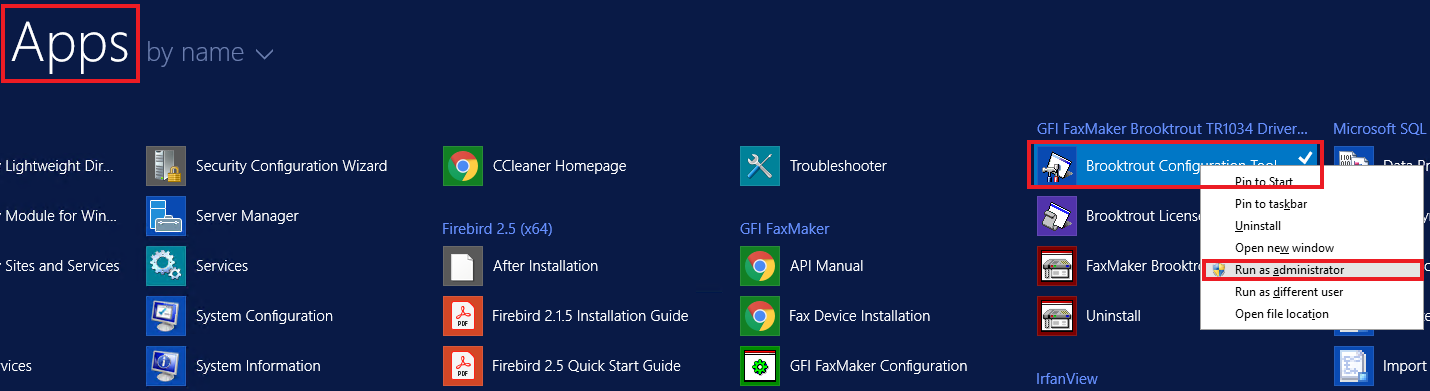
- From Programs, open the Brooktrout Configuration Tool (run as admin).
- If the wizard opens, select the Advanced Mode button on the bottom left.
- When the Brooktrout Configuration Tool opens, Select the SIP node on the left and select the following IP Parameters tab and review the following entries and verify they are correct:
- Select the T.38 Parameters tab and review the following entry and verify it is correct:
- Select the RTP Parameters tab and review the following entry and verify it is correct:
- Once the 3 above items are verified to be correct, the configuration is in place and will just need to be applied. Select Save and Apply from the top ribbon. This will restart the Brooktrout Boston service and apply the current configuration. This will also stop the FaxMaker Faxserver service and that will need to be restarted manually from the services.msc console.
Confirmation
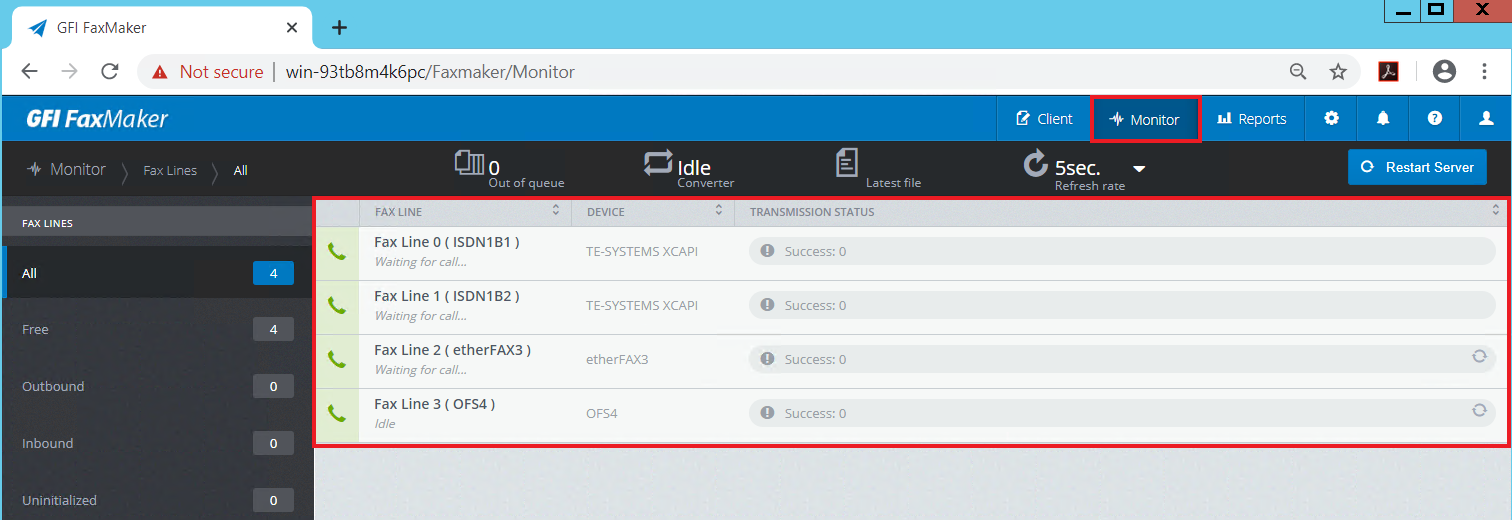
Once the configuration is in place and the services have been restarted test using your normal sending method and monitor via the FaxMaker Monitor.
- Go to the GFI FaxMaker Monitor and ensure that fax lines are present and initialized.
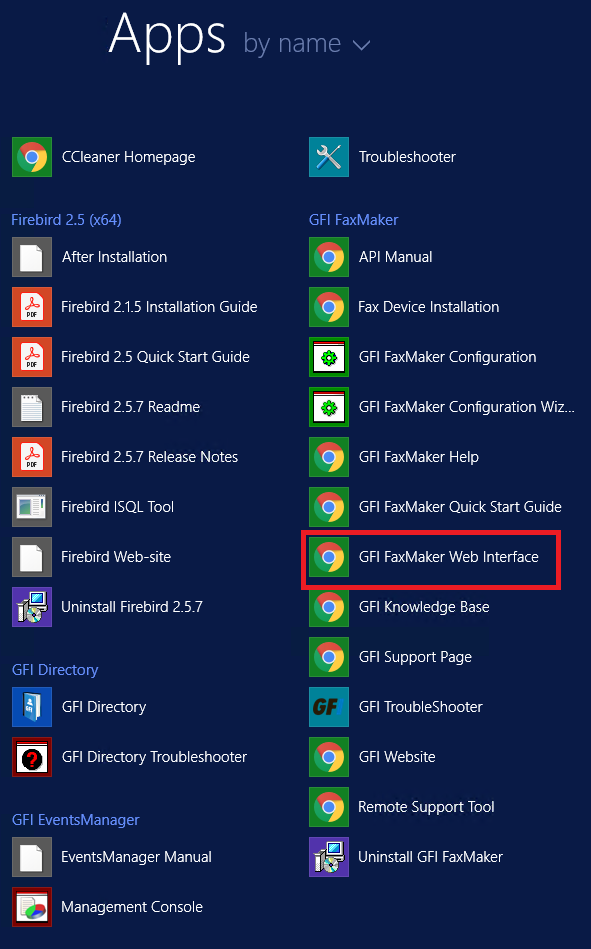
- Select Start > Programs > GFI FaxMaker Web Interface
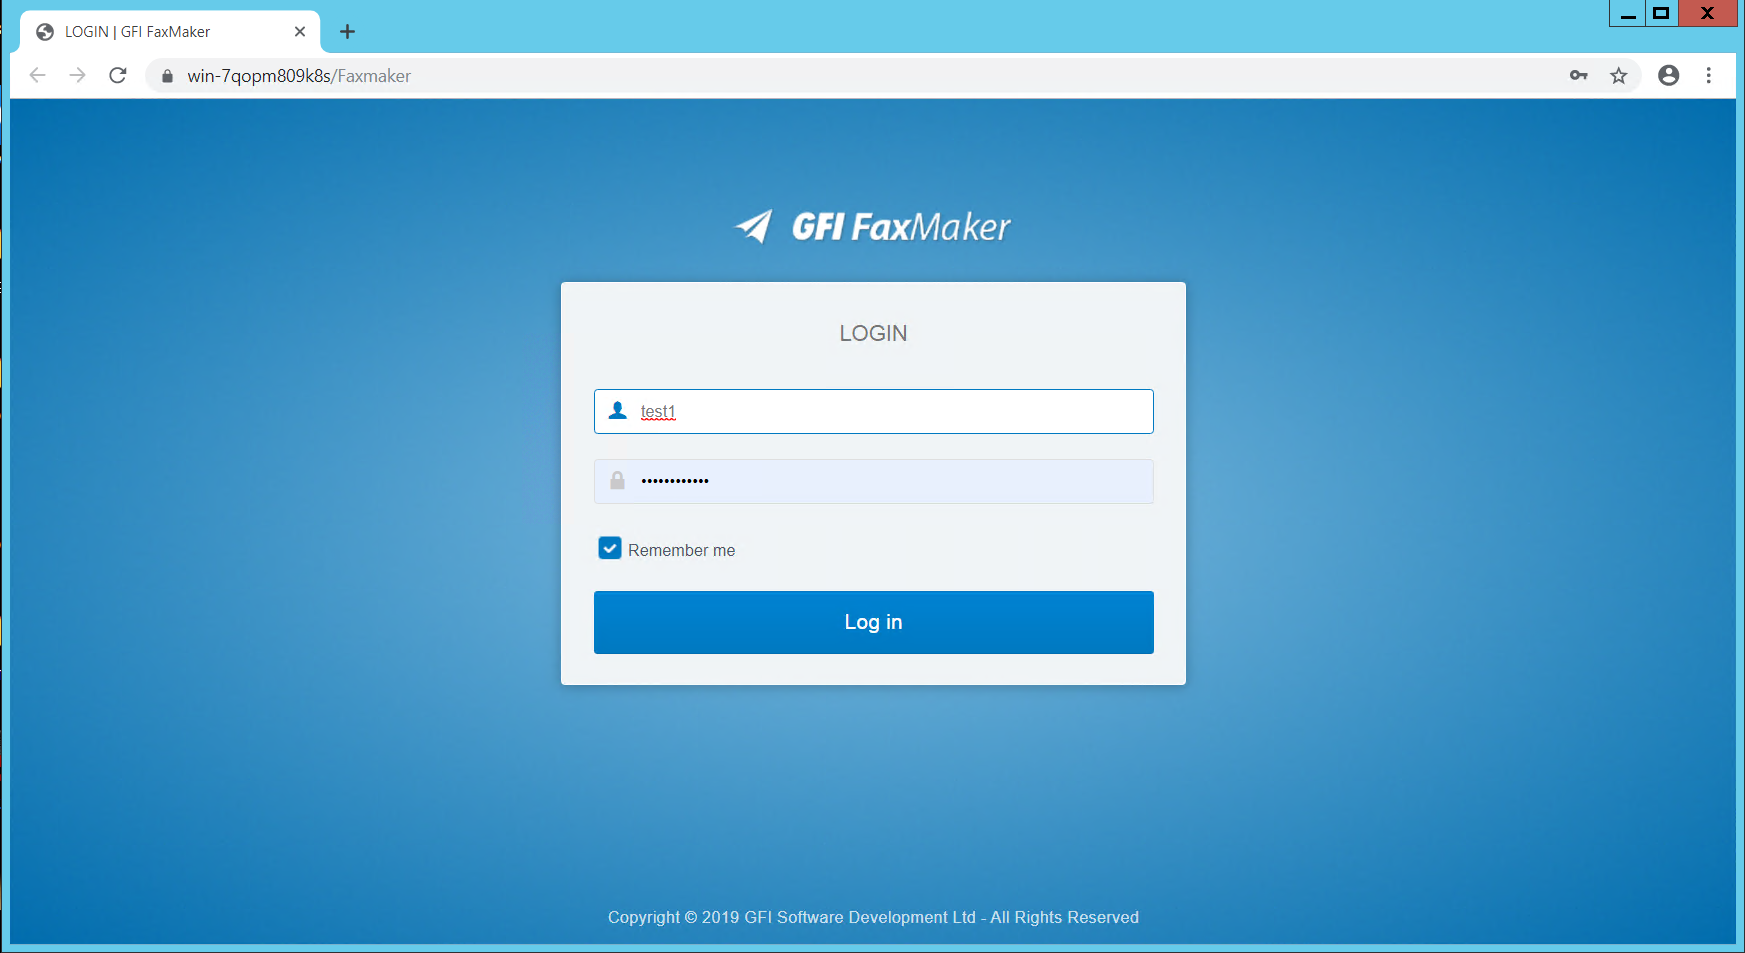
- Login to the FaxMaker Web Interface
- Select the Monitor tab and verify lines are in place and initialized.
- Select Start > Programs > GFI FaxMaker Web Interface
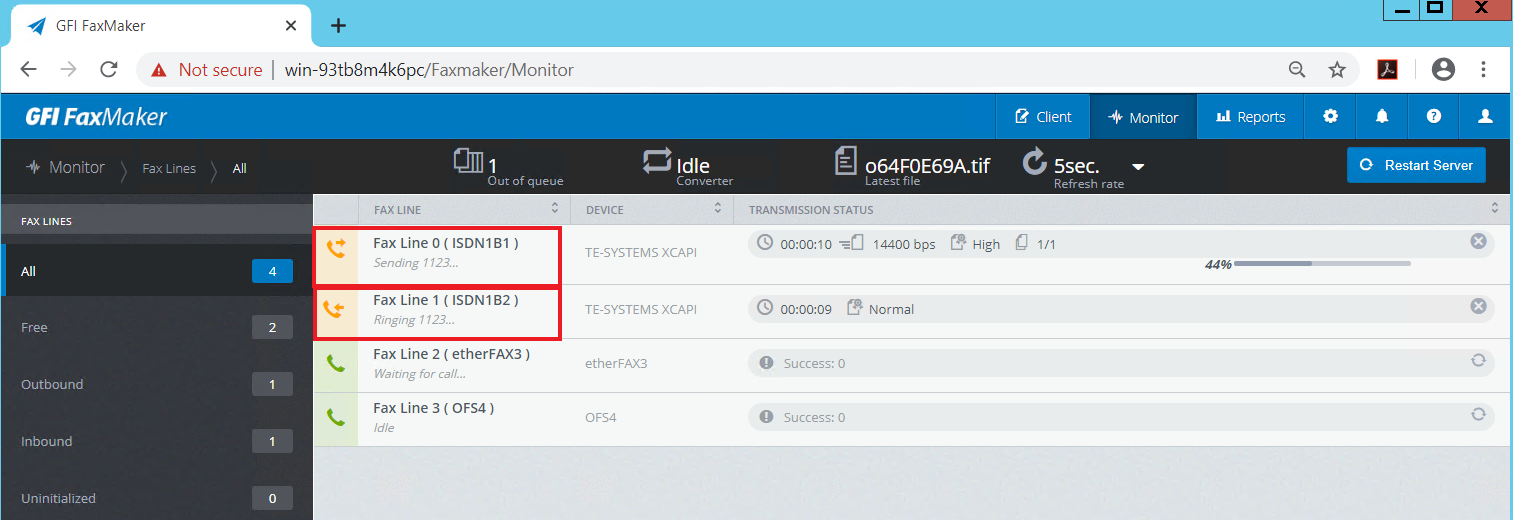
- Test the functionality of GFI FaxMaker by sending and receiving test fax.
Priyanka Bhotika
Comments