Overview
- This article shares the process for configuring an Android device to synchronize Email with Kerio Connect.
- IMAP synchronizes the email on the client with the contents on the email server, while POP3 downloads the email from the server.
- This procedure assumes that your:
- Email address matches the myname@mydomain.com naming convention.
- Kerio Connect server is located at mail.mydomain.com.
IMPORTANT: This article is based on the Android 8 and the built-in Gmail app as a standard Mail application. The settings may vary depending on the Android version and device manufacturer.
Process
Follow these steps:
- On your mobile home screen, go to applications and tap the Email icon.
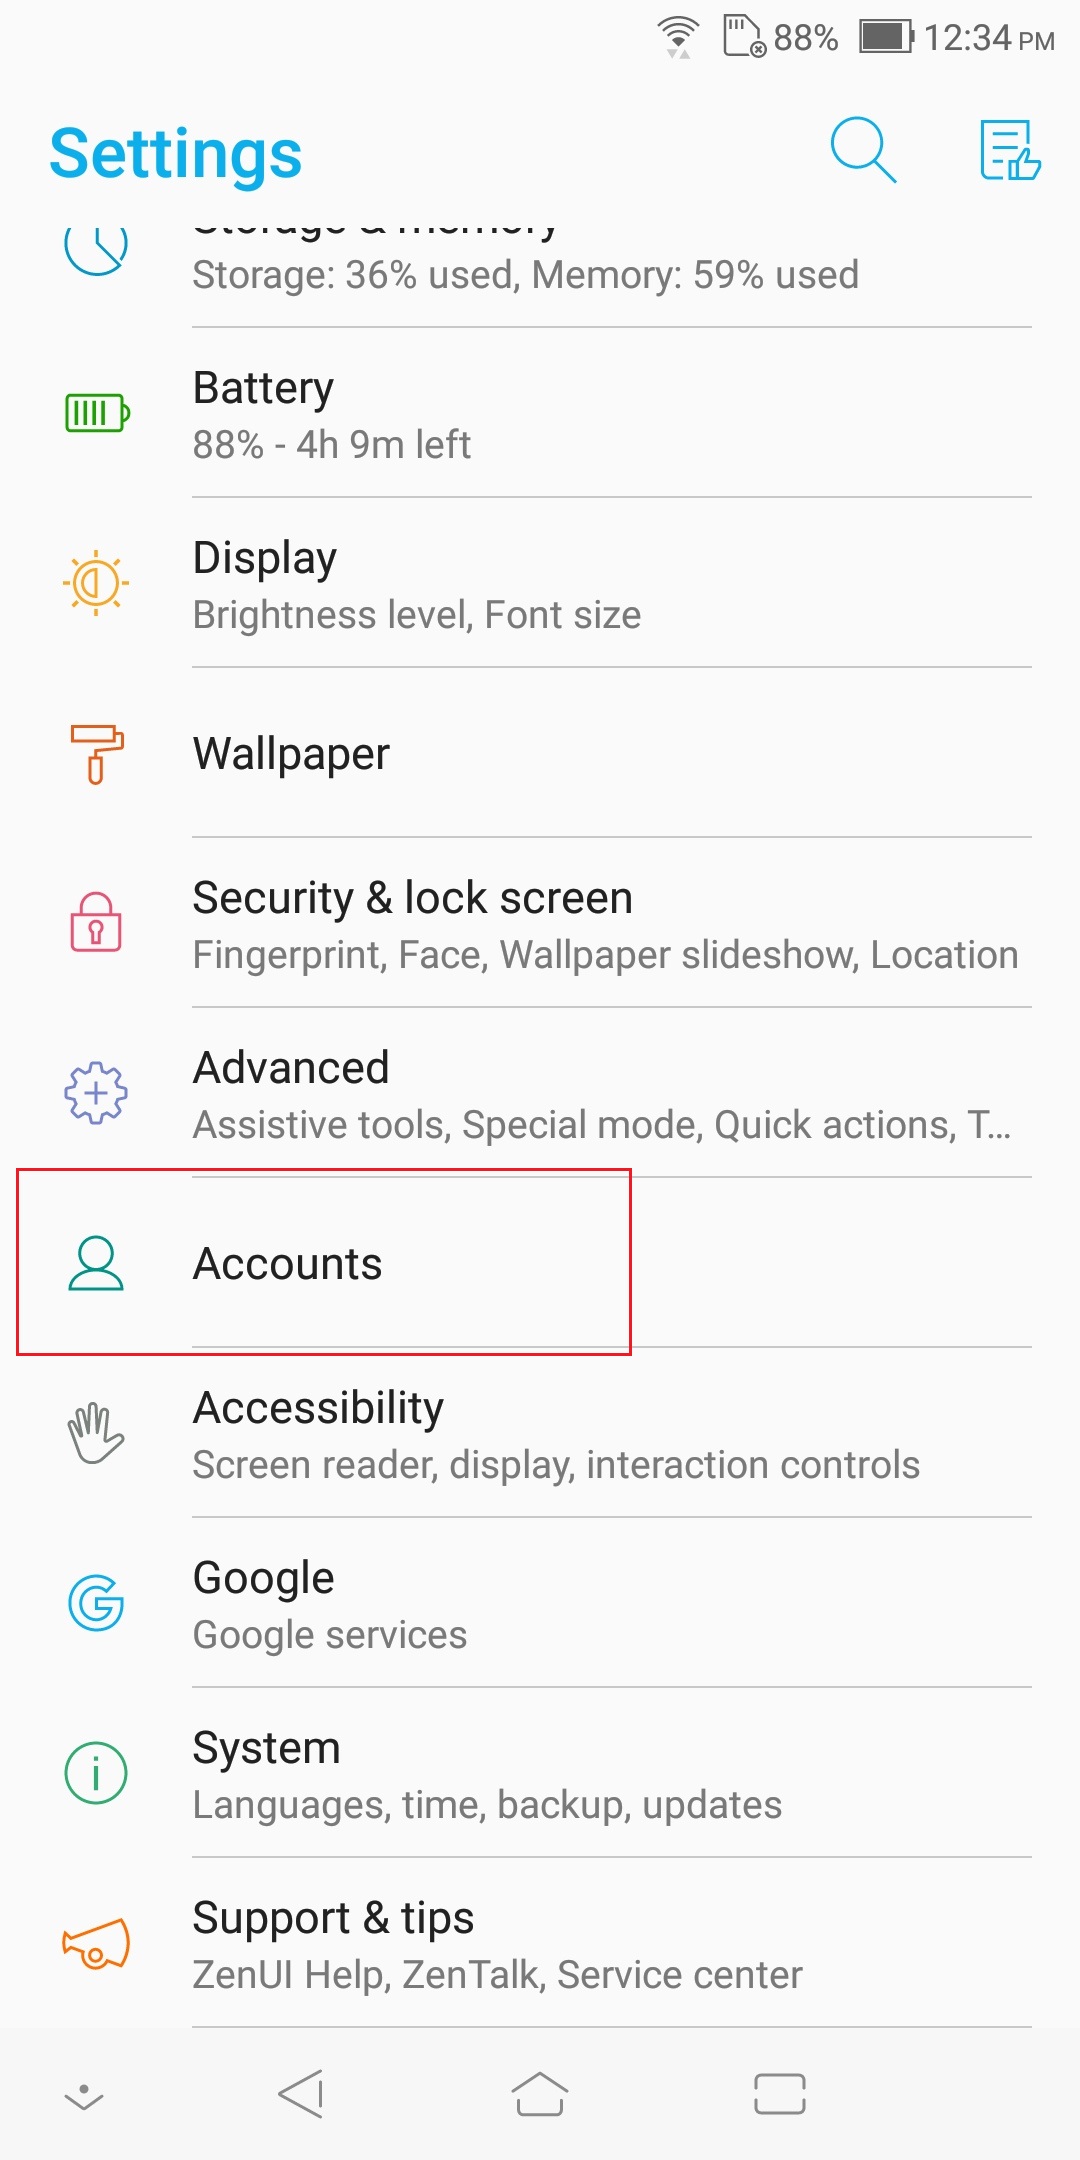
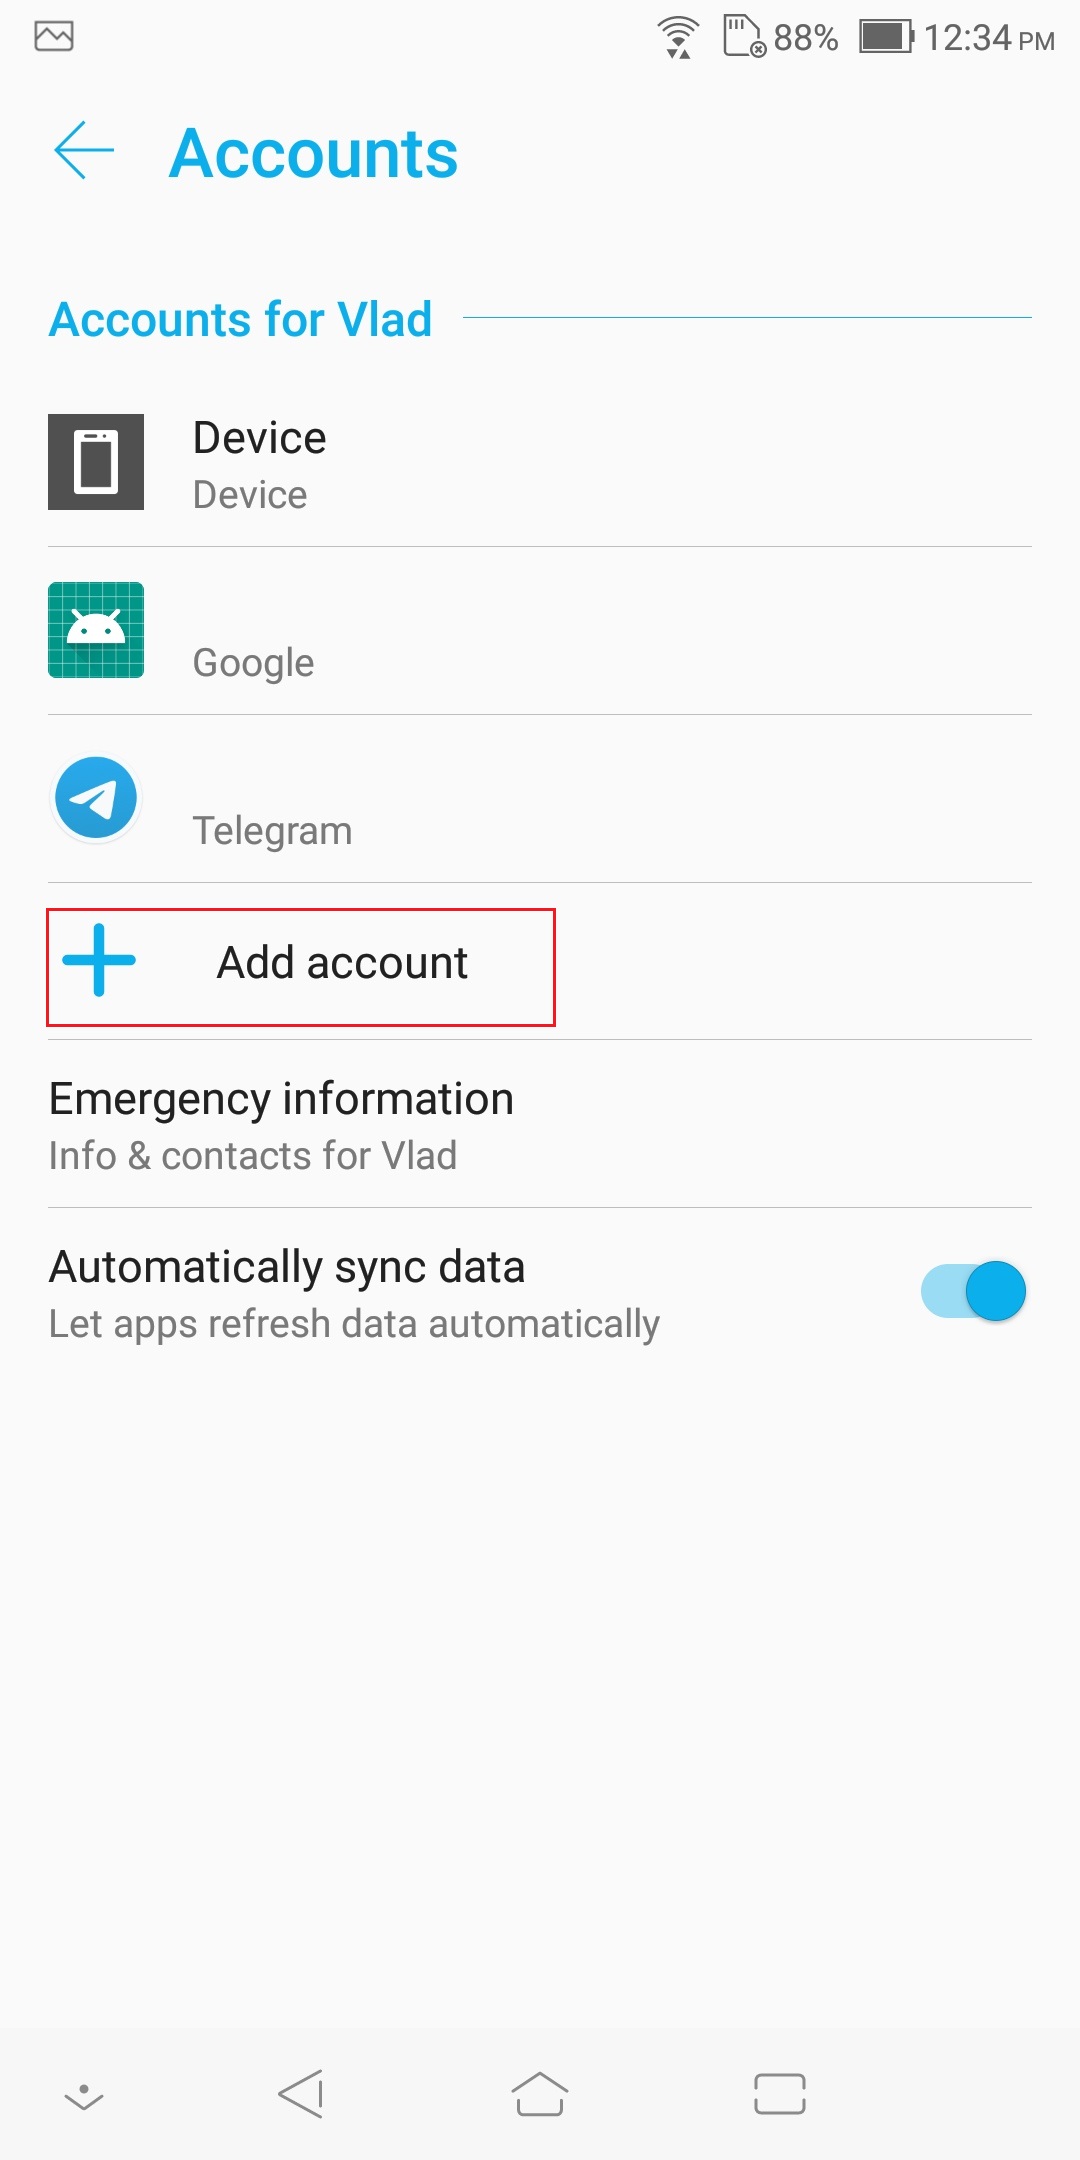
- If this is the first time to set up an email account, you will see an email setup screen, tap Next. Otherwise, go to Menu > Accounts > Add account.
- If this is the first time to set up an email account, you will see an email setup screen, tap Next. Otherwise, go to Menu > Accounts > Add account.
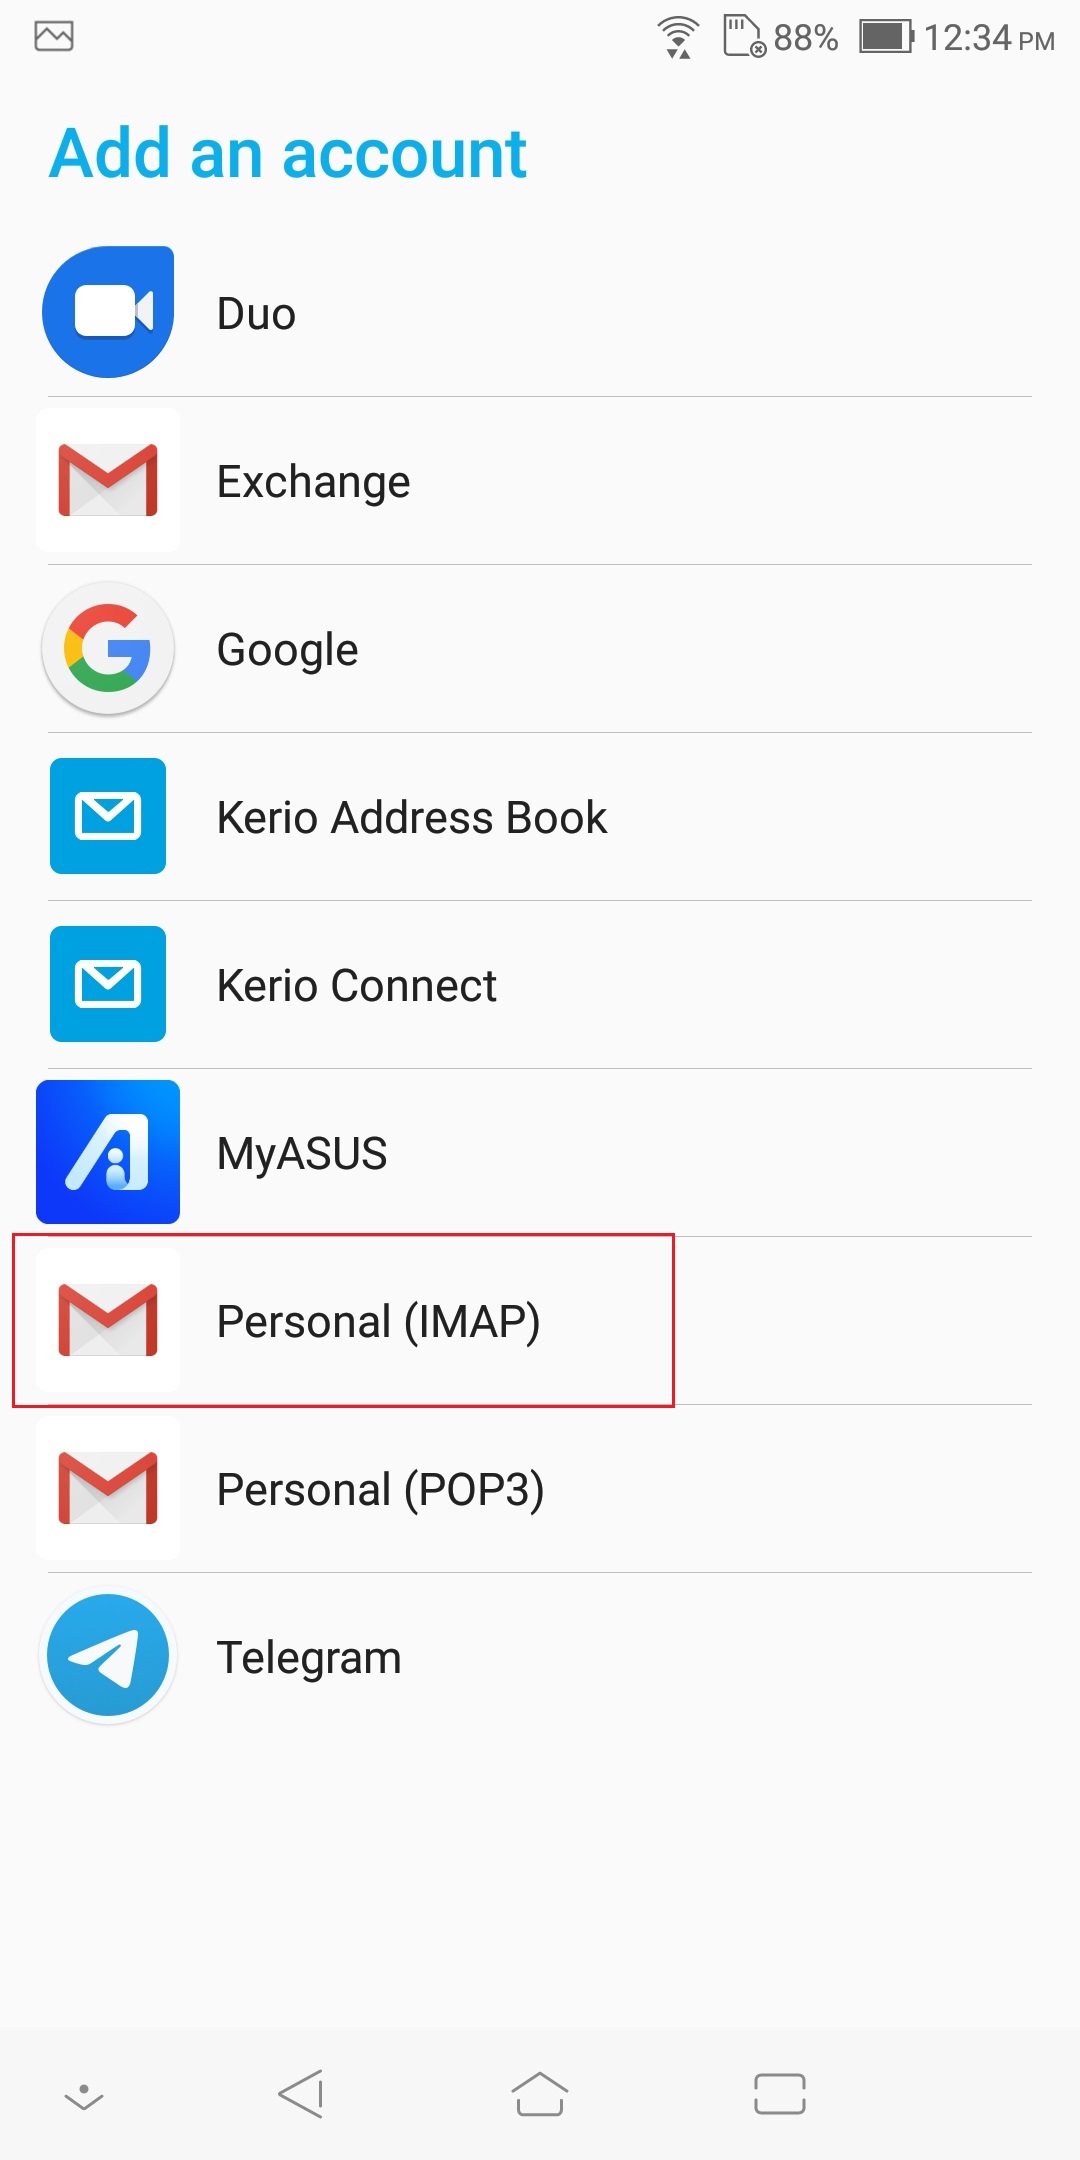
- Choose an Account type - Personal IMAP or Personal POP3.
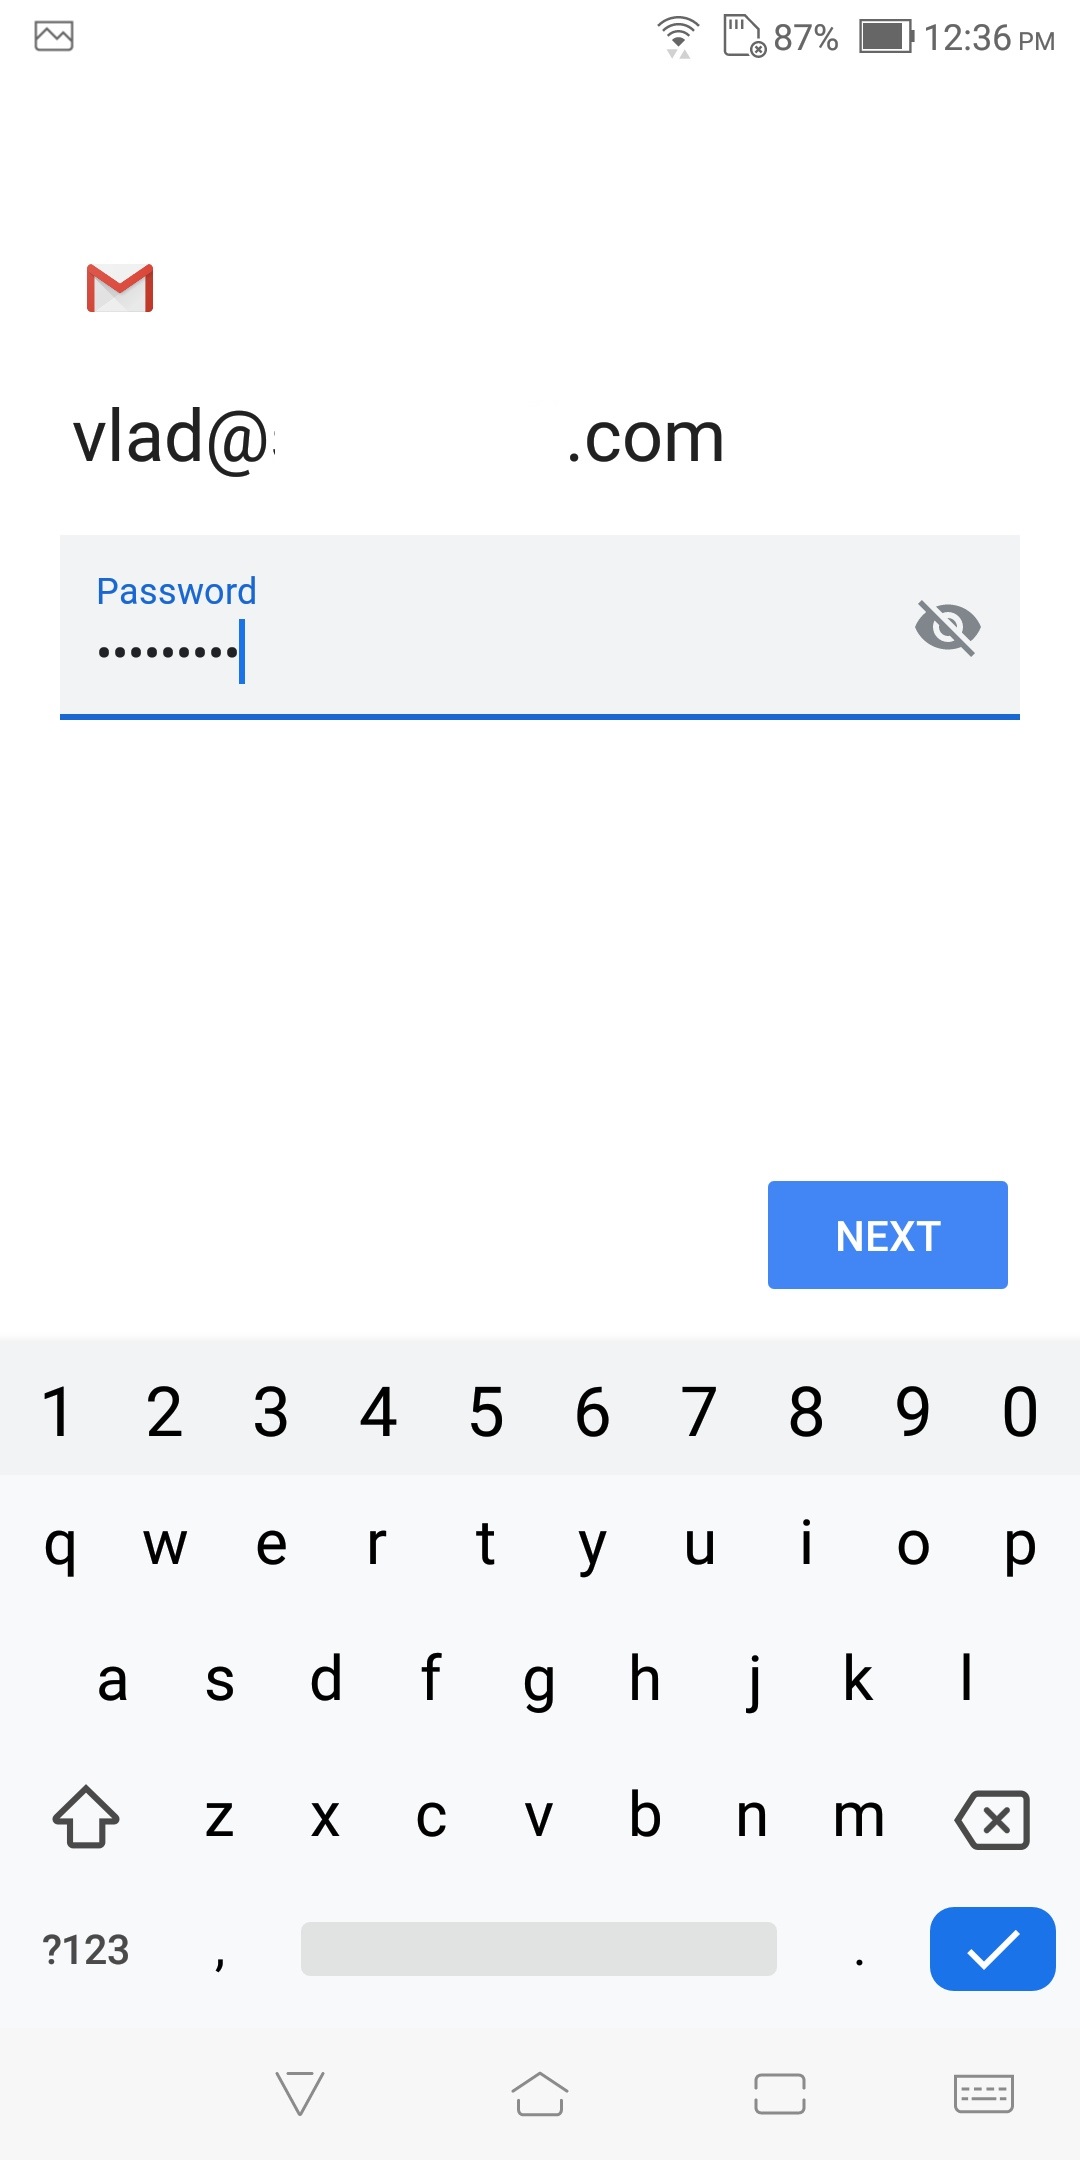
- Enter your entire email address (for example, myname@mydomain.com).
- Go to Manual setup > IMAP or POP3.
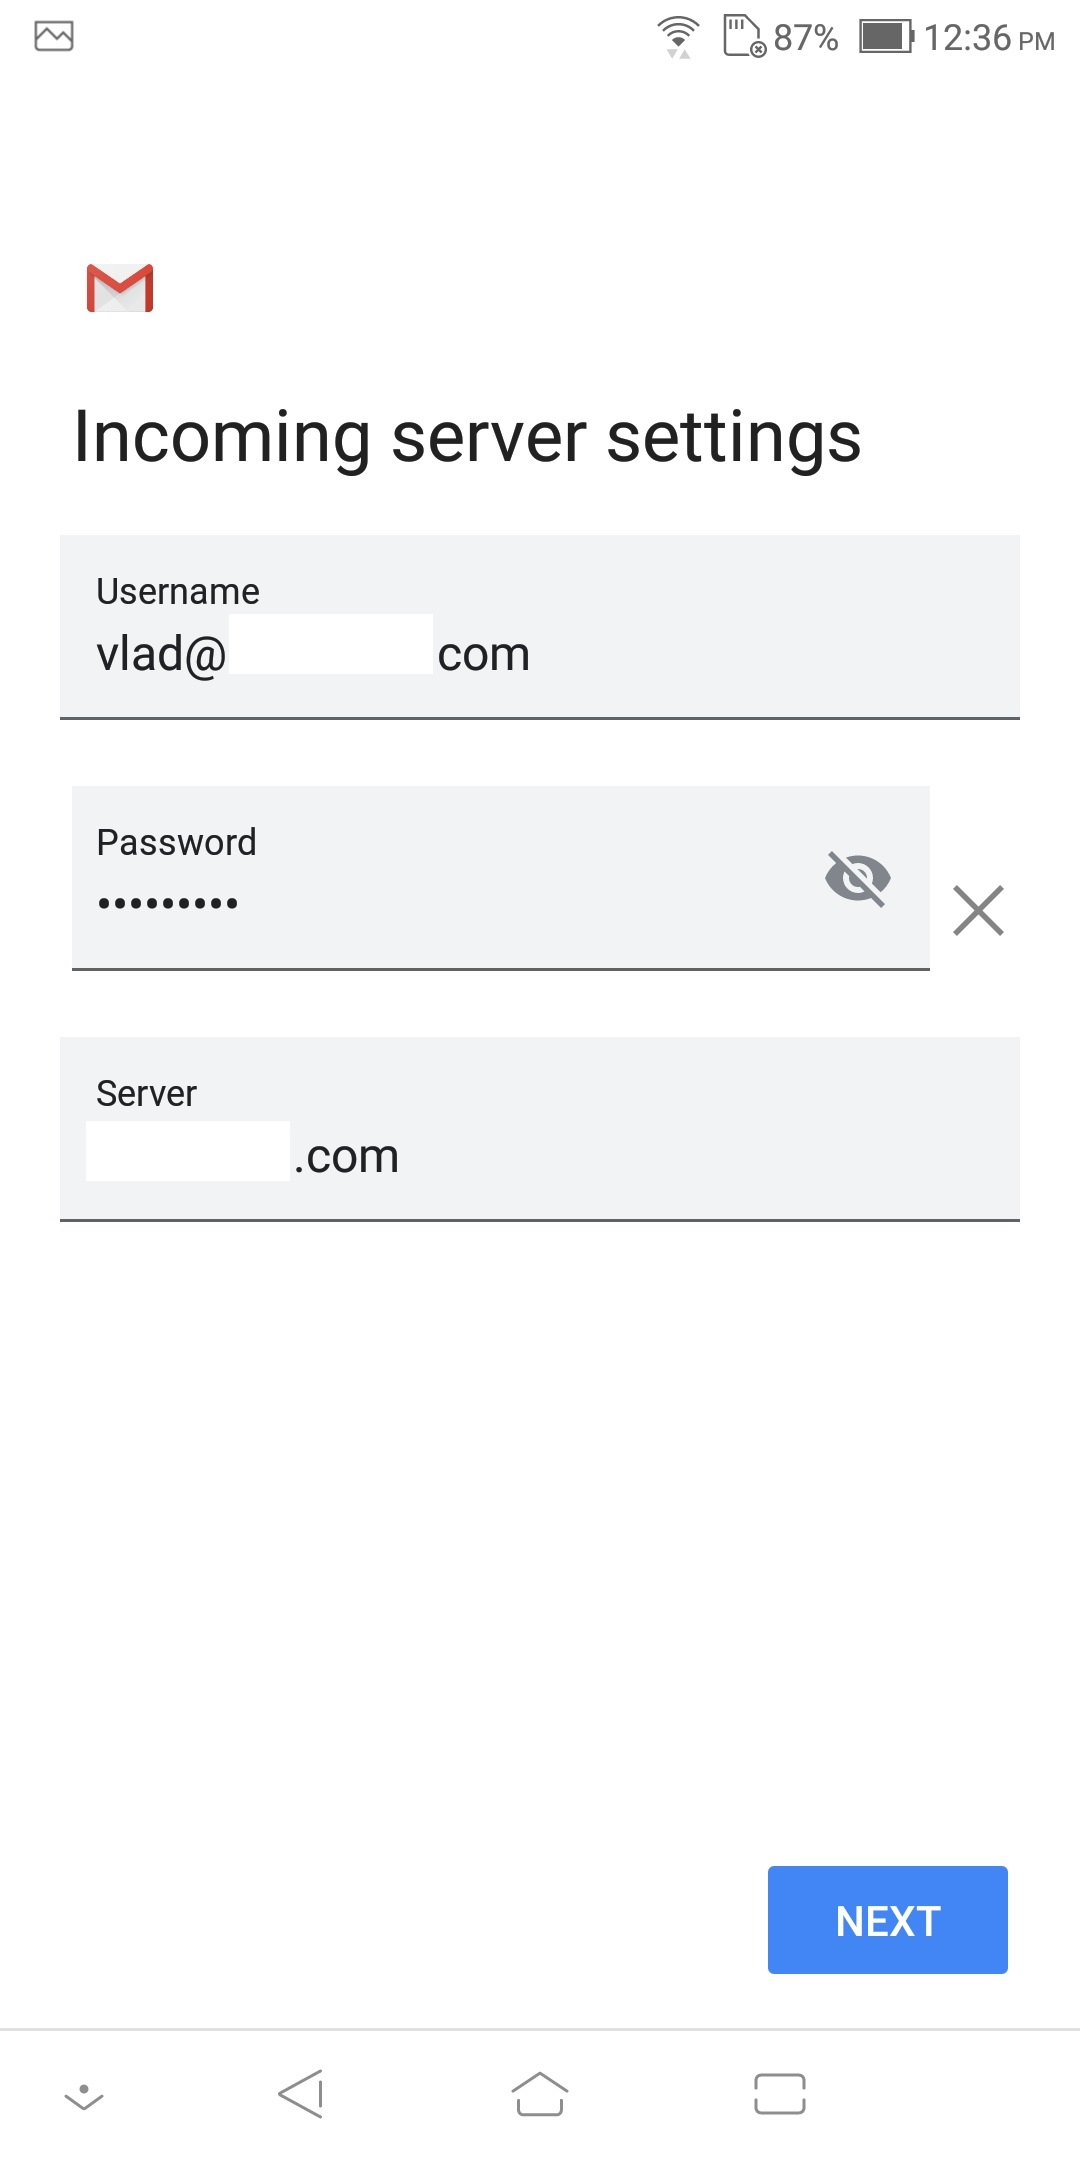
- Enter the following:
- Username — Enter your entire email address (for example, myname@mydomain.com)
- Password — Enter the password associated with your email account
- IMAP server — Enter the secure server name: mail.mydomain.com
- (If prompted) Port — Enter the secure port number:
993 - (If prompted) Security type — Select SSL (always)
Note: for a POP3 account, the standard secure port is995
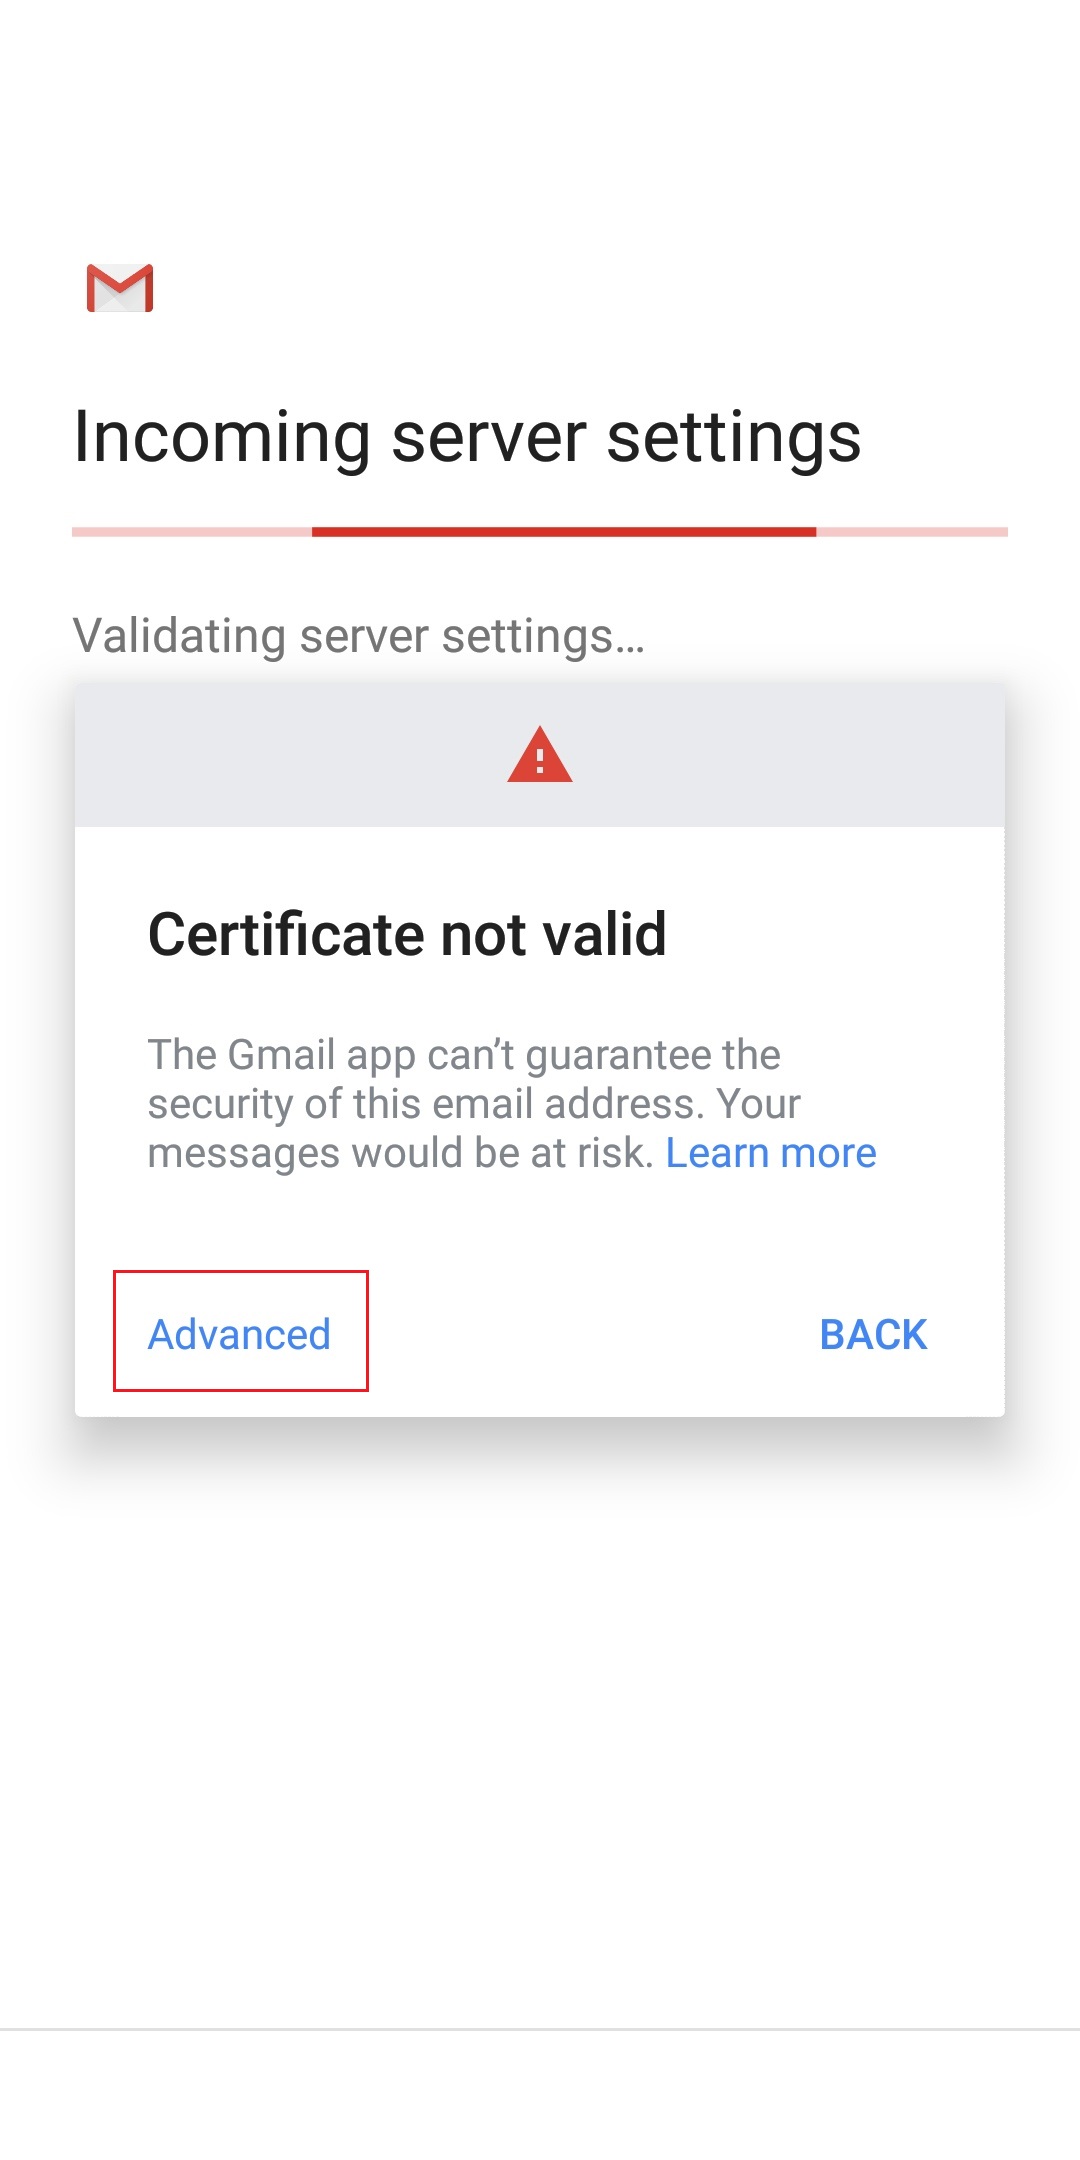
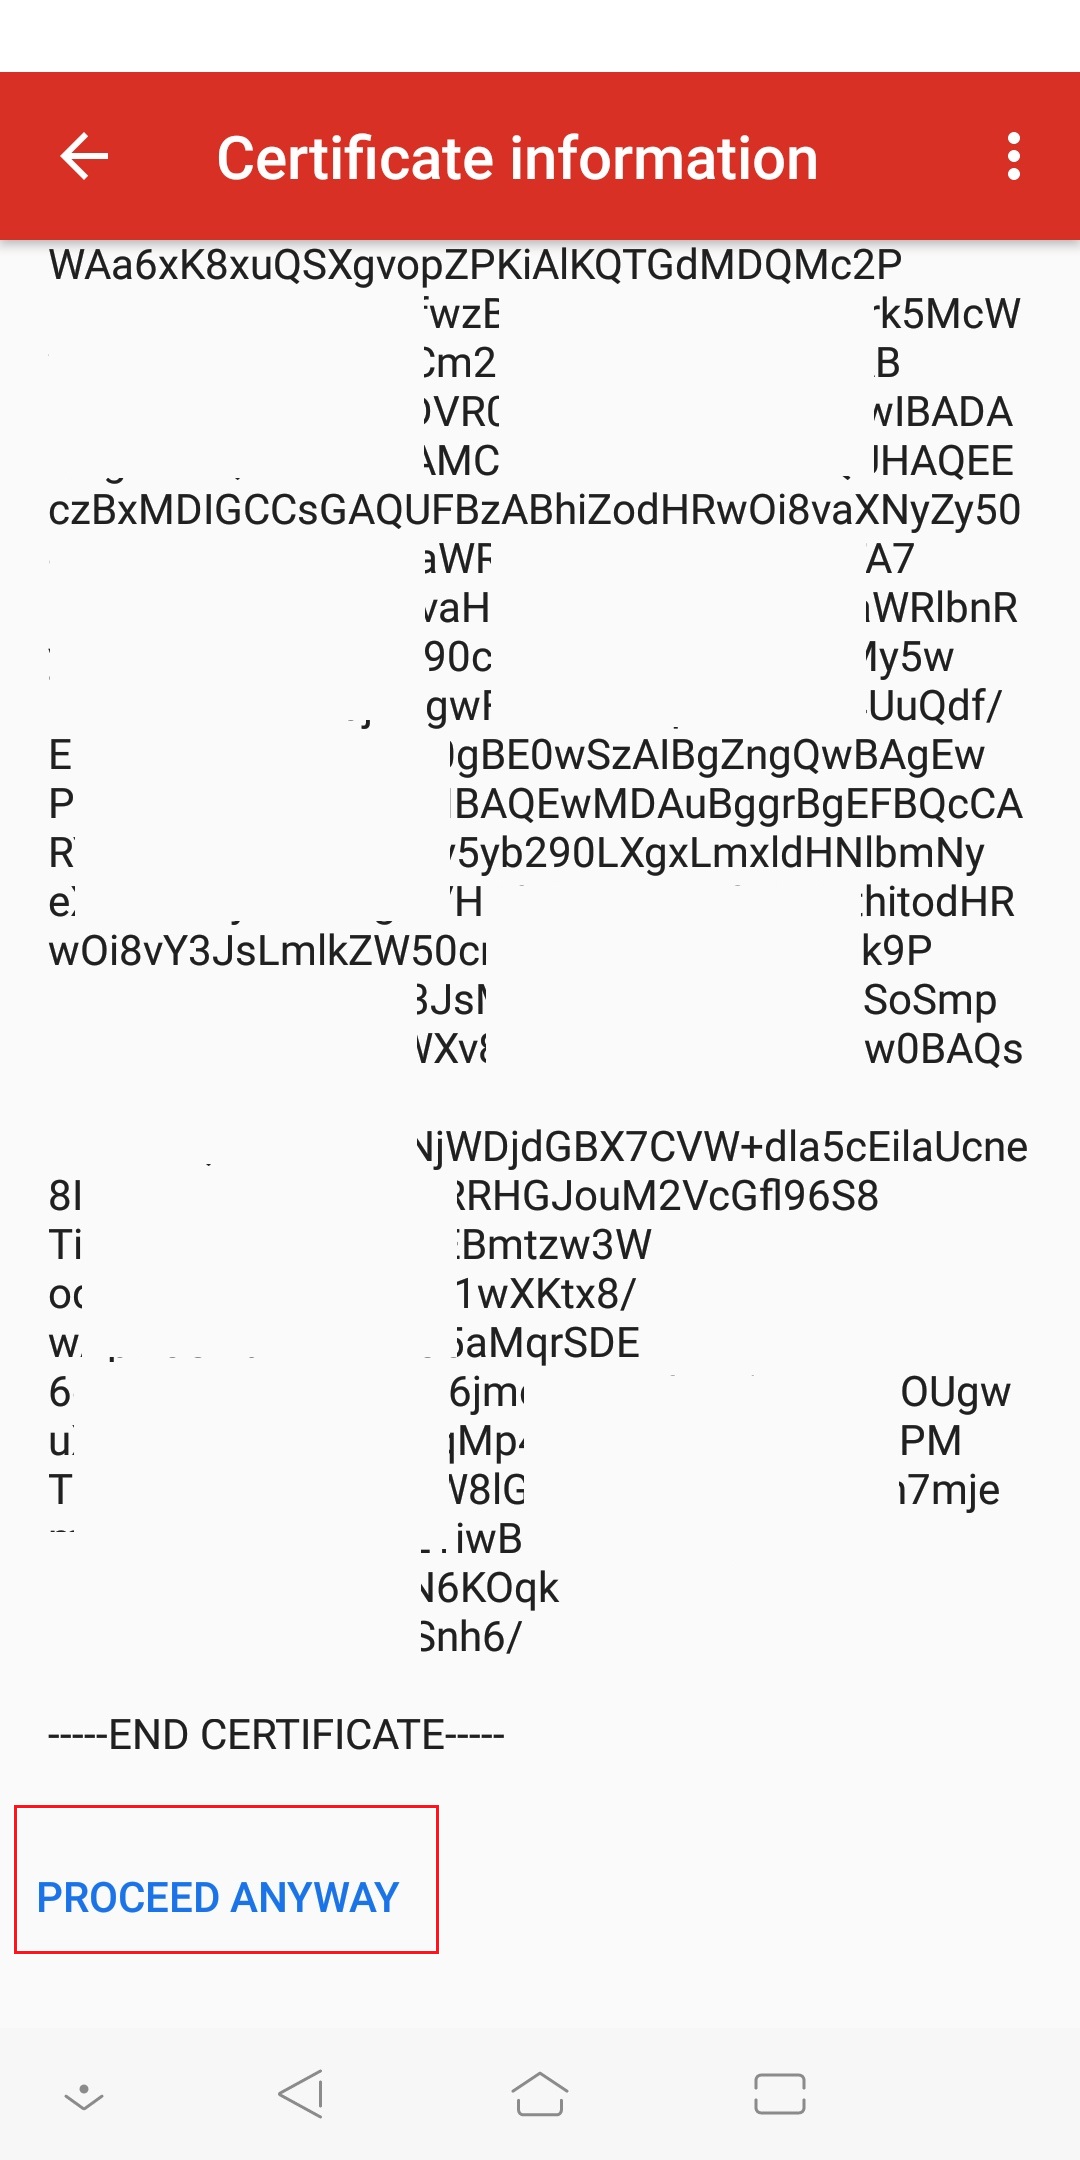
- Tap Next. The device will connect to the internet and check your incoming settings. If the SSL certificated is untrusted/self-signed, click Advanced -> scroll-down to the bottom -> Proceed anyway.
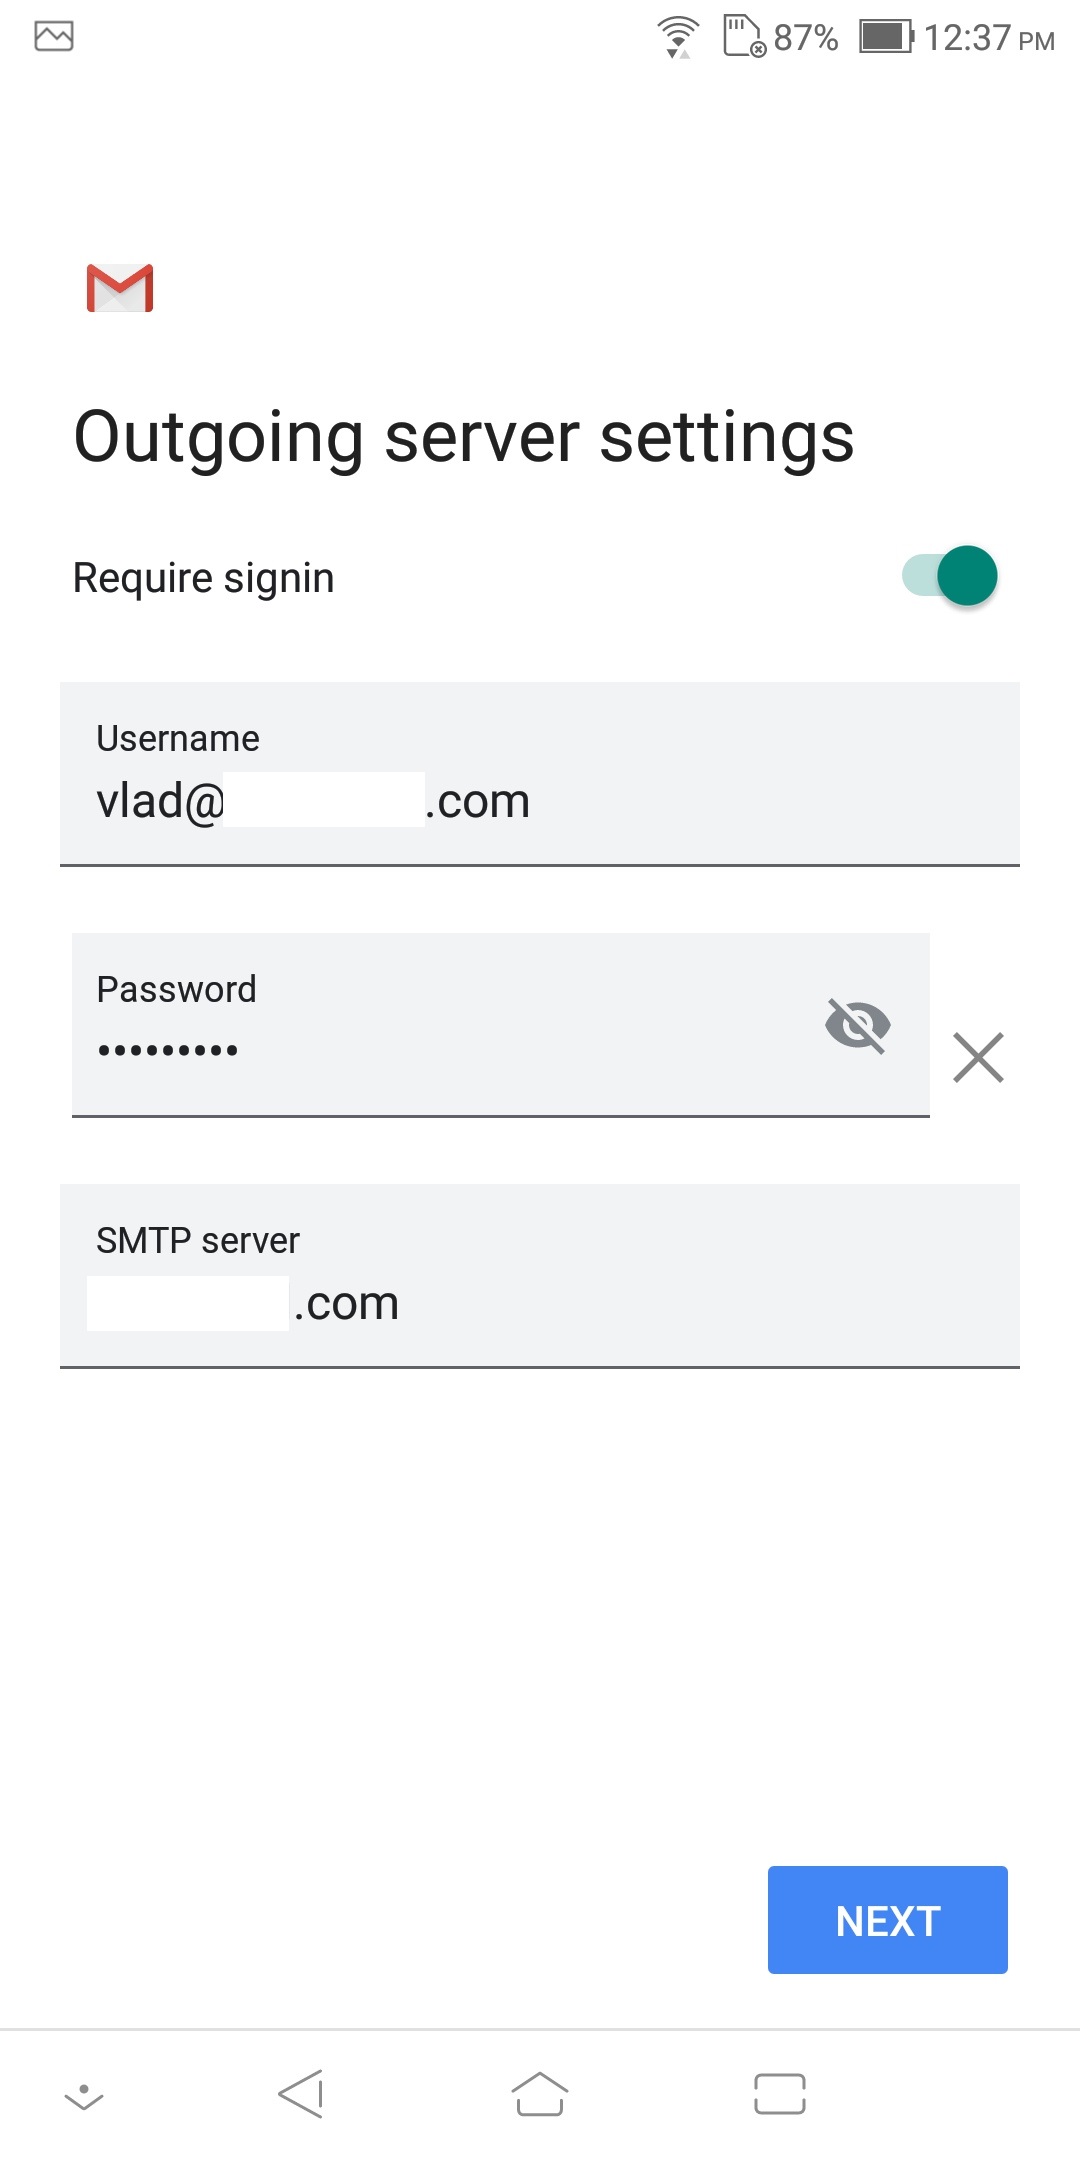
- On the Outgoing server settings screen, enter the following information:
- SMTP server — Enter the secure server name: mail.mydomain.com
- (If prompted) Port — Enter the secure port number:
587 - (If prompted) Security type — Select SSL (always)
- Tap the Require sign-in checkbox then tap Next. The device will connect to the internet and check your outgoing settings.
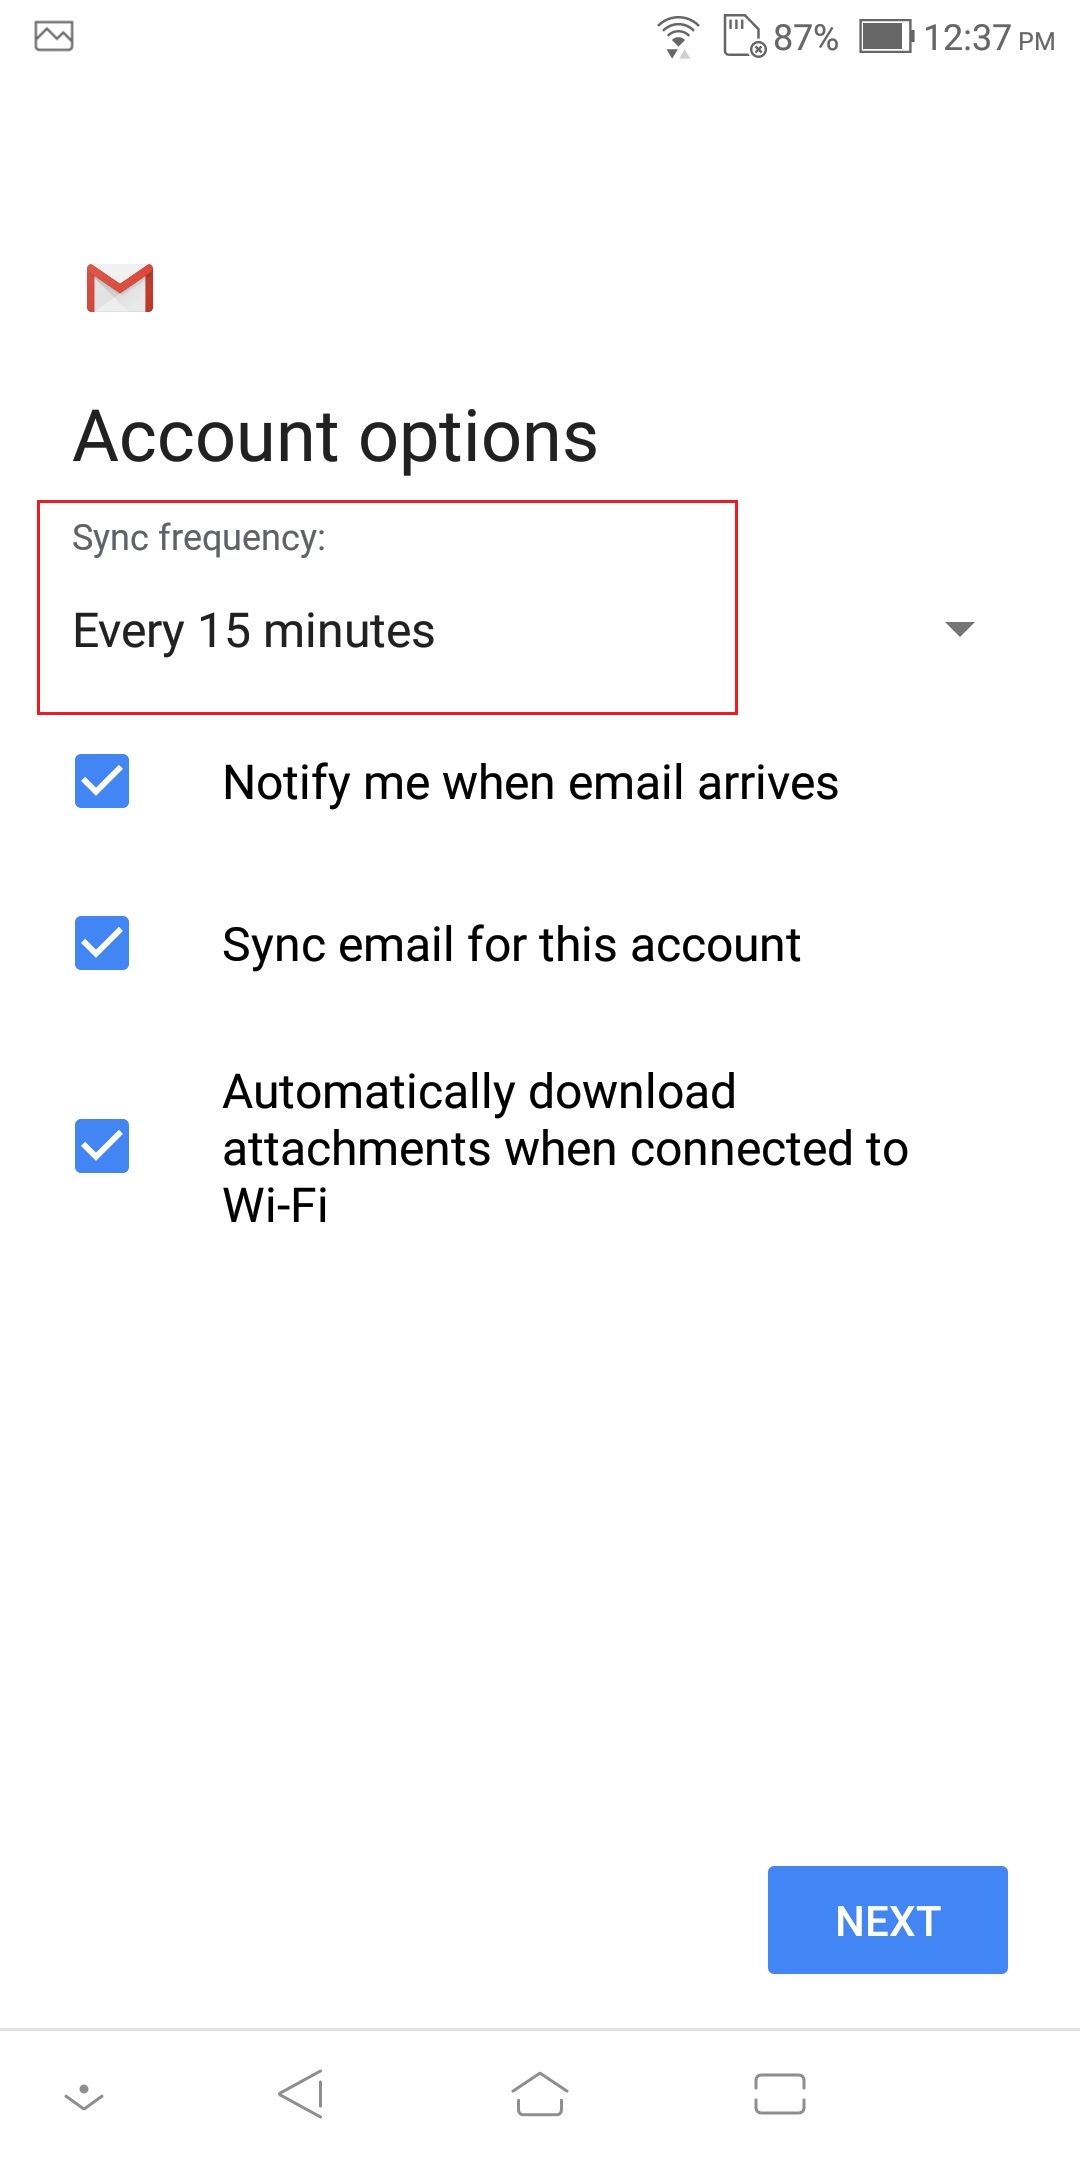
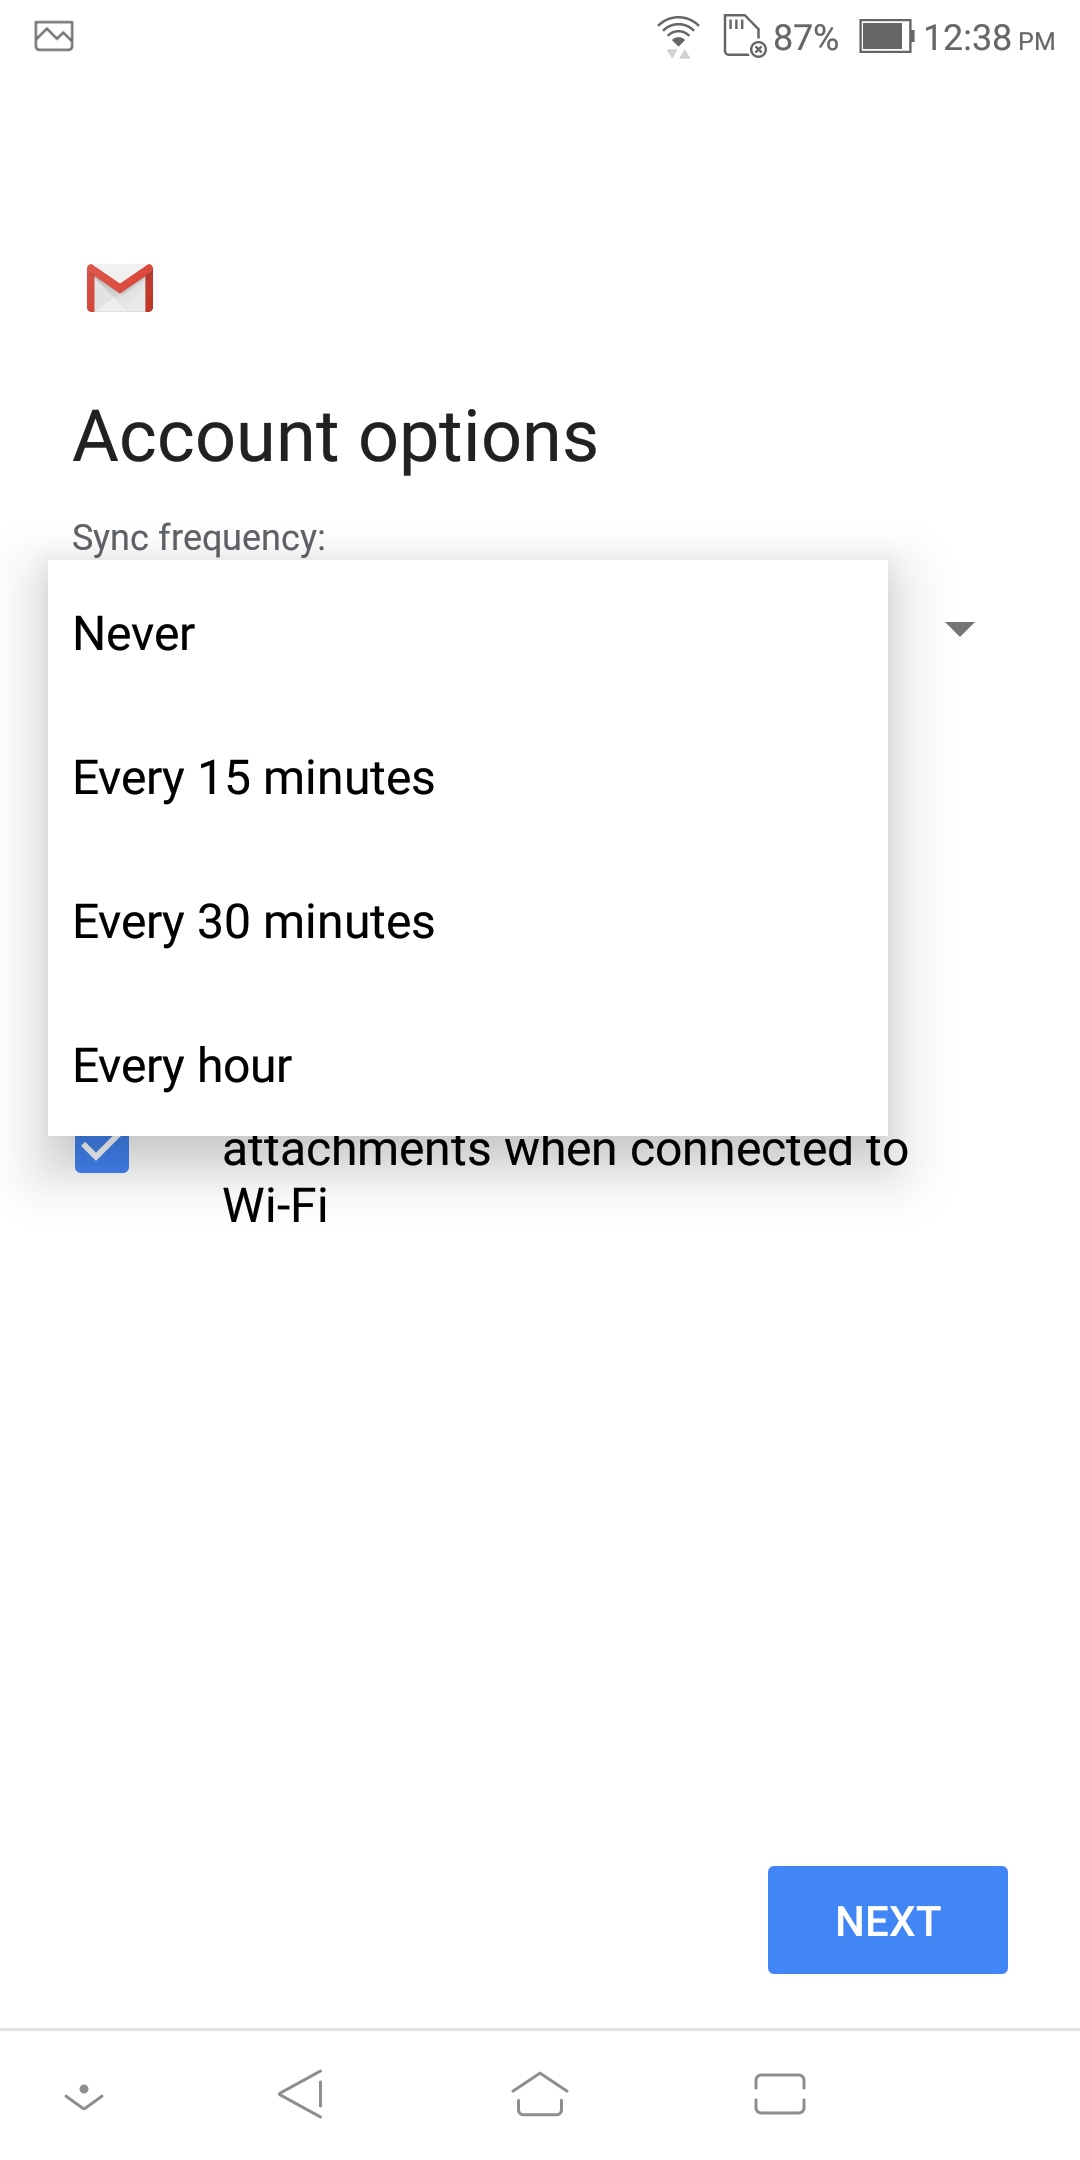
- On the Account options screen, make any changes you need, i.e. Sync frequency.
- Tap Next. On the Set up email screen, enter your name in the Type your name field.
- This is the name that will be displayed in the From field of the messages you send.
- This is the name that will be displayed in the From field of the messages you send.
- Tap Next.
- Verify by using your mobile device to send and receive emails.


Priyanka Bhotika
Comments