Overview
Kerio Control VMware Virtual Appliance is a UTM (United Threat Management) solution distributed as a virtual appliance for VMware. The Kerio Control Virtual Appliance edition is pre-installed on a virtual host with Linux Operating System. Installing VMware edition requires certain procedures to follow.
Prerequisites
Note: Learn more about license options, pricing, license purchase, and system requirements.
Downloading and Importing the Installation Package
The firewall is distributed in two types of packages:
- In the OVF format (Open Virtualization Format) for VMware ESX/ESXi.
- In the proprietary VMX/VMDK format for the 'hosted' VMware products: VMware Server, Workstation, Fusion, and Player.
Use an installation package following the product type of VMware in use (see above) and import using these steps:
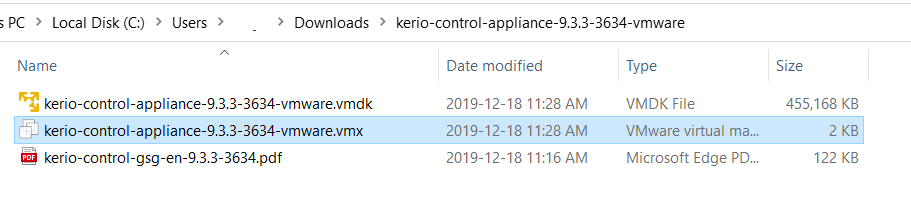
- For 'hosted' VMware products, like Server, Workstation, Player and Fusion, download the compressed VMX distribution file (
.zip), unpack it and open the.vmxfile.
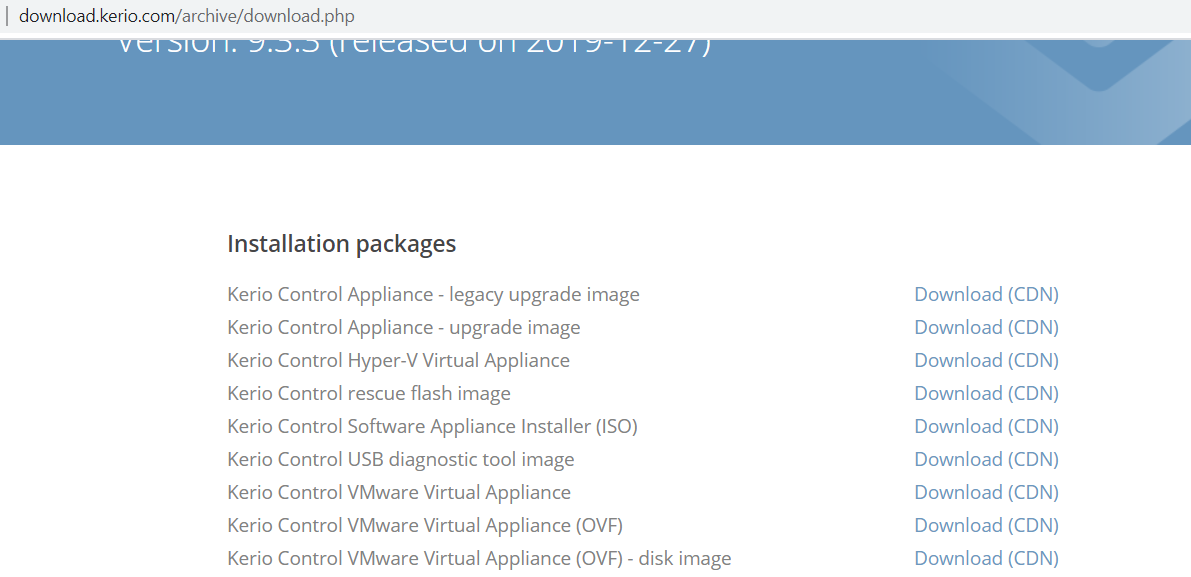
- For VMware ESX/ESXi, download the required OVF files from Kerio Software Archive and follow these general steps:
-
- Select your Product and Version and click Show Files.
- Download Kerio Control VMware Virtual Appliance (OVF) and Kerio Control VMware Virtual Appliance (OVF) disk image on your local computer.
- Browse and attach both the OVF files in the ESXi Host.
- Wait for the deployment and the file transfer to fully complete on the ESXI Host.
-
When importing the virtual appliance in the OVF format, please bear in mind the following specifics:
- The time synchronization between the host and the virtual appliance is disabled. However, Kerio Control features a proprietary mechanism for synchronization of time with the public Internet time servers. Therefore, it is not necessary to enable synchronization with the host.
- Tasks for shutdown or restart of the virtual machine are set to default values after the import. These values can be set to
hard shudownorhard reset. However, this may cause a loss of data on the virtual appliance. The firewall supports Soft Power Operations, which allows us to shut down or restart the hosted operating system correctly. Therefore, it is recommended to set the shutdown or restart of the hosted operating system as the value.
Solution
Activation and Basic Configuration
After importing and deploying the package, the Kerio Control login page displays. The product activation wizard runs on the first login, which you must go through to complete the installation process. Learn more about configuring Kerio Control using the activation wizard.
You can change the automatic pre-configuration from the Kerio Control Administration through Interfaces. Kerio Control checks all interfaces for a DHCP server in the network, and the DHCP server provides a default route after the installation:
- If there is more than one Internet interface with a default route, Kerio Control arranges them in the load balancing mode.
- For all interfaces without any detected DHCP (Dynamic Host Configuration Protocol) server, Kerio Control runs its own DHCP server through all configured LAN interfaces to
10.10.X.Y, whereXis the index of the LAN interface (starting with 10) whileYis 1 for the control interface, and 11-254 is for DHCP assigned hosts.
Firewall Administration
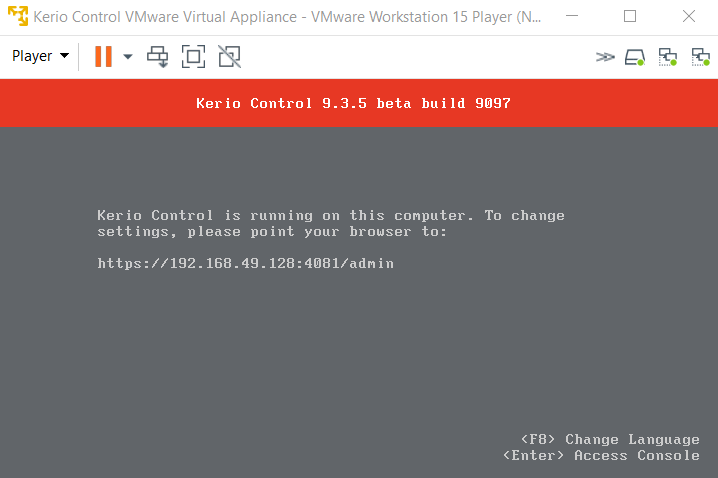
The Kerio Control Administration web interface allows full remote administration of the firewall and viewing of status information and logs. The web administration interface is available at: https://<kerio_control_ip_address>:4081/admin. For example, https://10.10.10.1:4081/admin.
Authenticate and log in with the username Admin and the password configured during the product activation.
Note: Kerio Control must be accessible on the above IP Address from your LAN. Additionally, remote administration via the Internet must be enabled explicitly by the firewall's traffic rules.
Firewall Console
Remote administration options are available in the firewall console of the virtual computer. Upon authenticating, this console allows you to change basic settings of the firewall, restore default settings after the installation and shut down or restart the computer.
To access Virtual console, enter the Administrator password.

The default password for non-configured Kerio Control is kerio.
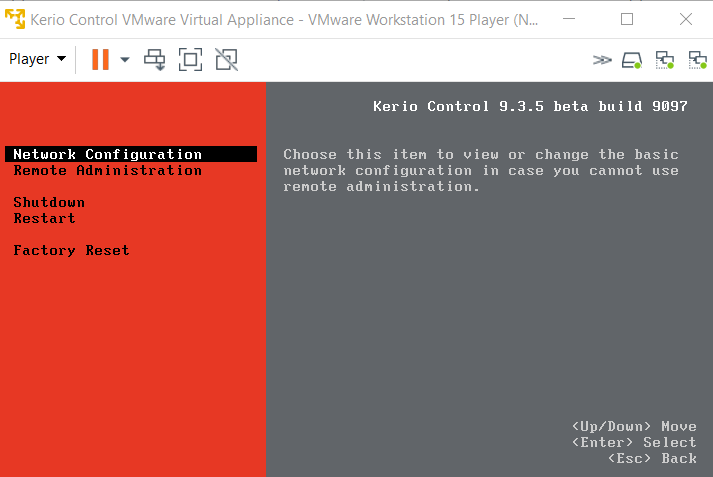
The firewall's console allows:
- Modifying the configuration of network interfaces (e.g., if network configuration changes or if an incorrect interface was chosen for the local network during the firewall installation).
- Changing the traffic policy of the firewall so that remote administration is not blocked (if the connection to the administration fails).
- Shut down or restarting the firewall.
- Recovering the default configuration by restarting the initial configuration wizard. This is particularly useful when the firewall does not work correctly, and you cannot easily fix the configuration.
Note: This option removes all configuration parameters and data, restoring the firewall settings as applied in the first startup on VMware.
Priyanka Bhotika
Comments