Overview
You can create a backup of your Kerio Connect data such as the user mailboxes, public folders, mailing lists, configuration files, licenses, SSL certificates, and the SpamAssassin database.
You can restore the most recent or relevant backup in case of system issues that may cause data loss or corruption. You can also use backups to migrate your installation to a new server or operating system.
NOTE: Temporarily disabled users are not included in the backups.
This article provides step-by-step instructions on how to create a full backup of your Kerio Connect data.
Process
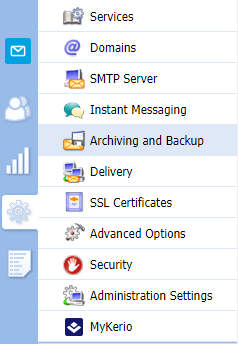
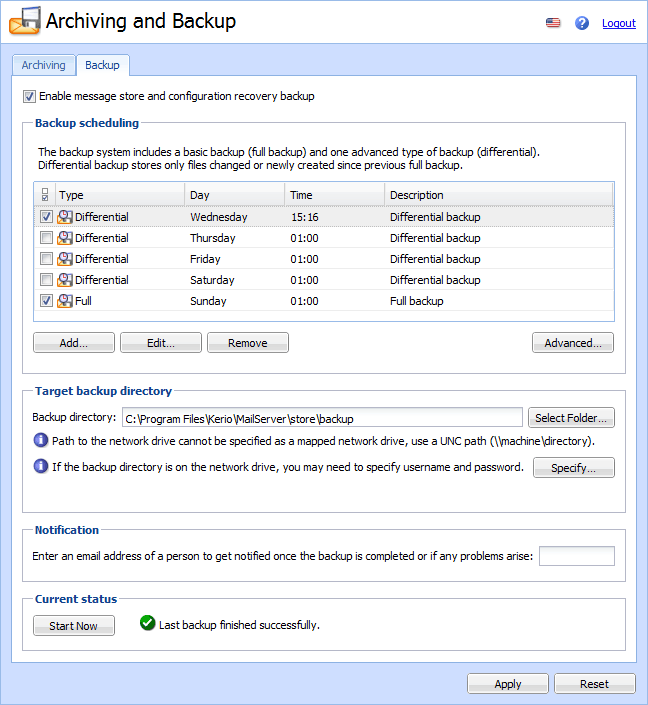
- In the administration interface, go to Configuration > Archiving and Backup > Backup.
- Check-mark the Enable message store and configuration recovery backup option.
- Click Add.
- Type a description for the backup.
- Select the time and the type of backup and click OK.
- For additional backups, repeat steps 3 through 5.
- Click on Advanced and specify the maximum size and number of backups. Click OK.
- In the Target backup directory section, specify the folder to store all backups.
- Special characters are not allowed in the folder name.
- If the network drive requires authentication, click on Specify and enter the username and password (Microsoft Windows only).
- In the Notification section, type your email address to receive notifications about backups.
- Click Apply.
- Click the Start Now button.
Confirmation
- The Kerio Connect backup finishes with the following message:
Last backup finished successfully.
- You can now see it in the target backup directory that you specified during the backup process.
Priyanka Bhotika
Comments