Overview
There are occasions that require the Microsoft SQL Server Databases to be moved from one server to another. This article provides the steps on how to complete this process by using the Microsoft SQL Server Detach and Attach functions.
Process
- Open the Microsoft SQL Management Studio server and connect to the Microsoft SQL Server where the database is located.
- Locate the database you want to move the location of under the Databases node.
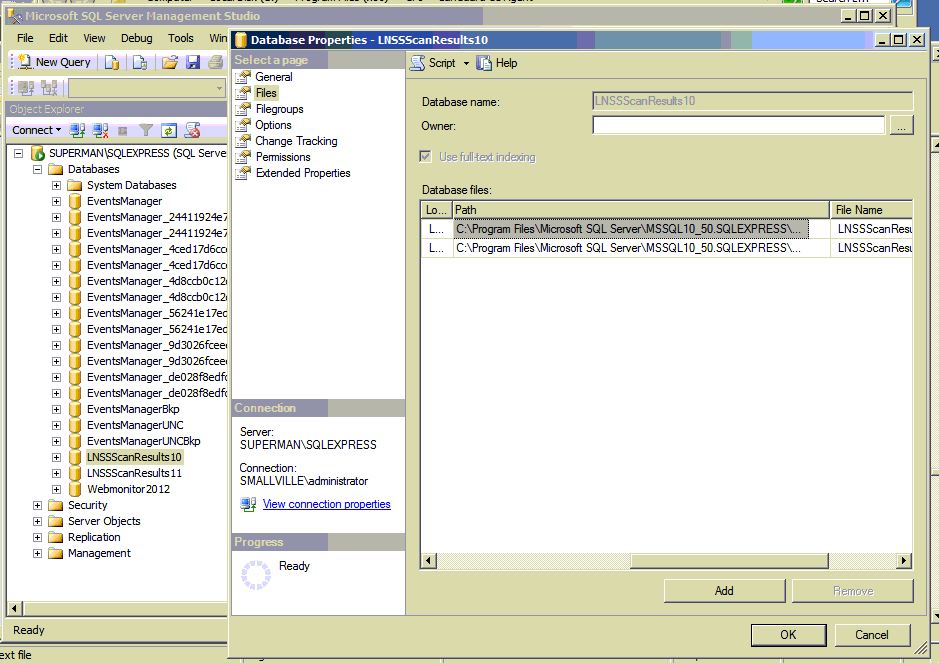
- Right-click the database and choose Properties.
- Click the Files node of the Database Properties dialog.
- Note the Path and Filename of both of the files (one will be a .MDF database file, and one will be a .LDF transaction log file) and close the dialog.
- Make sure the GFI Software application that uses the database is no longer running (close the console and stop the services).
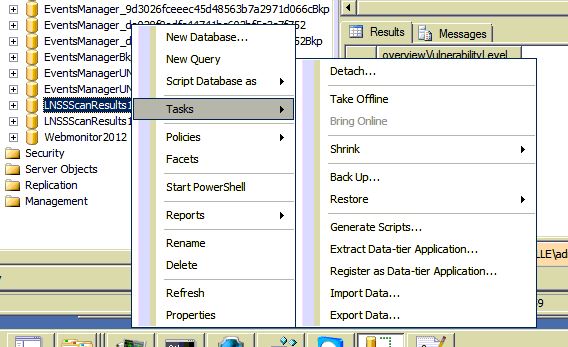
- Right-click the database and choose Tasks > Microsoft SQL Server
- Next, right-click the database and choose Tasks > Detach...
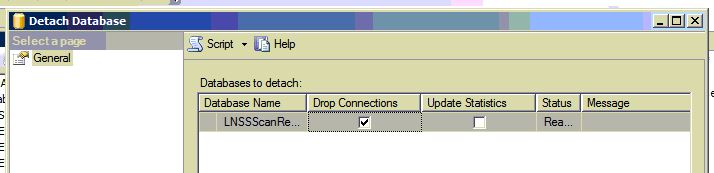
- Check the box to Drop Connections and click the OK button at the bottom
- Move the database files to the drive and directory where you want to store them.
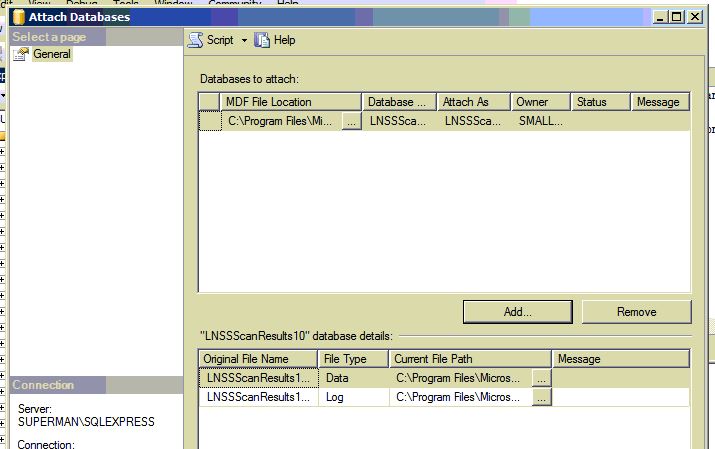
- In the management studio, right-click the Databases node and select Attach...
- Click the Add... button, navigate to the directory you put the.MDF database file and select it (it will automatically add the .LDF transaction log file).
- Click OK, and the database will be re-attached

Notes:
- This procedure can also be done using SQL statements. See the following Microsoft article: "Troubleshooting SQL Server backup and restore operations."
- Before attempting any database modifications, please ensure all appropriate GFI Software services are stopped, to ensure no data is lost.
Priyanka Bhotika
Comments