Overview
Time ranges allow you to define time intervals for specific rules to be active. This article shares information about creating time ranges that can be configured and applied to various policies (e.g., Traffic or URL rules) in Kerio Control.
Information
A time range may consist of multiple intervals with different settings, as seen in an example screenshot below:
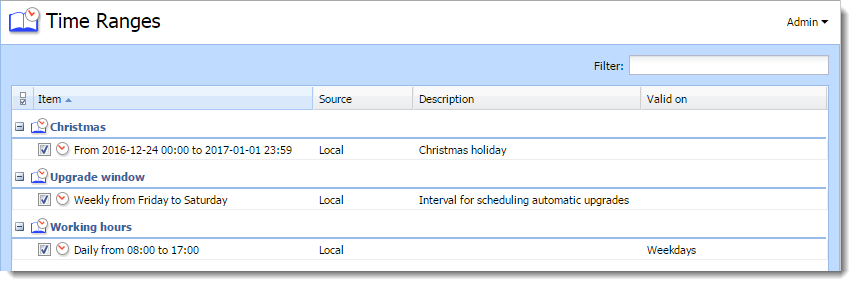
If you have multiple Kerio Control appliances, you can manage them in MyKerio and use shared time ranges across all your appliances. All shared time ranges are labeled as MyKerio, and all non-shared time ranges in the appliance are labeled as Local in the Source column (as seen above).
Note: Learn more about sharing definitions across Kerio Control appliances with MyKerio.
Process
Follow these steps:
- In the administration interface, go to Definitions > Time Ranges.
- Click Add.
- Input a name for the group (or select an existing one).
- Add a description for the time interval.
- Configure the Time settings — frequency and time interval.
- Set the applicable days in which the rule will be active.
- Click OK to save the settings.
- Click Apply.

Confirmation
- In the administration interface, go to Time Ranges.
- Verify that the freshly added time range appears on the list.
Priyanka Bhotika
Comments