Overview
Time ranges define when Kerio Control rules should be valid. Each time range can consist of multiple time periods with different settings. This article shares the processes for defining shared time ranges in MyKerio by covering the following topics:
Note: This functionality is only available for appliances using Kerio Control 9.0 or newer versions. Learn more about sharing definitions using MyKerio.
Adding New Time Ranges
To create a new time range, you must first create a new definition group and then create a new time range item:
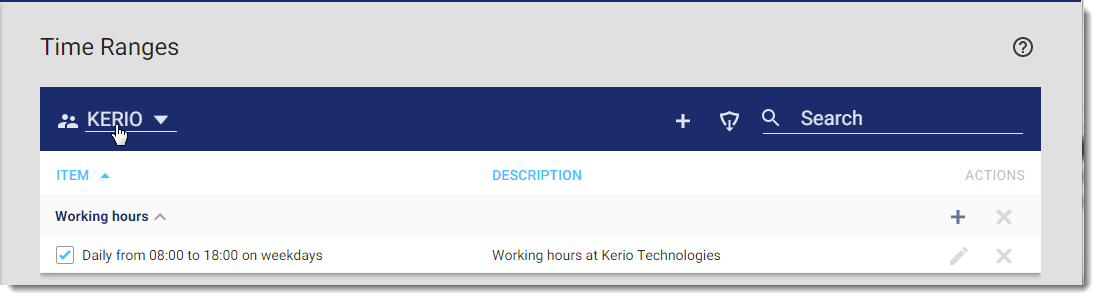
- In MyKerio, go to Shared Definitions > Time Ranges.
- If you have more than one organization, select the appropriate one.
- In the toolbar, click the plus icon (+).
- In the Add Time Range Group dialog box, type a name for the time range.
- Click Add. MyKerio creates a new time range, and you can add items.
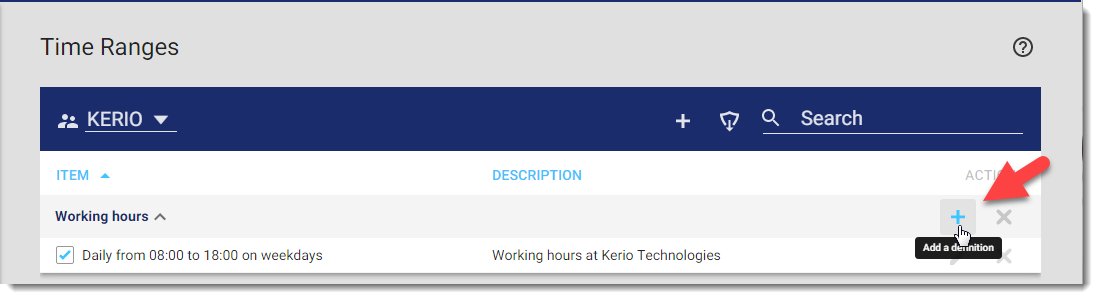
- Click the plus icon (+) on the row with the time range.
- In the Add Time Range dialog box, configure the frequency, start and end times and days, if applicable. Click Add.
- Confirmation: All Kerio Control appliances in the organization can now see and use the newly added shared time range.

Importing Existing Time Ranges
To import time ranges from Kerio Control to MyKerio, you must first select the organization where the appliance is included and then import the time ranges. Imported time ranges are automatically shared with other Kerio Control appliances.
- In MyKerio, go to Shared Definitions > Time Ranges.
- Select the organization.
- Click the import icon
in the toolbar.
- In the Import Shared Definitions dialog box, select the appliance from the drop-down list.
- Select the time ranges you want to share.
- Click Import.
- Confirmation: You can see the selected time ranges in the MyKerio organization and all Kerio Control appliances that are included in that organization.
Priyanka Bhotika
Comments