Overview
GFI Support representatives may ask you to collect and submit logs to investigate a reported issue. Please follow the steps below to retrieve logs for GFI FaxMaker.
Information
If you do not have an open ticket, you can submit a ticket at GFI Support Portal.
This guide is applicable for FaxMaker versions 19 and newer. Previous versions are no longer supported, and logging cannot be reviewed.
Process
Gathering Logs
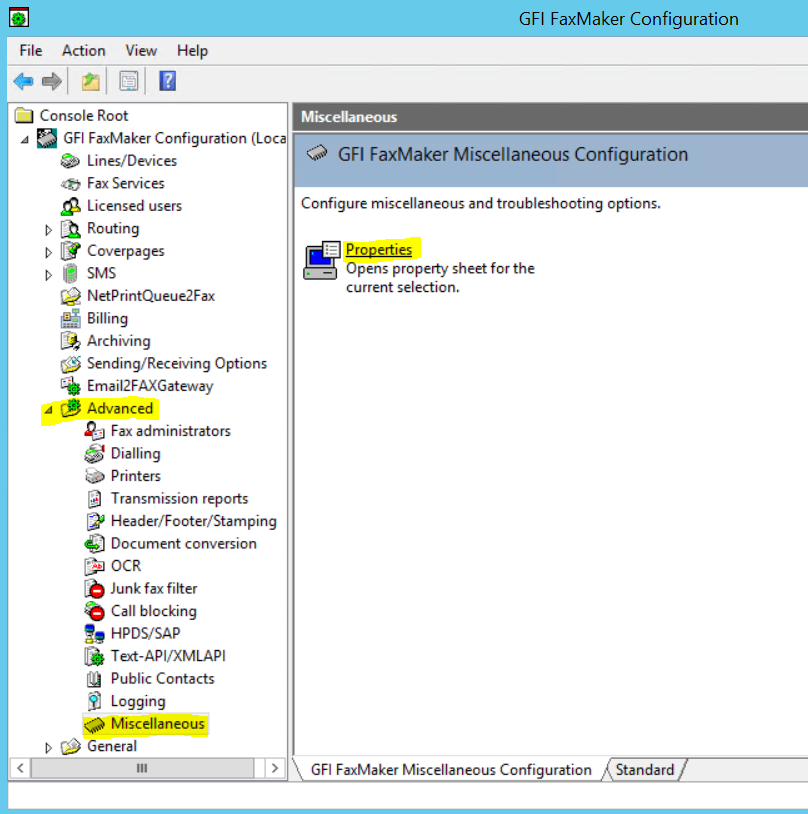
- Open the FaxMaker Configuration and expand the Advanced node.
- Select the Miscellaneous node and click Properties from the window on the right.
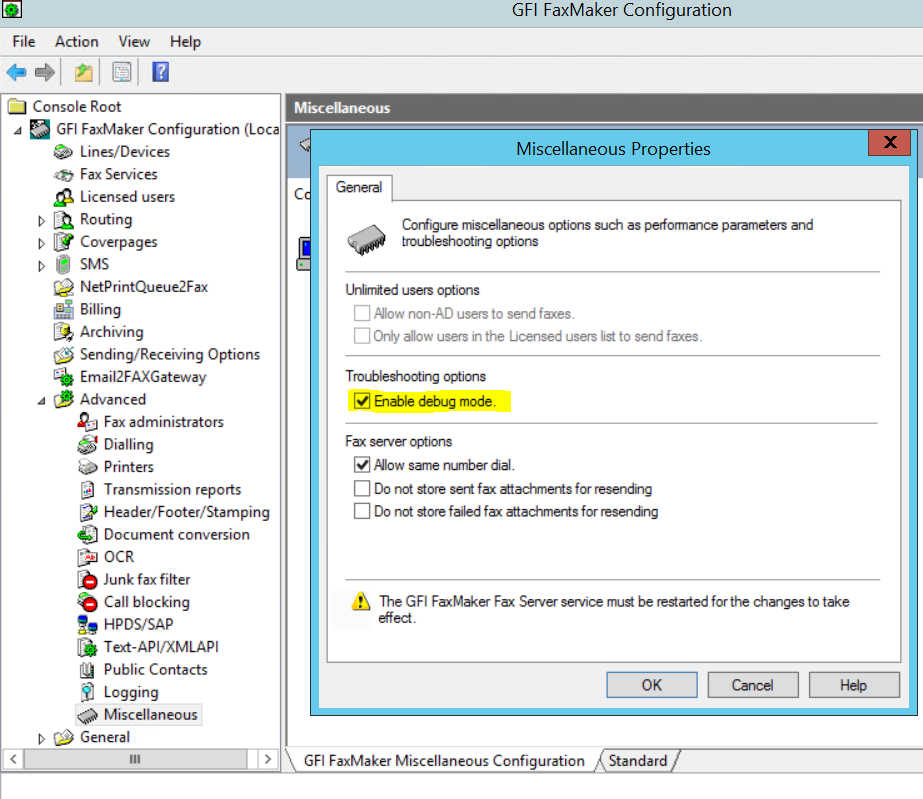
- Under Troubleshooting options, check the Enable debug mode box.
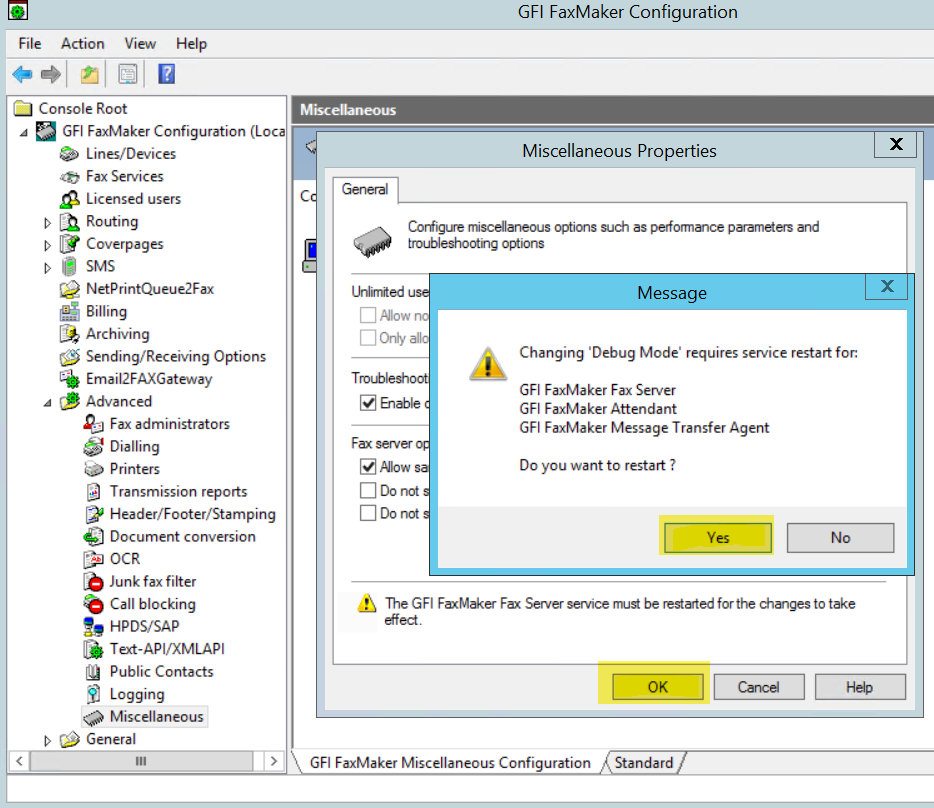
- Click OK, and you will be asked to restart the FaxMaker Services. Select Yes to enable the debug mode and restart the services.
- Reproduce the issue and take screenshots of any details related to it.
- Keep a record of the exact steps taken, including the hour and minute of when the issue occurred.
- Use the Problem Step Recorder to capture screenshots (it is bundled with current versions of Windows operating systems).
- If you are not using psr.exe, ensure that the screenshots show the whole screen, including the system clock with hour and minute.
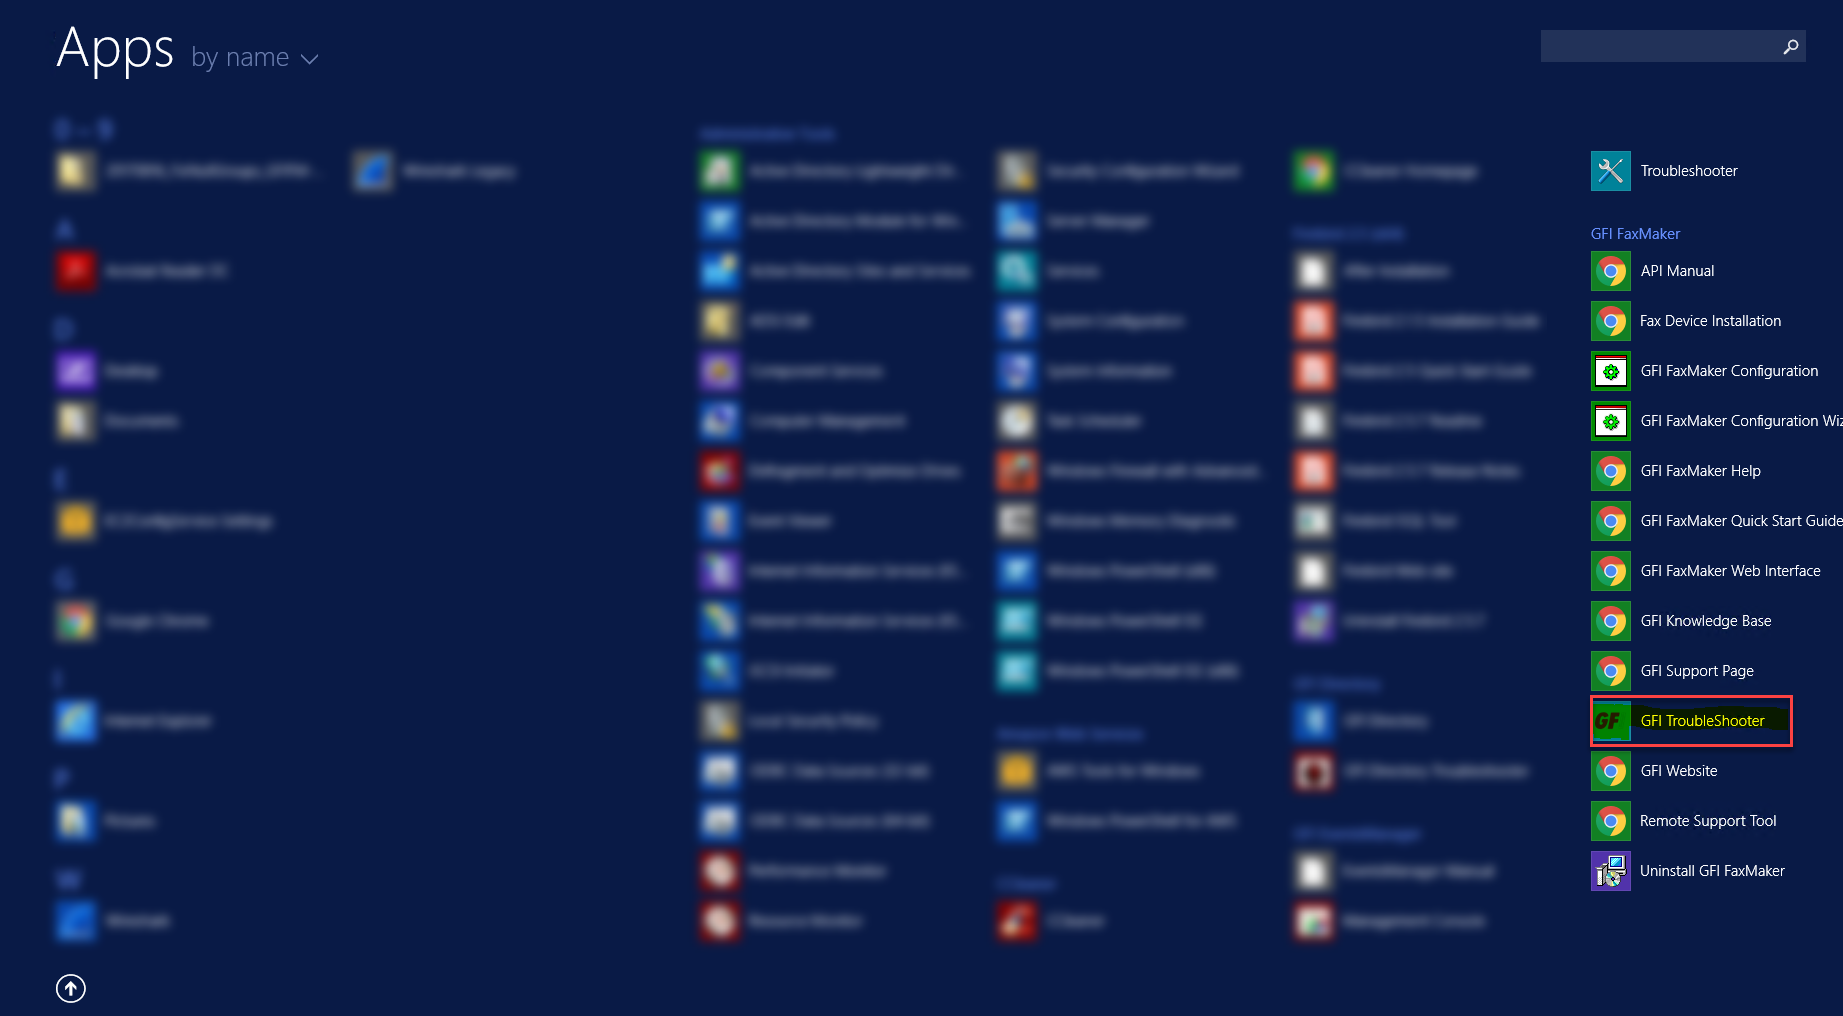
- After the problem is reproduced, run the GFI FaxMaker Troubleshooter from Start > Programs > GFI FaxMaker > GFI Troubleshooter.
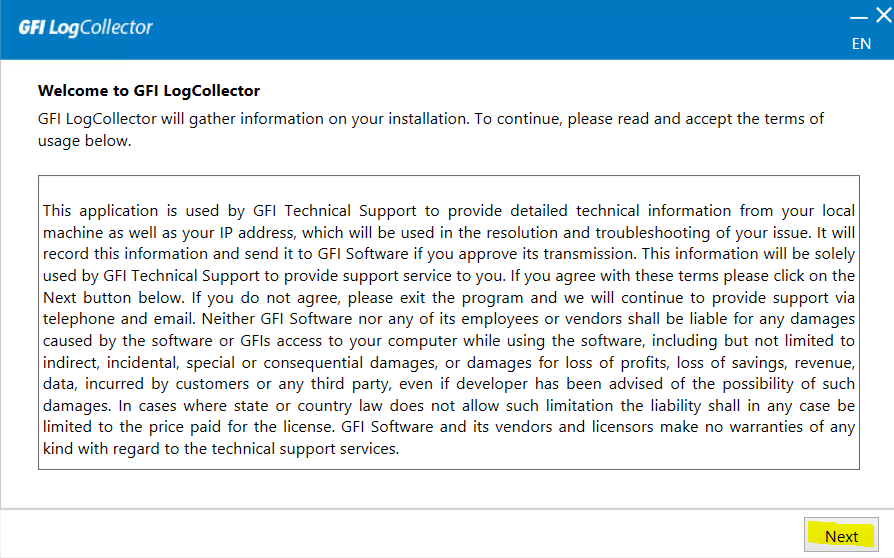
- The LogCollector welcome screen will appear. Click Next.
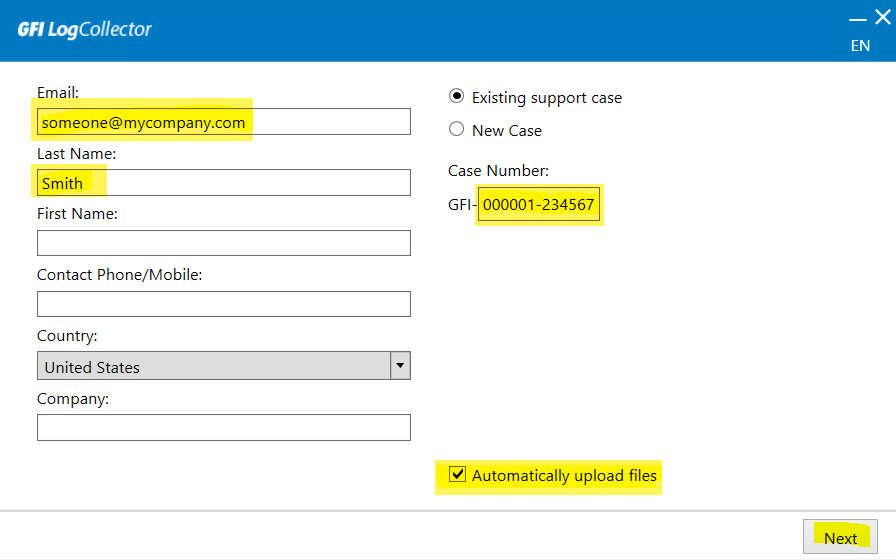
- On the next screen, enter Email, Last Name, and Case Number (ticket number). There is also a checkbox to enable automatic uploading of the log files. Once these fields are completed, click Next.
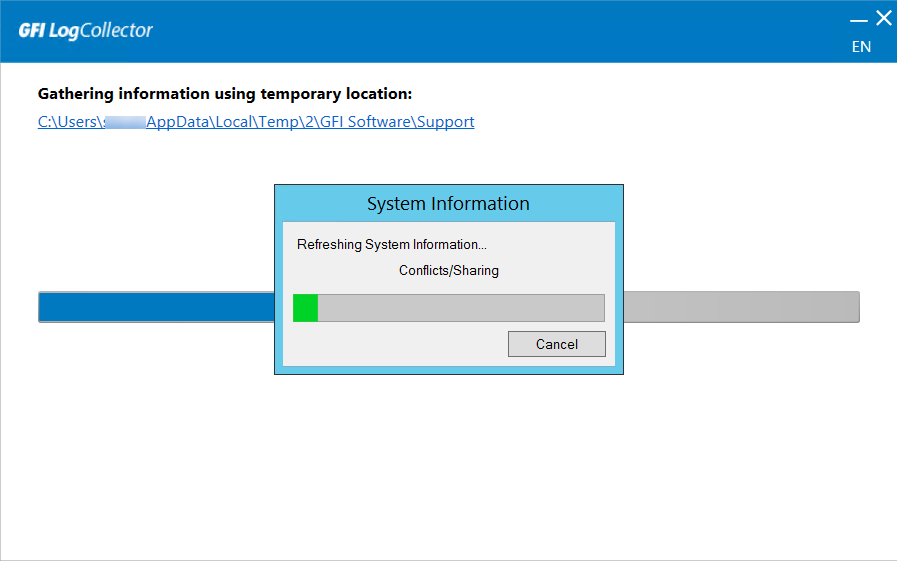
- Once you select Next, you will see the window below. The System Information window will display the steps being taken to gather the logging.
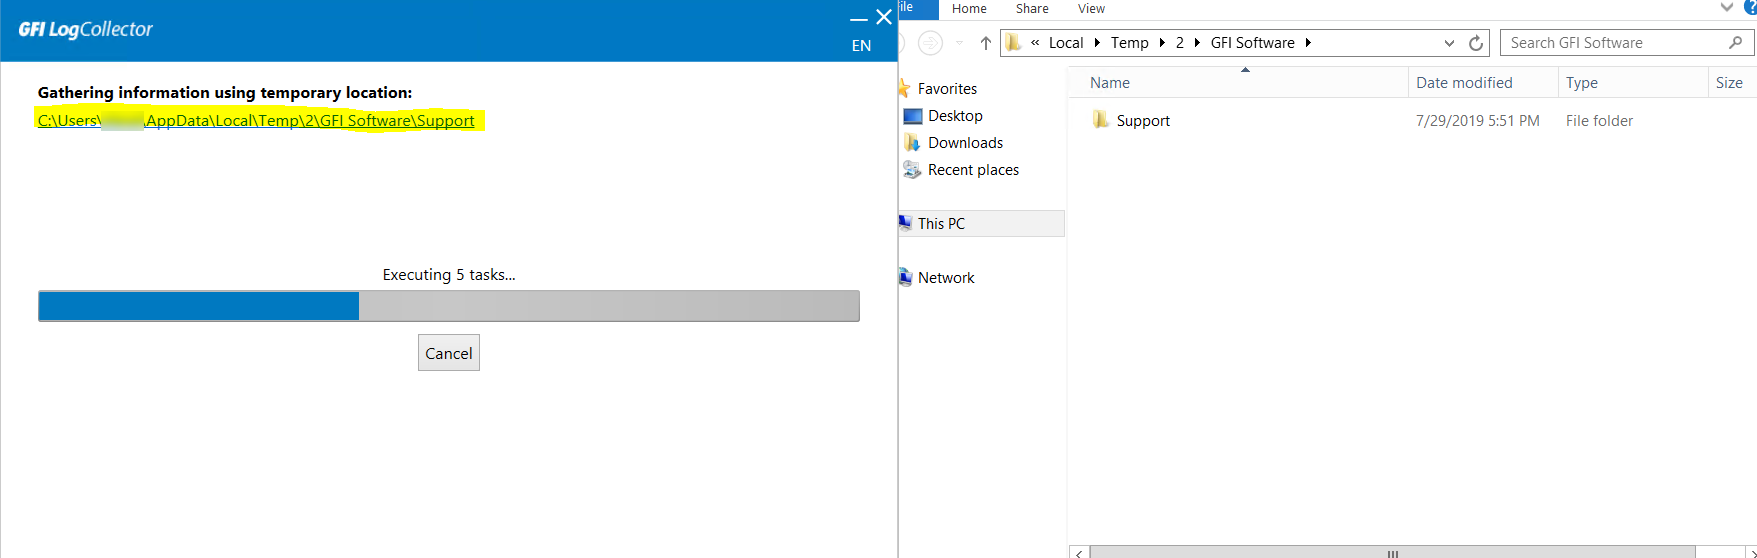
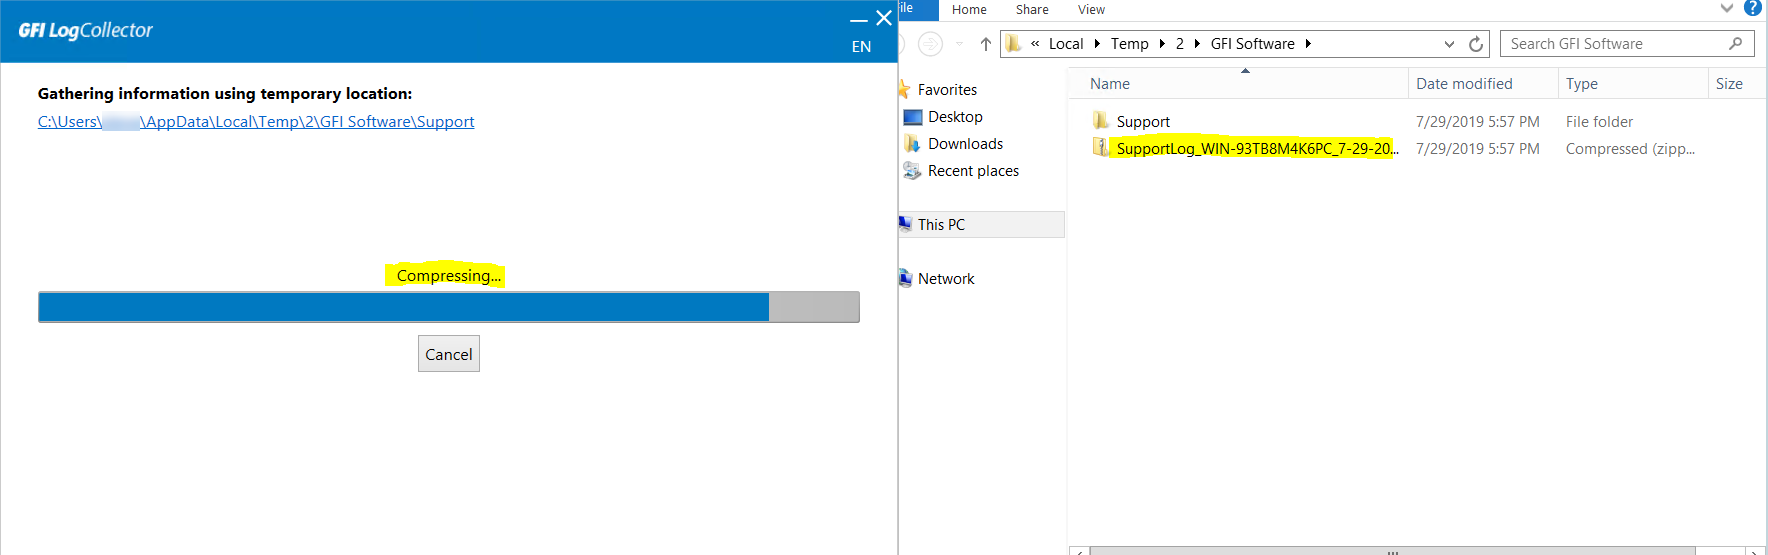
- In the LogCollector window, click on the link (highlighted in the screenshot) to open the folder where the logs are saved. You will also see the support folder being populated in that location. Keep this window open to upload the logs to the FTP later, if you did not choose to upload the logs automatically.
- Once the gathering of logs is complete, the application will compress the logs.
- Wait till the process is finished.
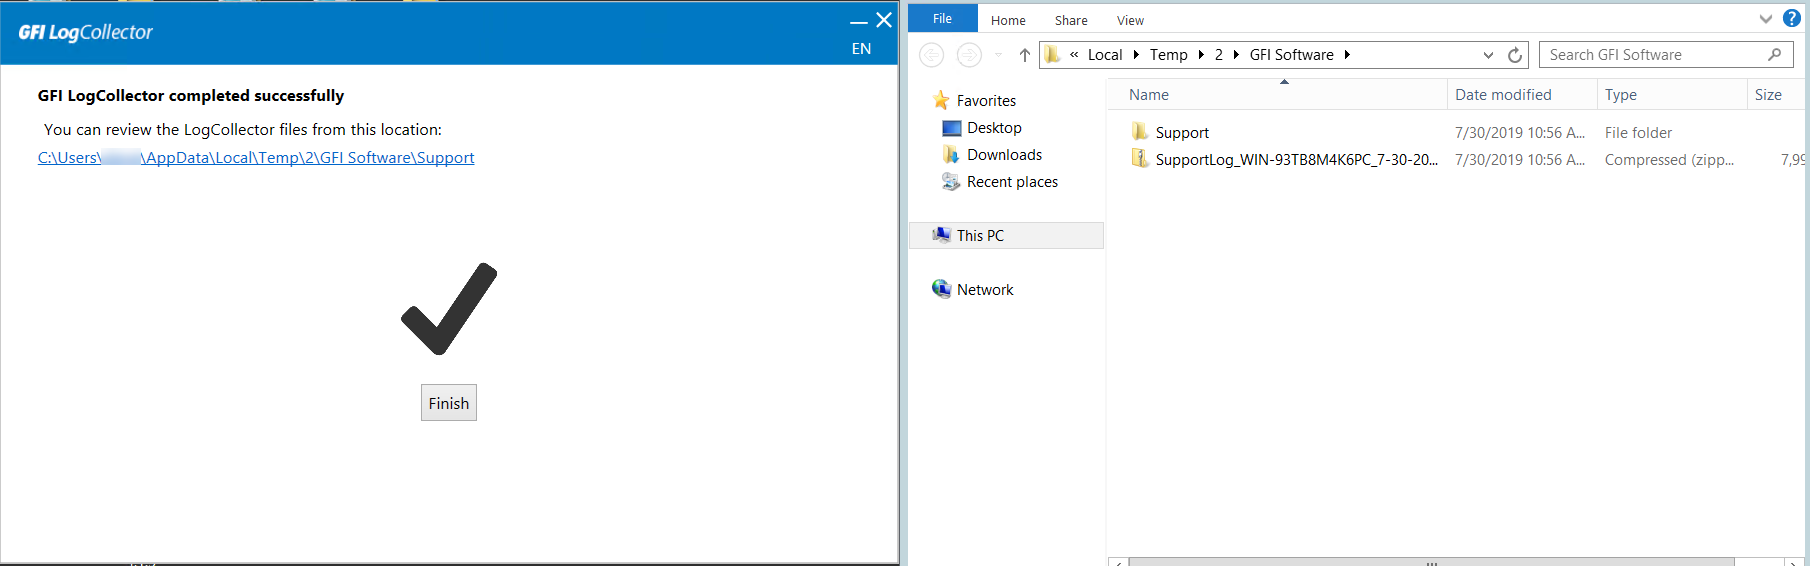
- Once completed, click Finish to close the LogCollector.
- If you selected to have the logs automatically uploaded, they were uploaded and will be reviewed. Please respond to the ticket with the name of the compressed file.
- If you did not select to have the logs automatically uploaded, you need to upload the logs to the FTP site. Proceed to the next section to upload the logs to the FTP site.
Uploading Logs to GFI FTP
- Copy
ftp://ftp.gfisoftware.comto the address bar of Windows Explorer (Not Internet Explorer) and press Enter. - Log in using the credentials below.
User Name:gfi
Password:gfi911cust
- You should now see a blank page.
- The directory with the logs should still be open from step 10. If not, open it again:
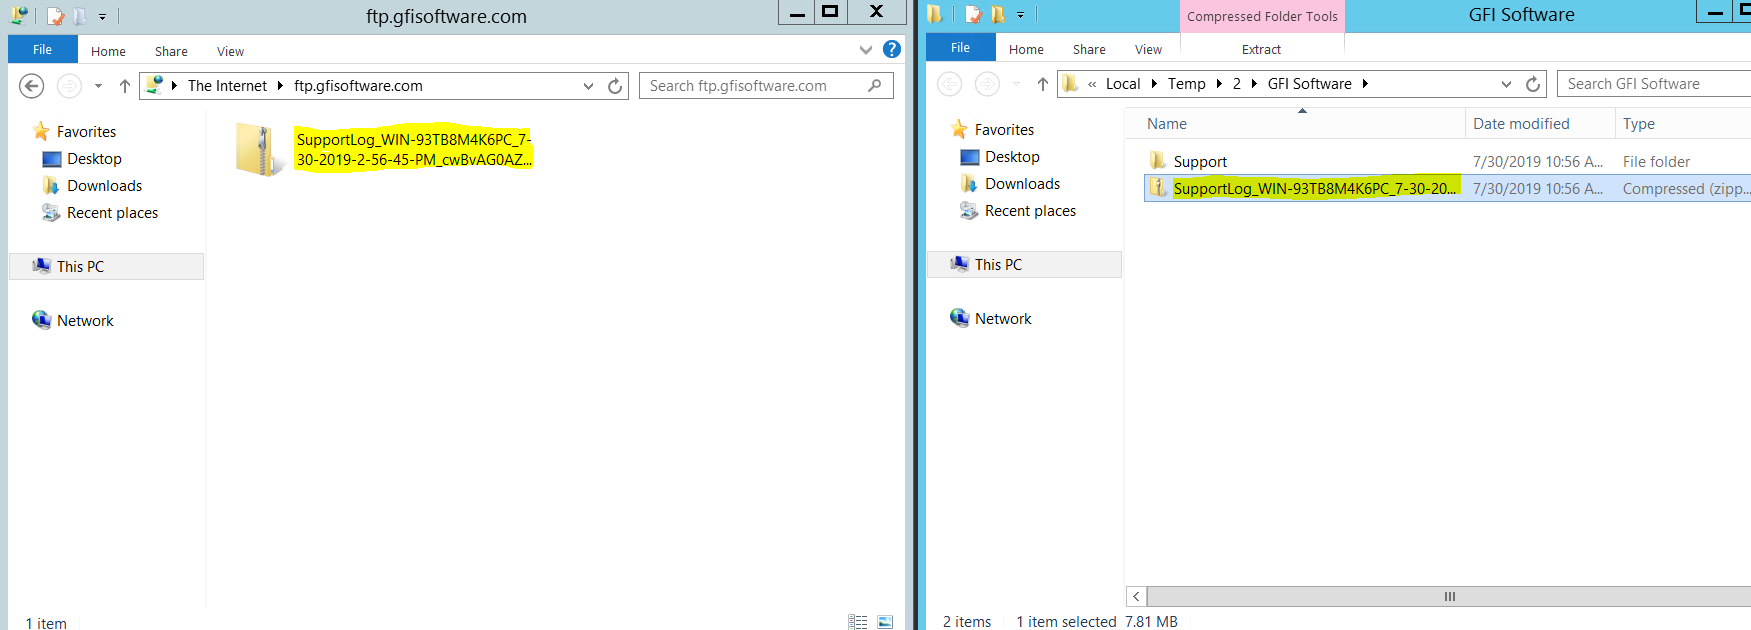
C:\Users\[user name]\AppData\Local\Temp\2\GFI Software - Copy the log file to the window where you opened GFI FTP.
You can drag and drop the file, or right-click on the file and click Copy, and then right-click on the GFI FTP window and click Paste.
Note: Once the upload is finished, and you refresh or reopen the directory - the files are no longer visible. The contents are hidden to keep the files private. - Update your ticket to confirm that the files have been uploaded, and provide the name of the file(s) uploaded.
Note: Please allow up to 24 hours for a thorough review of the submitted logs.


Confirmation
Once the file is copied, you should see it in the GFI FTP window. If you refresh it, the file will not be visible anymore.
Priyanka Bhotika
Comments