Information
Prerequisites
- Before proceeding with the configuration ensure that the device is supported for use with XCAPI by referring to the XCAPI interoperability list.
Environment
- GFI FaxMaker 2013 and later versions.
Process
The configuration process of XCAPI software as FoIP users requires users to perform the following three sub-processes:
- Installing XCAPI on GFI FaxMaker
- Configuring the XCAPI Controller
- Configuring GFI FaxMaker for use with XCAPI
Installing XCAPI on GFI FaxMaker
- Install XCAPI using the GFI FaxMaker Configuration Wizard, either after installation or by launching it manually from Start > GFI FaxMaker > FaxMaker Configuration Wizard.
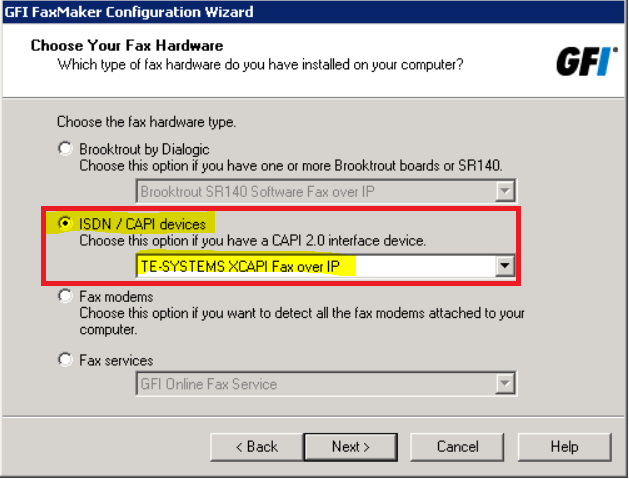
- In the Choose Your Fax Hardware screen of the GFI FaxMaker Configuration Wizard choose ISDN/CAPI devices and select TE-SYSTEMS XCAPI Fax over IP. Click Next to continue.
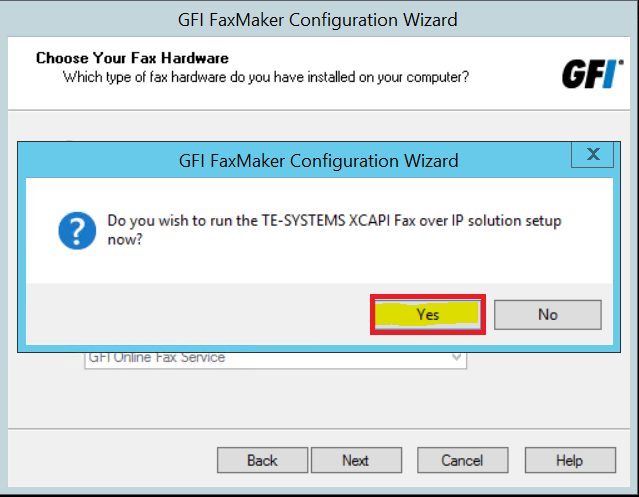
- In the box that appears, click Yes to start the XCAPI installation wizard.
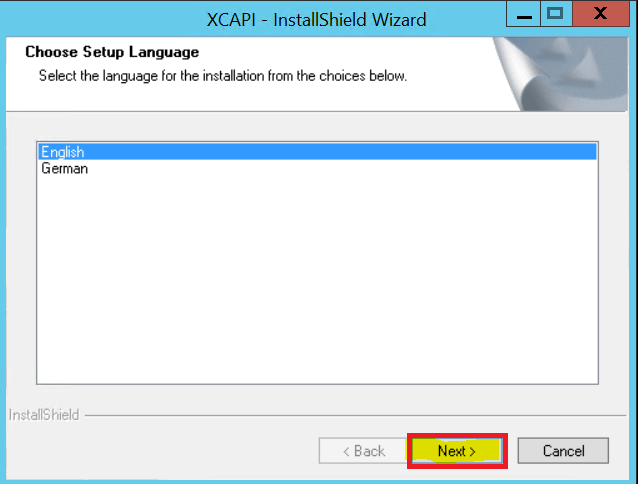
- Select the language you prefer to use when installing XCAPI and click Next.
- The installer will load files and the welcome screen will appear. Click Next to continue.
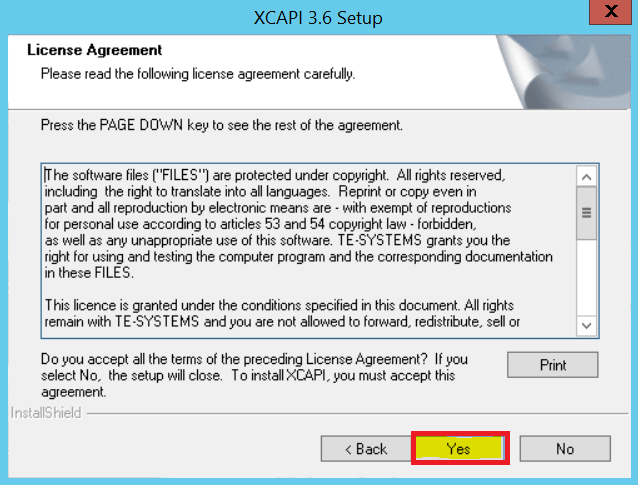
- Click Yes to accept the End User License Agreement.
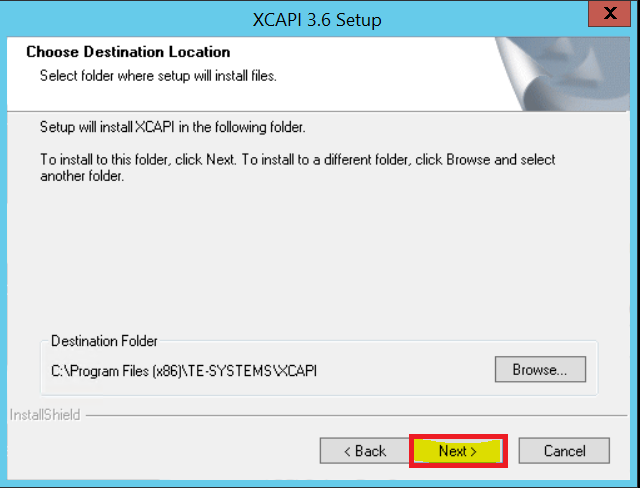
- Click Next to install XCAPI in the default location or Browse to select a different path.
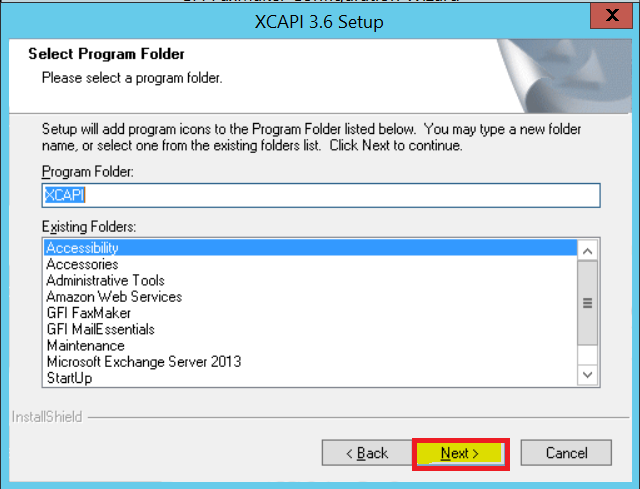
- Specify the start menu program folder for XCAPI. Click Next to start the installation.
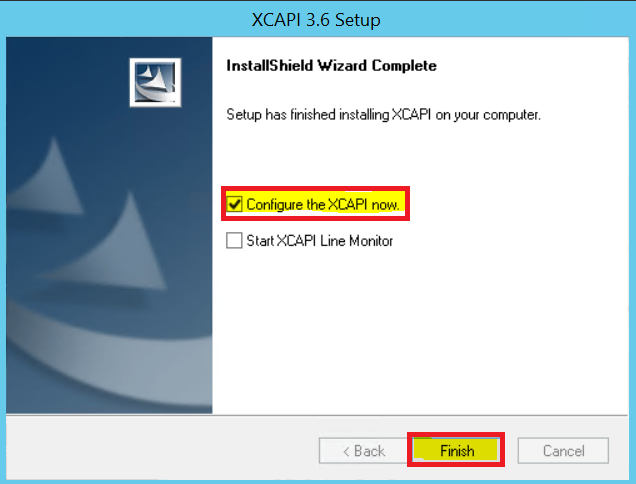
- The installer will install the files. After completion, you will be presented with checkboxes for two items:
- Configure the XCAPI now: allows you to configure the XCAPI controller.
- Start XCAPI Line Monitor: allows you to troubleshoot XCAPI issues.
-
Select the Configure the XCAPI now checkbox to configure XCAPI and select Finish to complete the installation. The XCAPI installation wizard will close and the XCAPI configuration will open as well as the XCAPI Controller Wizard which will assist in setting up a controller for FaxMaker to use.
Configuring the XCAPI controller
Follow these steps to configure the XCAPI controller:
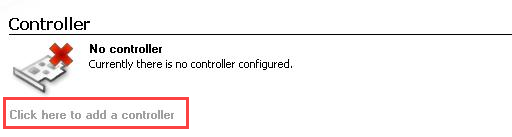
- Open the XCAPI Configuration.
- Click on the "Click here to add a controller" link under the Controller section.
- In the Controller Wizard select "Add Voice-over-IP controller (VoIP)" and click on the 'Next' button.
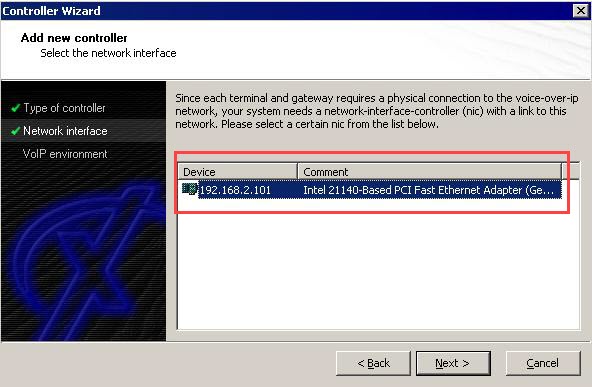
- Select the appropriate Network Interface Card on the GFI FaxMaker machine which can communicate with your VoIP Gateway.
- Add a new controller by selecting your appropriate VoIP gateway which will be used to send and receive faxes. If the list included in XCAPI does not contain your PBX (Private Branch Exchange), consider selecting a compatible or one of the generic environments such as 'H.323 Gateway' or 'SIP'.
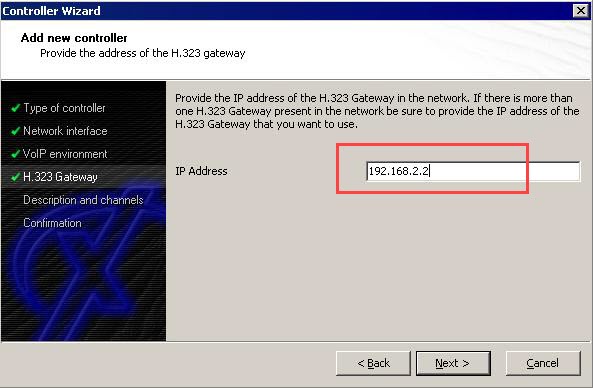
- Depending on the VoIP gateway selected in the previous screen, define its properties. This generally consists of the IP address of the VoIP gateway and authentication settings (if the VoIP gateway requires authentication).
- Define VoIP gateway properties.
- Finally, enter a meaningful description of the newly created controller and decide how many channels should be available for applications such as GFI FaxMaker.
- Click on the 'Next' button and 'Finish' button to complete the wizard. This creates a controller for use by GFI FaxMaker to send and receive faxes.
Additional Information XCAPI Controller Configuration
- GFI FaxMaker FaxServer service and MTA service may need to be restarted when running the configuration wizard.
- XCAPI is pre-packaged with GFI FaxMaker. No additional downloads are required.
- XCAPI is supported in GFI FaxMaker 14.3 Service Release 1 and later.
- Only one CAPI device can be installed on the same system.
- When making any changes in the XCAPI configuration, save the configuration by click on File > Save in the XCAPI configuration
- The XCAPI Diagnostics are located in the 'XCAPI program group'. It contains useful information that can assist you in troubleshooting any issues you have with XCAPI controllers.
- Users may make a fax test using the XCAPI Test Tool to diagnose issues.
- XCAPI licenses are configured from the XCAPI configuration under the Licenses section.
III. Configuring GFI FaxMaker for use with XCAPI
Follow these steps to configure the GFI FaxMaker with XCAPI:
- Open the GFI FaxMaker configuration.
- Click on the Lines / Devices node and select Properties in the right pane.
- Click on "Add.." to add the XCAPI controller.
- In the Add Fax Line window, enter the settings as follows:
- Available fax lines: select any fax line available.
- Device type: ISDN PRI / IP CAPI 2.0 devices.
- Physical line/port: Select any available Controller / Channel
- Under the Device tab, select the ISDN type "TE-SYSTEMS XCAPI".
- Click OK to save your fax lines.
- Restart GFI FaxMaker FaxServer service.
Additional Information for Configuring GFI FaxMaker with XCAPI
- The TE-SYSTEM XCAPI ISDN is only available if either the provided license key in GFI FaxMaker has a valid software maintenance agreement, or if GFI FaxMaker is running in evaluation mode.
Priyanka Bhotika
Comments