Prerequisites
-
Configure your Exchange Web Services (EWS) account in Outlook for Mac.
-
Configure the folder sharing feature via webmail.
-
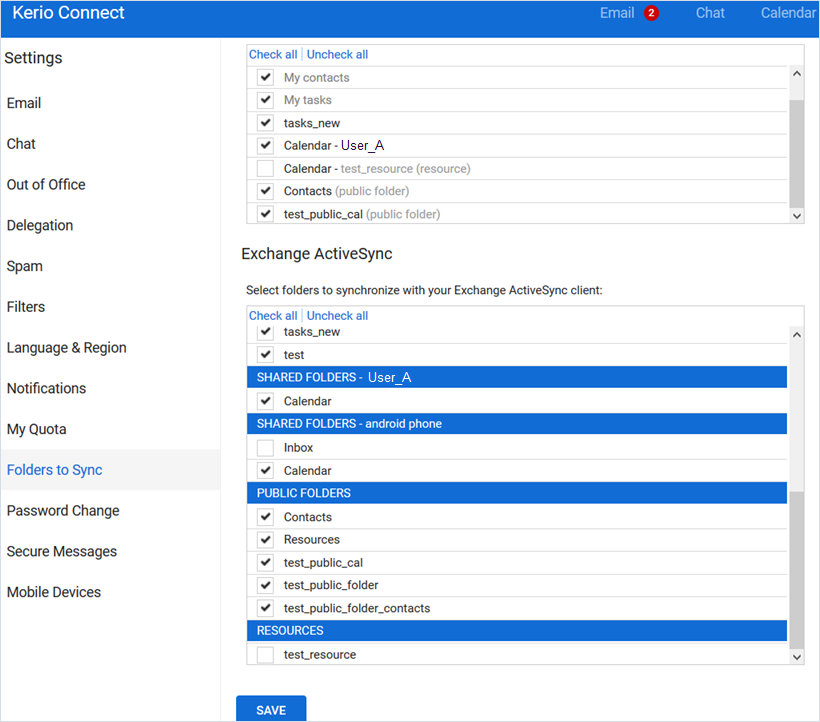
Ensure that the necessary folders are synced.
-
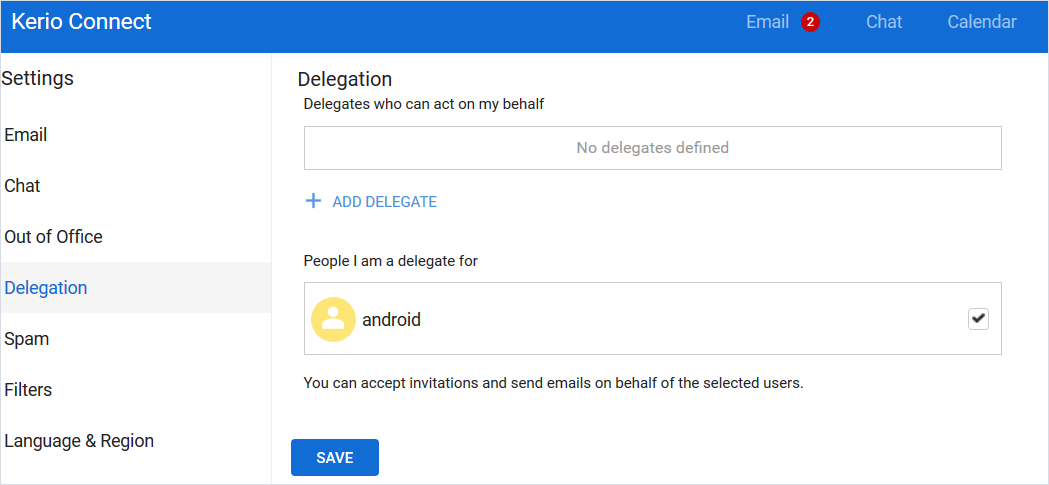
Configure the Delegation settings in webmail/Kerio Connect Client.
Process
Public Folders
-
Open Outlook for Mac and navigate to the Tools tab. Click the Public Folders option:
-
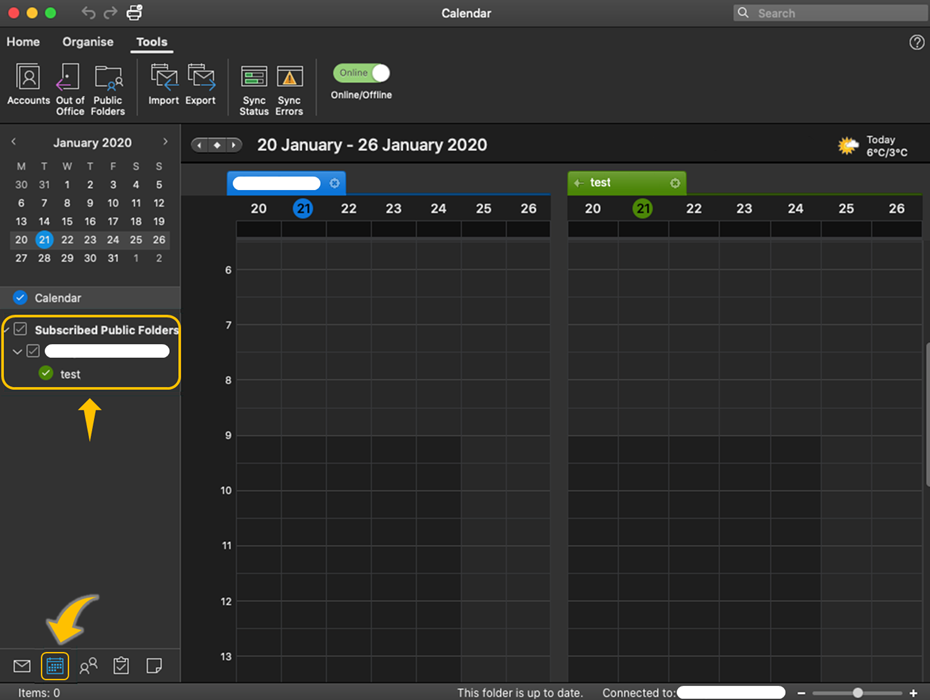
Choose the relevant Public Folder. Click the Subscribe button and close the Folder Browser window:
-
Go to the Calendar tab and enable the Public Calendar Folder option. Complete the same procedure for your contacts' public folders:


Delegation
-
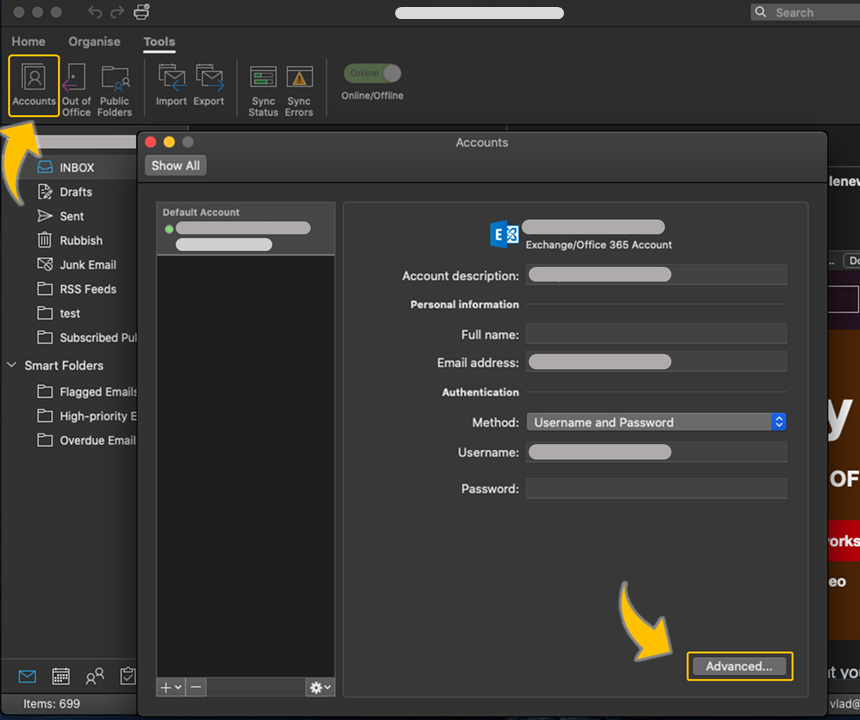
Open the Tools tab and go to Accounts.
-
Choose the relevant account and click the Advanced button:
-
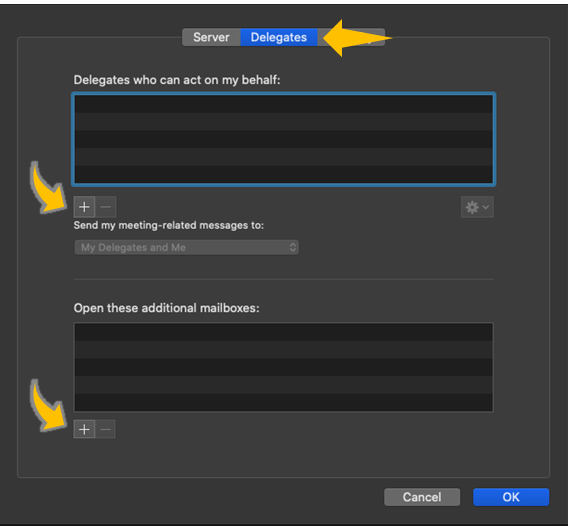
Open the Delegation tab and click the plus (+) sign under the Delegates who can act on my behalf or Open these additional mailboxes section:
-
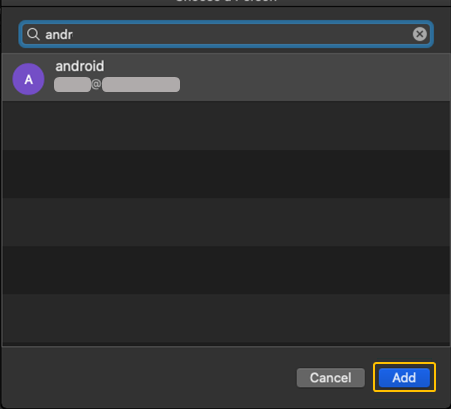
Type the email address of the person whom you are delegating. You may also choose your delegates. Click the Add button.
In this example, you are going to be a delegate for the account/person named android:
-
Click the OK button to close the Delegates settings. Close the accounts window to go back to Outlook's main interface:
-
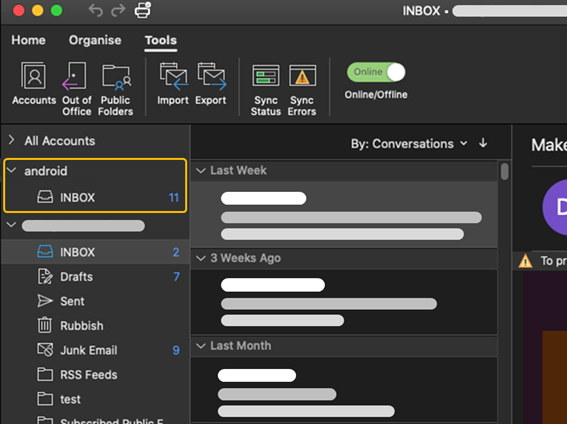
The account of the person whom you are delegating should appear on Outlook's left navigation pane. Click the arrow button beside the delegated account to view the INBOX folder:
-
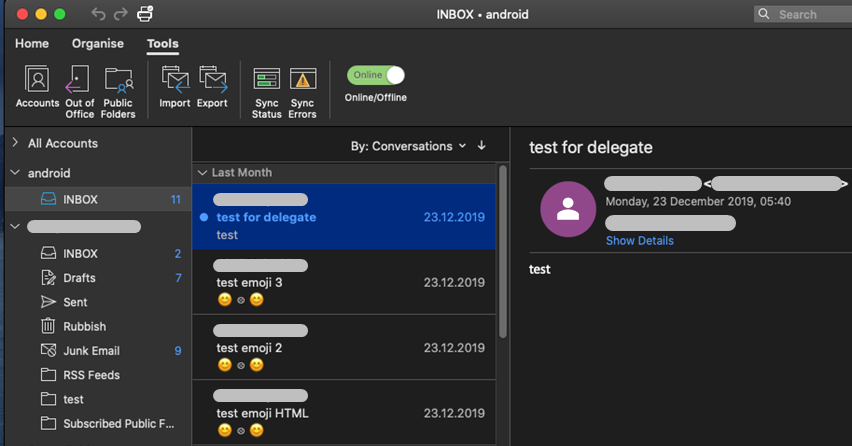
Open the INBOX folder to view the delegated emails:

Confirmation
Your public and delegated folders should now be visible in your Outlook for Mac.
Priyanka Bhotika
Comments