Overview
Kerio Connect Client displays a default logo at the top left corner, as shown in the image below. For version 8.5 and newer, you can:
This article describes the process of changing the logo for your Kerio Connect Client.

Note: If you set both logos, Kerio Connect Client displays the logo configured for the respective domain.
Prerequisites
- Admin access to Kerio Connect Administration is required.
- The logo must be a PNG file. The recommended size is 220x50 pixels.
Process
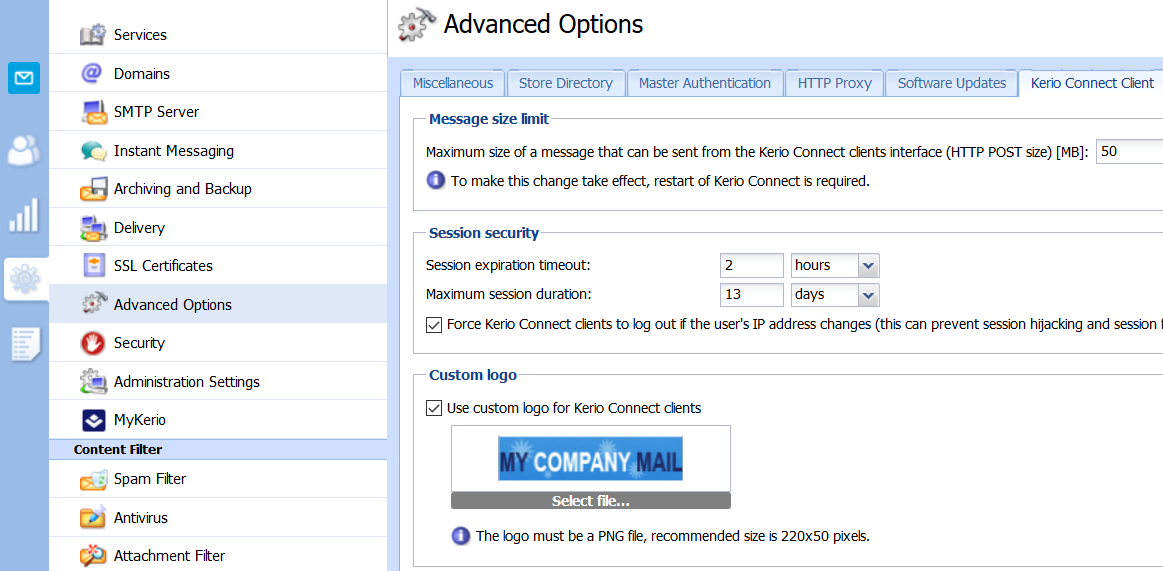
Changing the Logo for All Domains
-
In the administration interface, navigate to Configuration > Advanced Options > Kerio Connect Client.
-
In the Custom logo section, select Use custom logo for Kerio Connect Client.
-
Click Select file and browse to the logo image.
-
Click Apply.
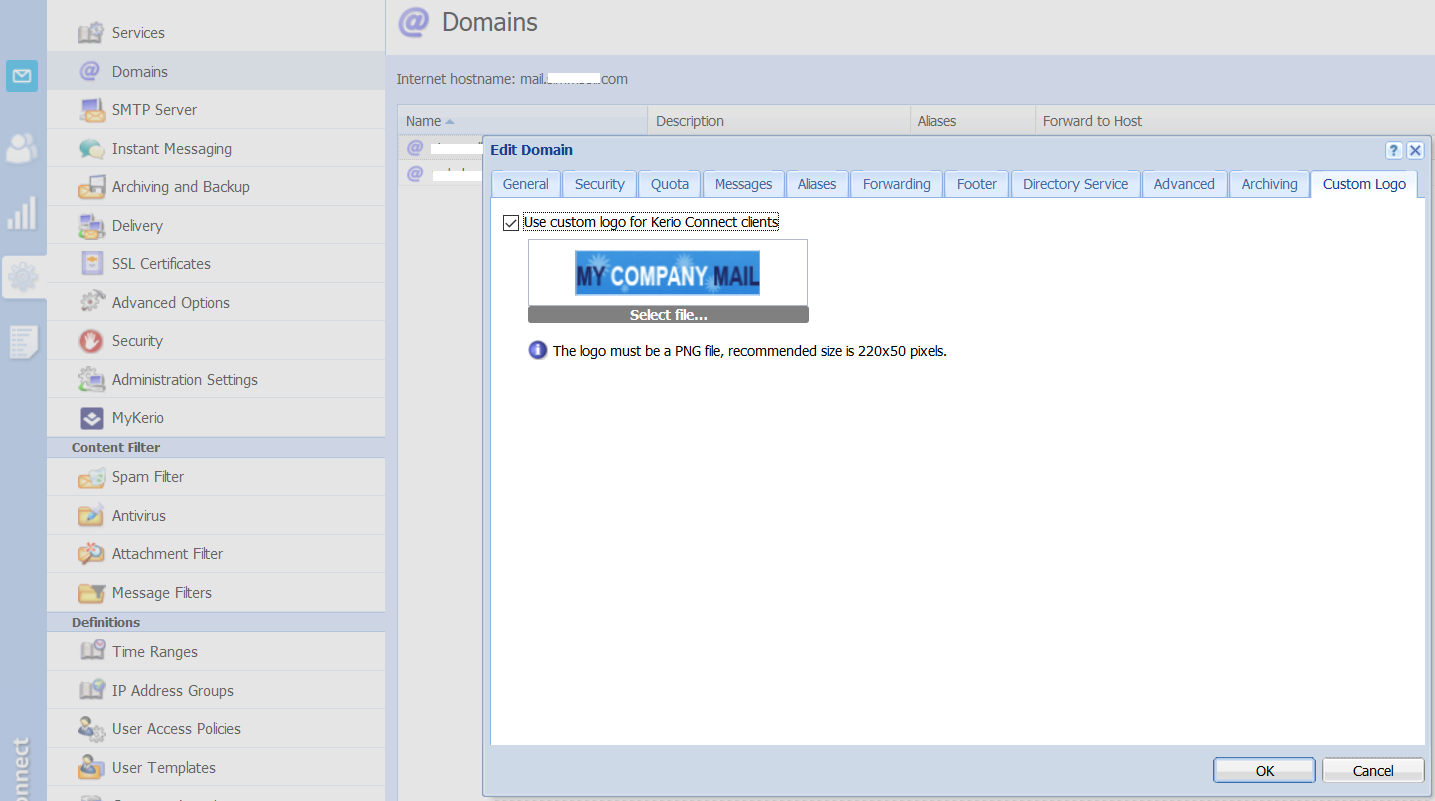
Changing the Logo for Individual Domains
-
In the administration interface, navigate to Configuration > Domains.
-
Double-click the relevant domain.
-
In the Edit Domain window, select the Custom Logo tab.
-
Select the Use custom logo for Kerio Connect Client option.
-
Click Select file and browse to the logo image.
-
Click OK.
Priyanka Bhotika
Comments