Overview
In Kerio Connect Client, you can create and manage calendars to keep track of all professional and personal events.
All calendars refresh automatically every time you or any other user makes changes to any events. This article provides the steps needed to use calendars in Kerio Connect Client properly.
Process
- Creating Calendars
- Creating Events
- Recurring Events
- Creating Private Events
- Creating Events From Email Messages
- Creating and Displaying Public Calendars
- Accepting Invitations
- Selecting Viewing Mode
- Printing Calendars
Creating Calendars
By default, you have one calendar in Kerio Connect Client.
To create additional calendars:
-
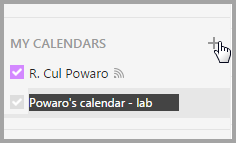
In the Kerio Connect Client, go to the Calendars section.
-
Click the plus sign next to the My Calendars label.
-
Enter a name for the new calendar.
-
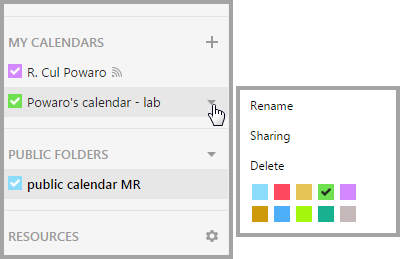
Click the arrow next to the calendar name to:
-
Rename, share, or delete the calendar.
-
Choose the color Kerio Connect Client uses to display events in this calendar.
-
Creating Events
To create events:
-
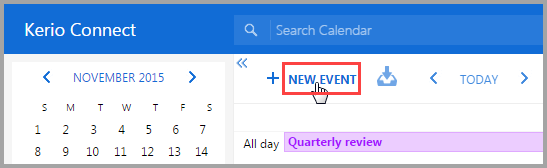
In Kerio Connect Client, go to the Calendars section.
-
In the calendar grid, find the date you want to create an event for. Double-click the grid, drag your mouse over the calendar grid, or click New event.
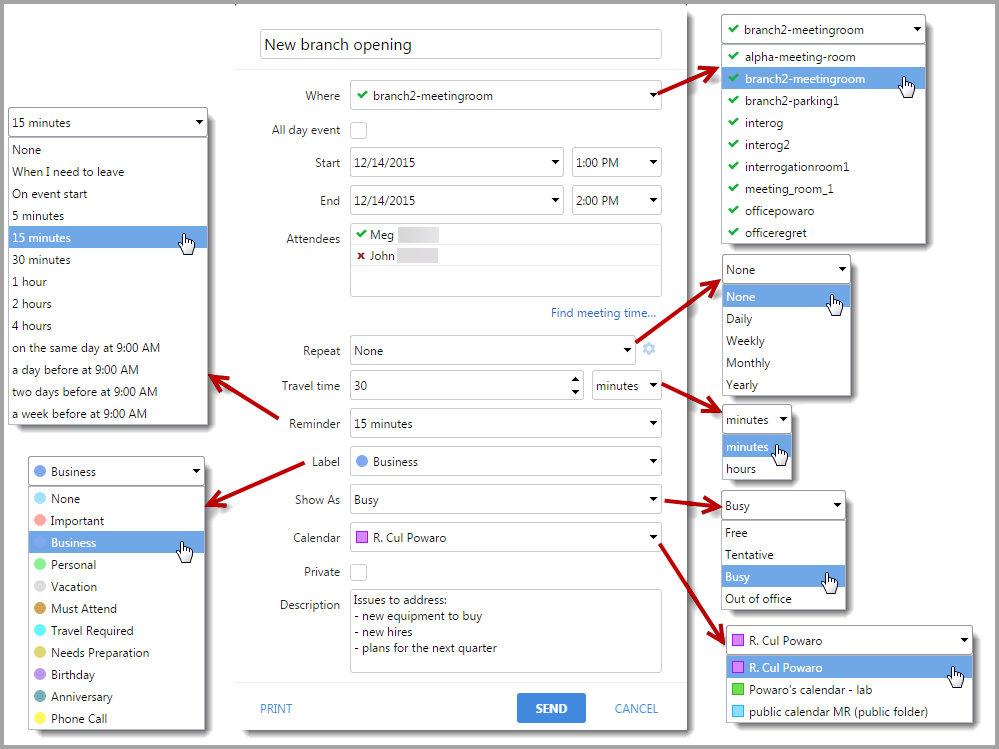
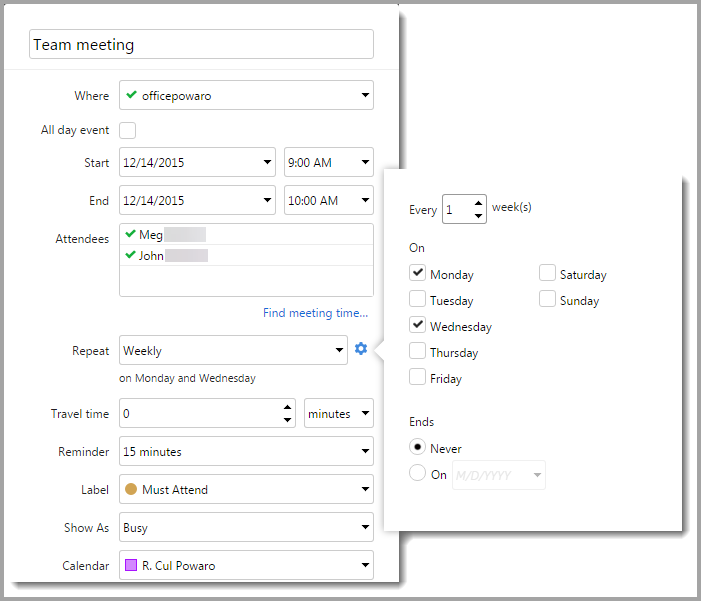
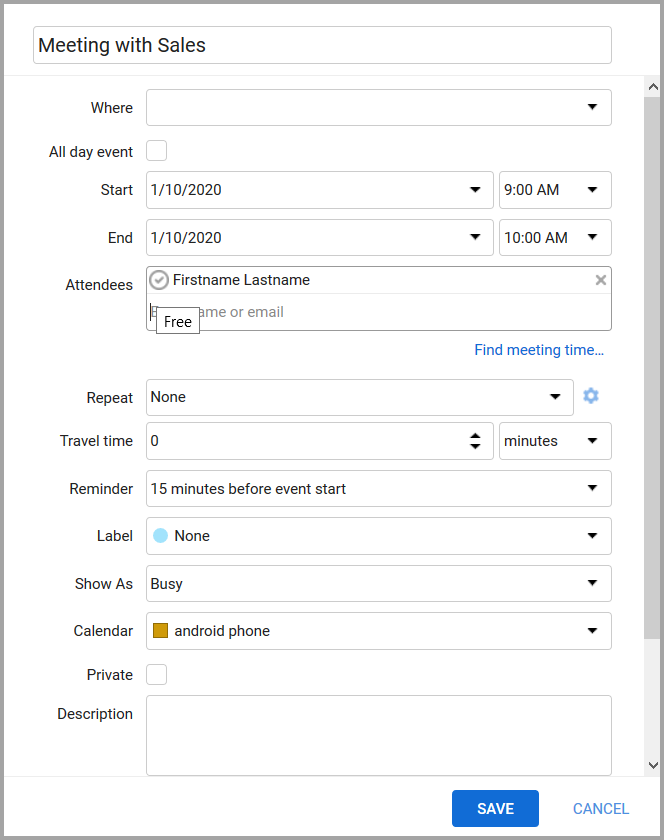
- In the New Event window, you can:
- Enter the name of the event.
- Specify where the meeting takes place.
- Specify the date and time of the event.
- Invite attendees (to check their calendars for availability, click Find meeting time).
- Set up a recurring event.
- Specify the time required for traveling to the event location.
- Set a reminder time for the event.
- Label the event.
- Choose a calendar to display the event in (this must be a calendar you created or a calendar you are a delegate of).
- Mark the event as private.
- Click Send.
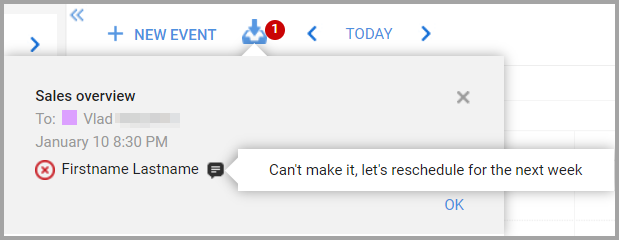
When someone accepts or declines an invitation, Kerio Connect displays the information in the notification area located on the top.
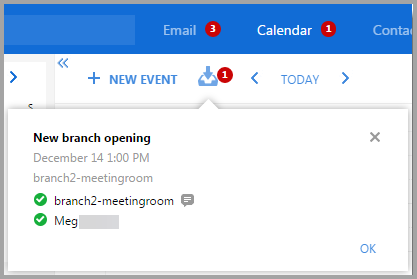
If there were a specific Note/Reply added, it would appear in the chatbox. Click on it to view the note.
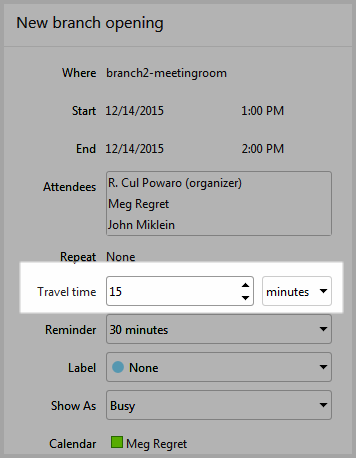
Specifying Travel Time
If you need some time to travel to an event, you can specify the time for individual events:
-
Double-click an event.
-
Specify the time in the Travel time section.
-
Save the event.
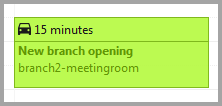
Confirmation: Kerio Connect Client then displays the time in your calendar.
Travel time settings are specific for each user:
- You cannot set travel time for other users.
- Other users' settings are not displayed in your calendar.
Recurring Events
If you have a weekly meeting, you can set up a recurring event in Kerio Connect Client.
To create a recurring event:
-
Create a new event, as previously described.
-
Choose the Repeat frequency from the drop-down menu.
-
Click the cogwheel icon to the right of Repeat.
-
Based on your choice, you can set detailed options for the recurring event.
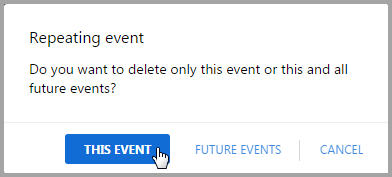
Changing Recurring Events
You can change a single event in the series or all future events in the series.
-
Double-click a recurring event.
-
Change the event and click Save.
-
Click This Event to change a single event, or click Future Events to change also all future events.
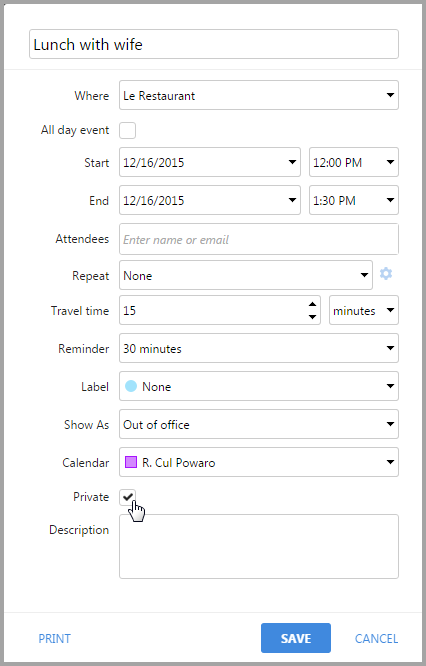
Creating Private Events
If you mark an event as private, the details of the event stay hidden to users you share the calendar with and to delegates. They can only see your free/busy information.
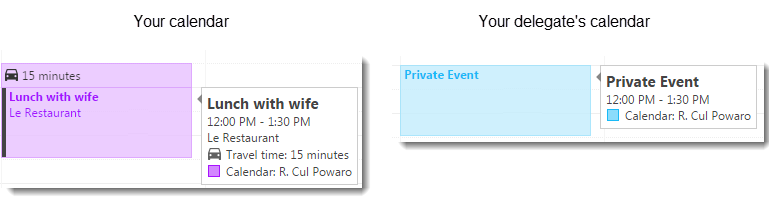
To mark an event as private, check the Private option in the event settings.
How the event looks in your calendar and in the calendar of your delegate:
Creating Events From Email Messages
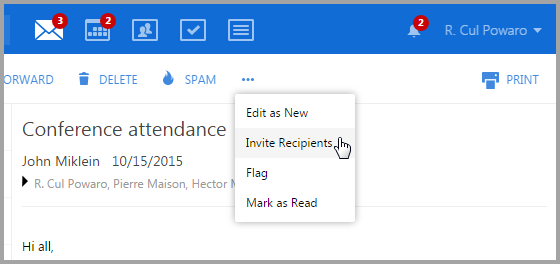
In the Emails section, you can create an event and invite all the recipients and senders of a message.
-
In the Emails section, choose a message and click More > Invite Recipients. This takes you to the Calendar section.
-
Edit the event as previously described. All the recipients and senders from the messages are included as attendees.
-
Save the event.
Creating and Displaying Public Calendars
Any user can display public calendars. To create public calendars, you must be a public folder administrator.
-
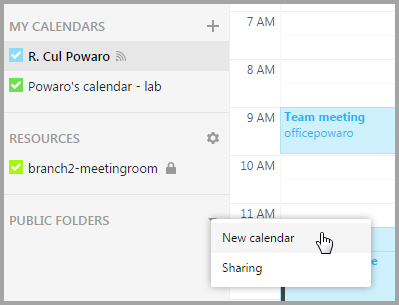
In your Kerio Connect Client, go to the Calendars section.
-
Click the arrow next to Public Folders and choose New calendar.
-
Enter the name for the calendar.
If a public calendar is available, it is automatically displayed in the Calendar section of all users under Public Folders.
Accepting Invitations
When someone invites you to a meeting, Kerio Connect Client displays a number on the Calendar icon or notification. When you receive an invitation:
-
In your Kerio Connect Client, go to the Calendars section.
-
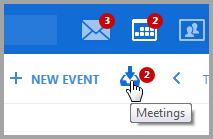
Click the Meetings icon.
-
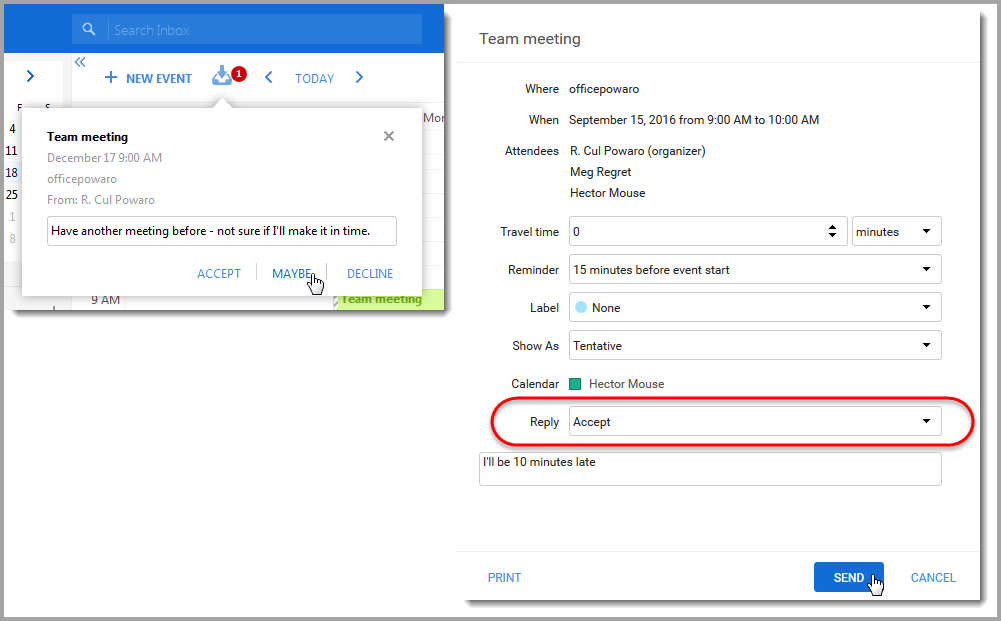
(Optional) Send a response to the sender.
-
Click Accept, Maybe, or Decline.
Note: To change a decision, reopen the event, change the Reply status, write a comment if needed, and click Send.
Attendees' Statuses
There are 6 main statuses of the person's availability. They are divided into Pre-meeting and Post-Confirmation statuses.
Pre-meeting statuses:
-
Free - shows that the person is available for the meeting in a specified time period.
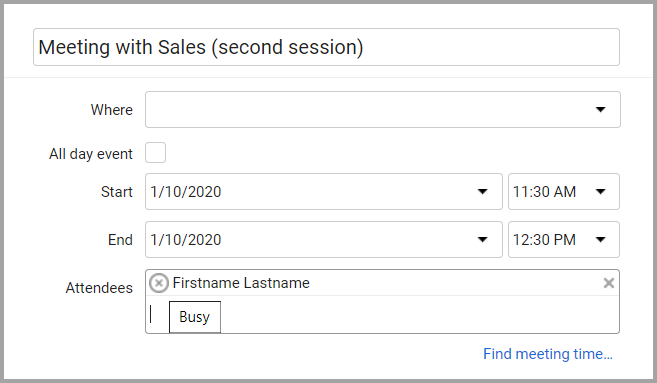
-
Busy - the person is not available during the specified time period. Usually, it indicates that there is another meeting scheduled.
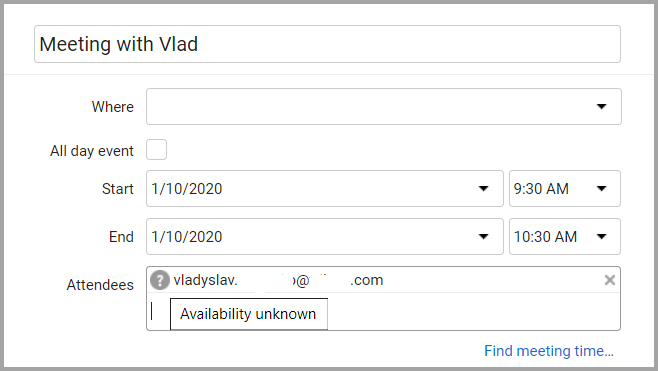
-
Availability unknown - Free/Busy data cannot be transferred to Kerio Connect. Usually, it indicates the invitee is outside of the Kerio Connect domain (i.e., Gmail or Outlook mailbox).
Post-confirmation statuses:
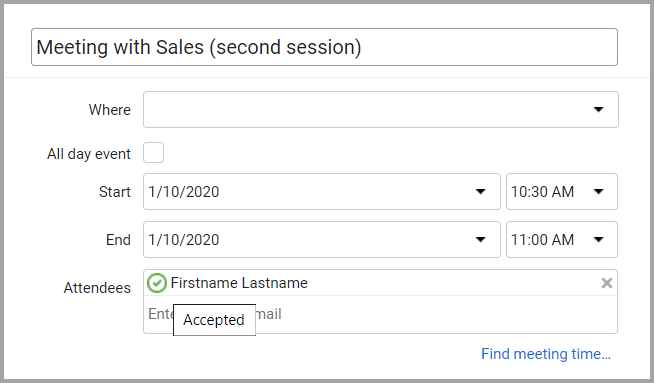
-
Accepted - the person has agreed to have a meeting in the specified time frame.
-
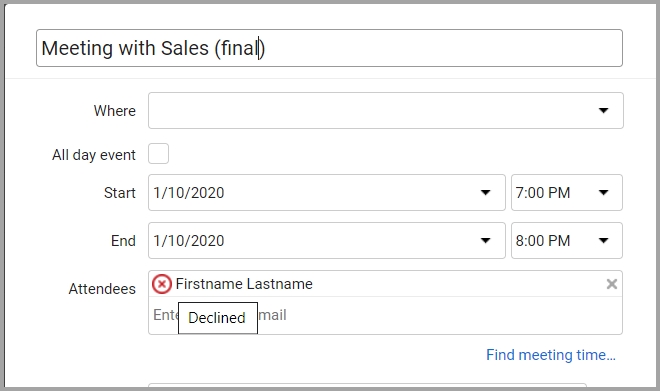
Declined - the person has refused to attend the meeting.
-
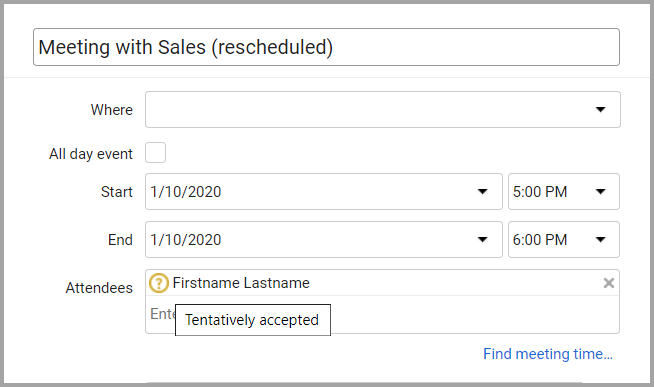
Tentatively accepted - the person is not sure if he or she will be able to attend the meeting (the Maybe option).
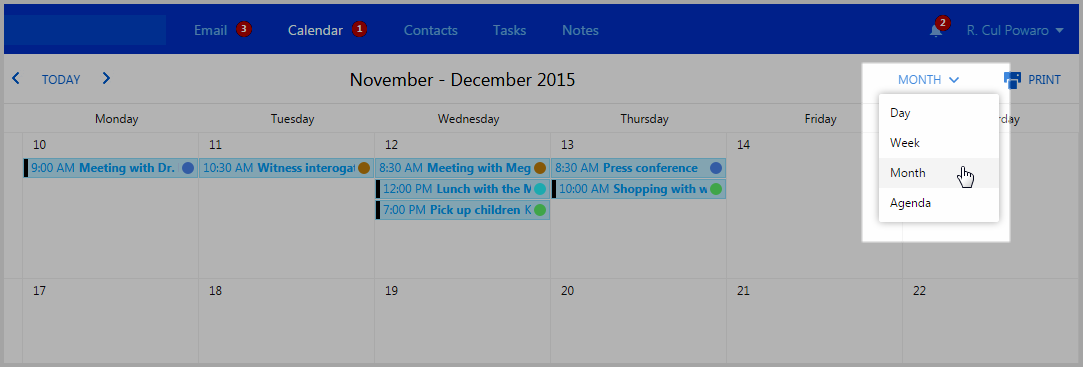
Selecting Viewing Mode
Kerio Connect Client calendars can be reviewed in different ways:
- Day view displays a single day.
- Week view displays a whole week. The starting day is based on your selection.
- Month view displays 5 weeks in your calendar. In Kerio Connect Client 8.5.3 and older, you can choose the Overview mode, which displays from two to six weeks in your calendar. You can use the plus and minus icons at the bottom-left to add or remove weeks from the view.
- Agenda displays a list of all events from the day you choose onwards.
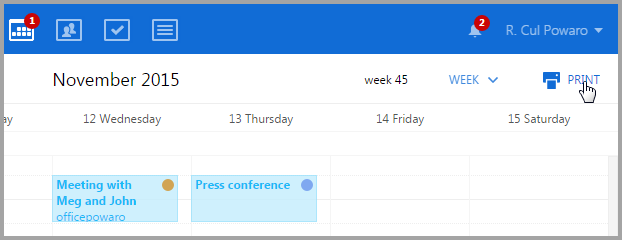
Printing Calendars
You can print any calendar in any viewing mode. To print your calendar:
- Click Print in the top right corner.
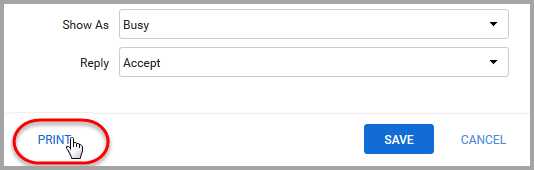
- You can also print an event. Double-click an event and click the Print at the bottom.
You print calendars using the standard printing dialog in your browser. To print the different calendar colors and images, enable printing background graphics (colors and images) in your browser.
Related Articles
Priyanka Bhotika
Comments