Overview
This article provides information on how to setup Kerio Control IPsec VPN configuration on iOS and Android mobile devices.
Preconditions
- mobile devices should be joined to the local network (Wifi) or Kerio Control should have valid Public IP address with specific Traffic Rules configured.
- default allow VPN Services traffic rule is enabled
- VPN settings in Kerio Control Webadmin:
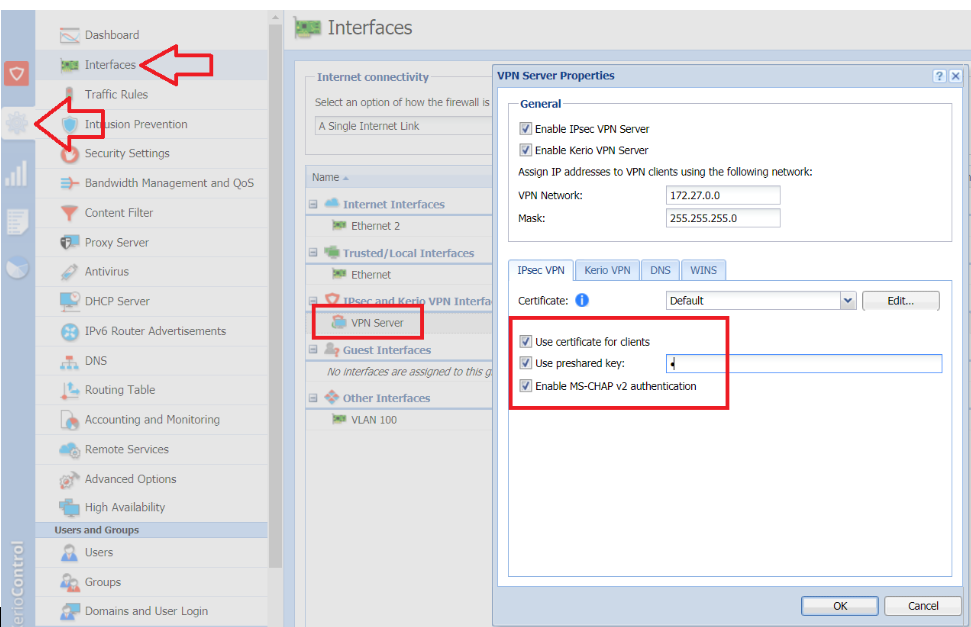
- open Configuration -> Interfaces -> double-click VPN server
-
Enable Use certificate for clients, Use preshared key and Enable MS-CHAP v2 authentication. Click OK -> Apply. For more information, please refer to Configuring IPsec VPN Server.
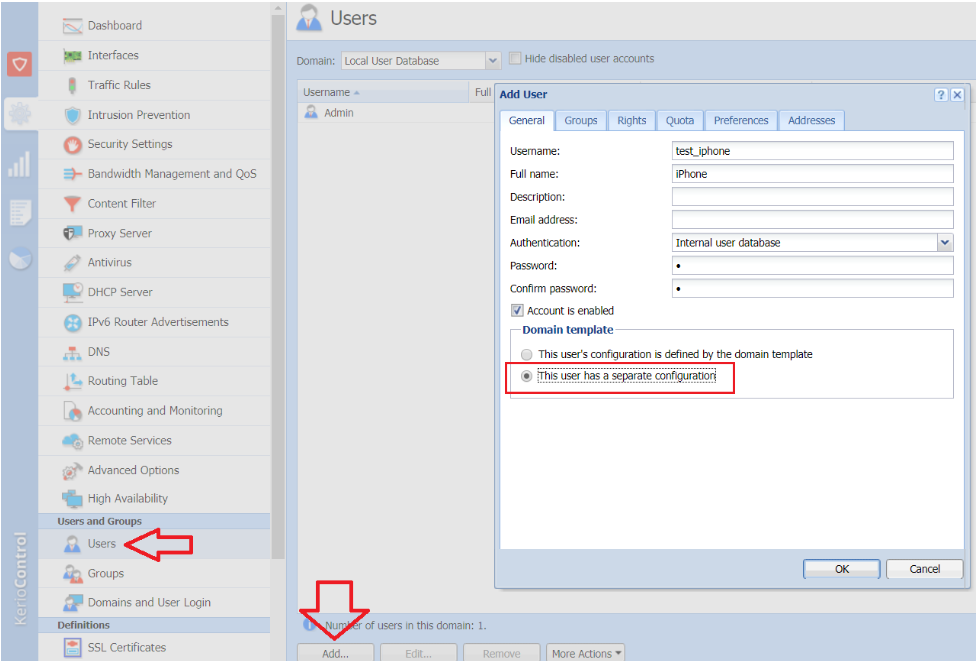
- Open Configuration -> Users
- Click Add -> Fill out the necessary information. Make sure to enable ‘This user has a separate configuration’
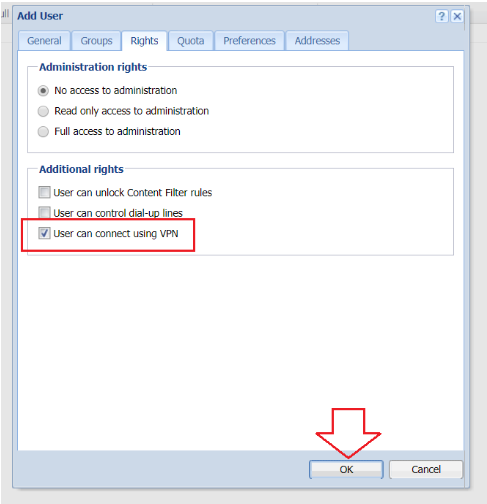
- Open Rights tab -> enable ‘User can connect using VPN’ -> click OK. For more information please refer to Managing user accounts in Kerio Control.

Solution
iOS settings
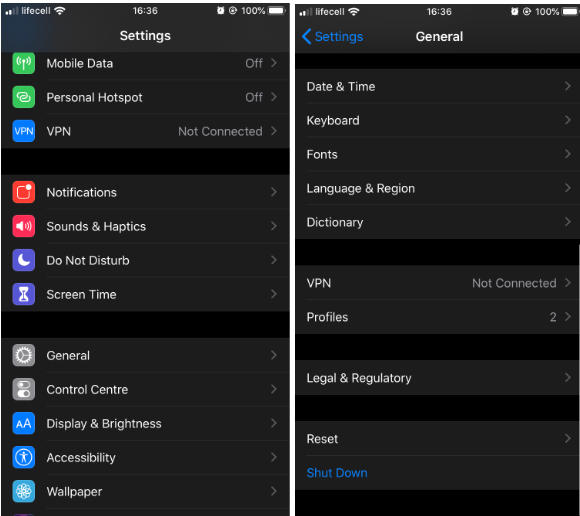
- Open Settings.
- Scroll down and click General. Then scroll down and click VPN.
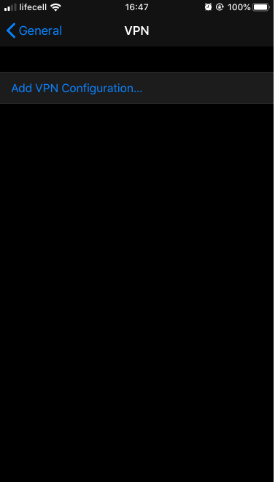
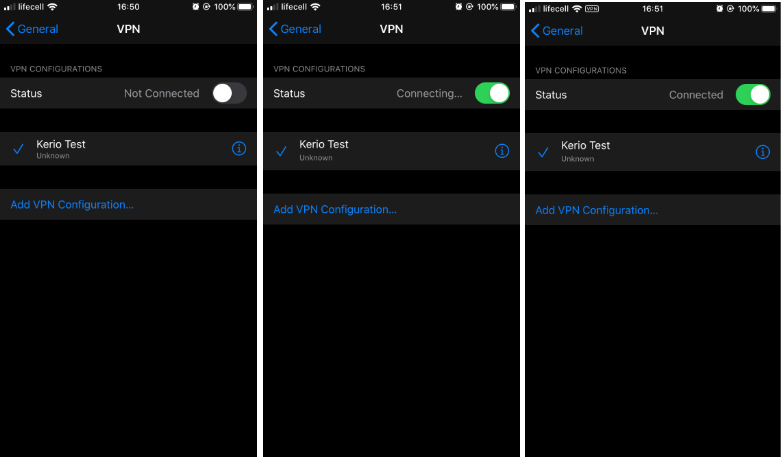
- Tap Add VPN configuration.
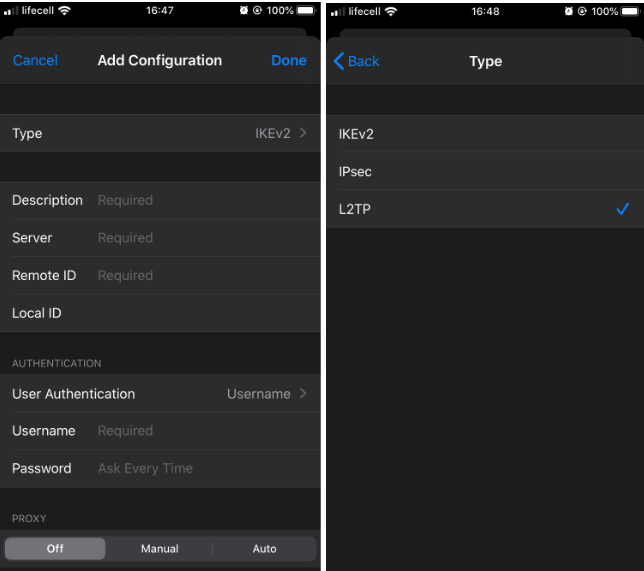
- Change Type to L2TP.
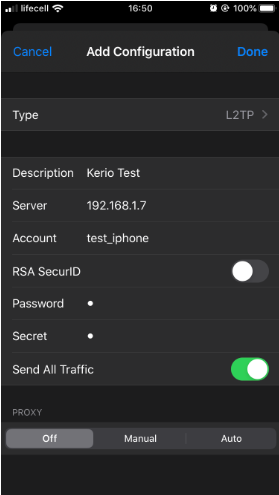
- Fill in all required information including Username/Password and Secret (Preshared Key).
- By default, VPN will not be connected automatically. Tap Status switch to establish a VPN connection. The status will change from Connecting to Connected.
Android settings
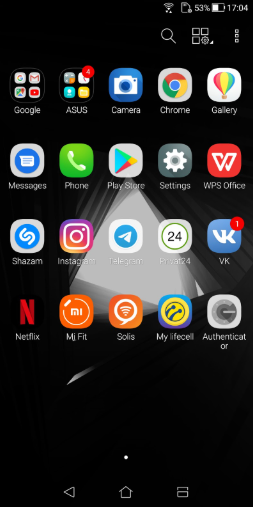
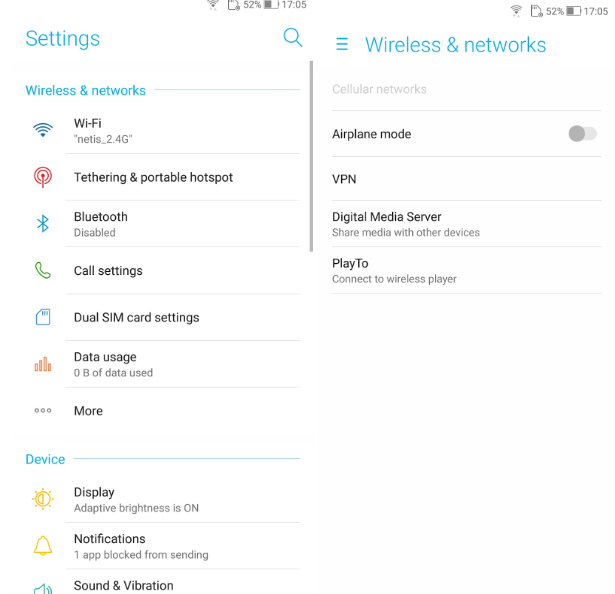
- Open Settings.
- Tap More -> VPN in the Wireless&Network section.
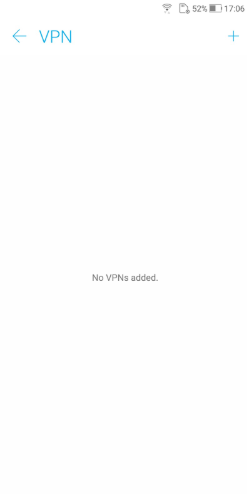
- Tap “+” in the right-up corner to add a new configuration profile.
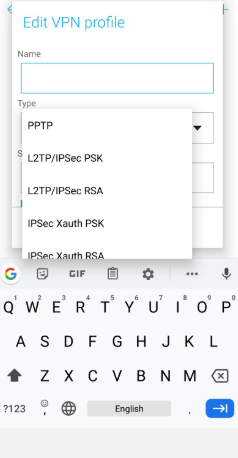
- Fill in Name of VPN.
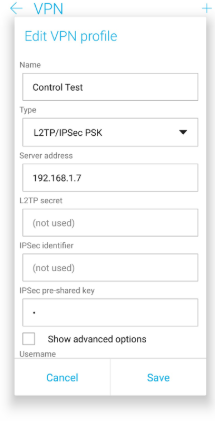
- Choose L2TP/IPSec PSK in the type field.
- Fill in Server Address.
- Skip LT2P secret and IPSec Identifier.
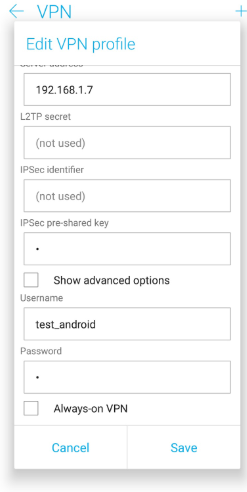
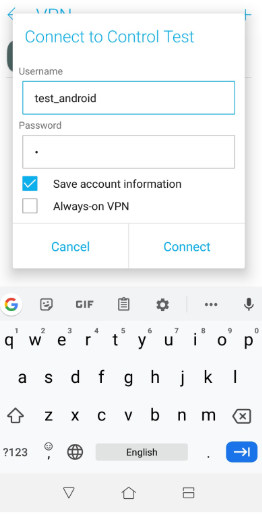
- Fill in your IPSec pre-shared key, username and password.
- Leave disabled Always-on VPN.
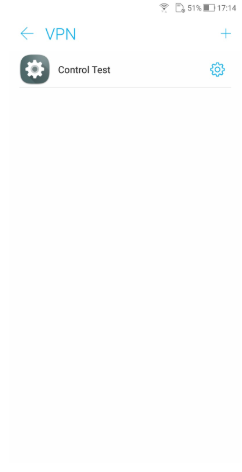
- Tap Save. Once it’s done, the VPN profile will be displayed.
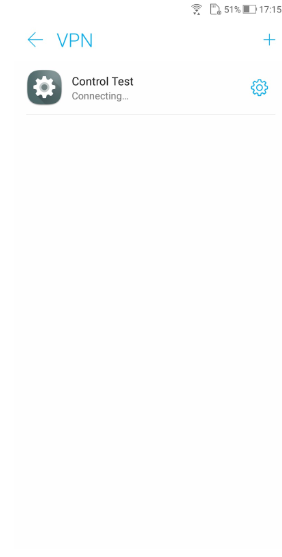
- Tap on your VPN configuration to connect. Tap Connect to confirm.
- While establishing a connection, you will see the Connecting status.
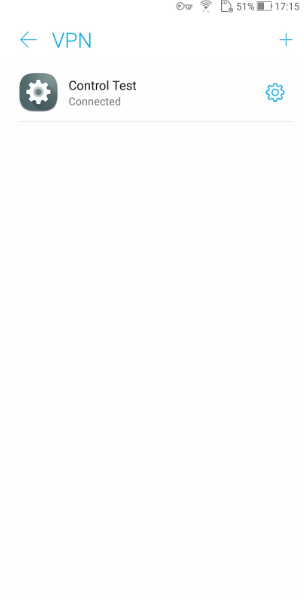
- Once the VPN is connected, the status will change to Connected.
Verification
Open Kerio Control Webadmin -> Status -> VPN clients to double-check the status of the mobile device. The status should be shown as Connected. For more information, please refer to Monitoring VPN Clients.
Priyanka Bhotika
Comments