Overview
This article shares the process of extracting the EventsManager2013.msi and DLibInstaller.msi files from the GFI EventsManager installer file. The same process of extraction also applies to all previous versions of GFI EventsManager.
Process
Follow these steps:
- Download the EventsManager 2013 installer file.
- Run the installer.
-
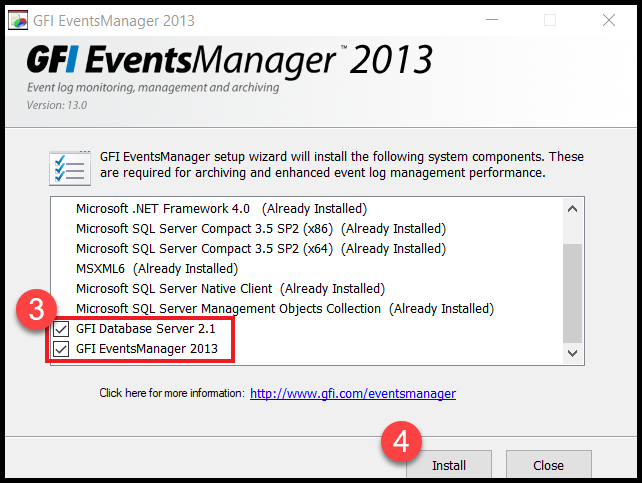
In the installer dialog box, scroll down and select the following options:
- GFI Database Server 2.1
- GFI EventsManager 2013
- Click Install.
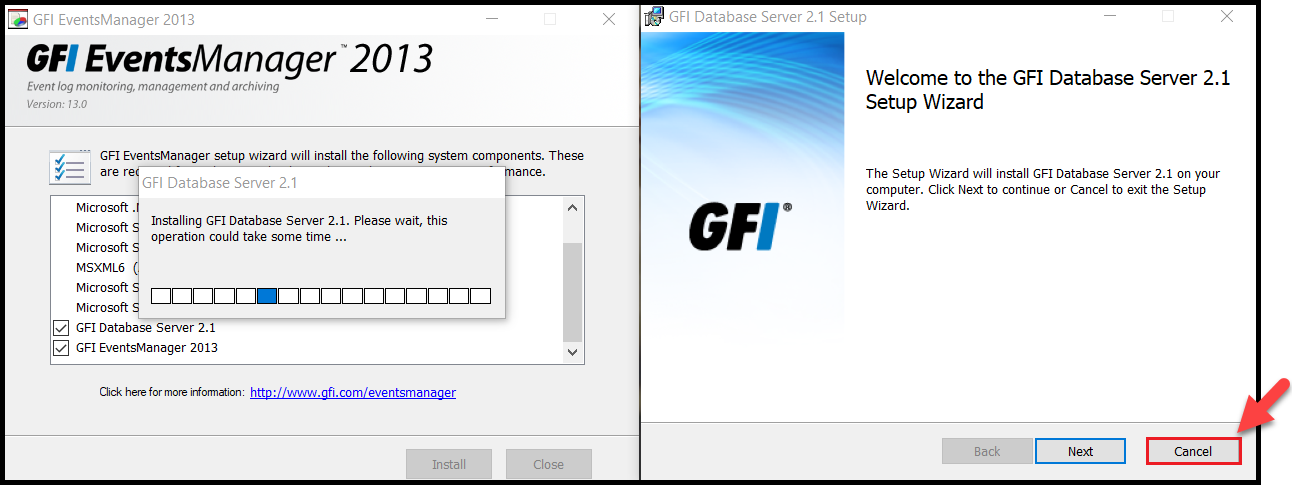
- Click Cancel on the dialog box for the Database Server 2.1 installation.
- Click Yes on the pop-up message that confirms the cancellation of the installation.
- A new pop-up message appears letting you know that the installation was interrupted. Click Finish to close this message.
- Another pop-up message appears for the EventsManager 2013 installer. Press the Windows key + R to go to the run dialogue box.
-
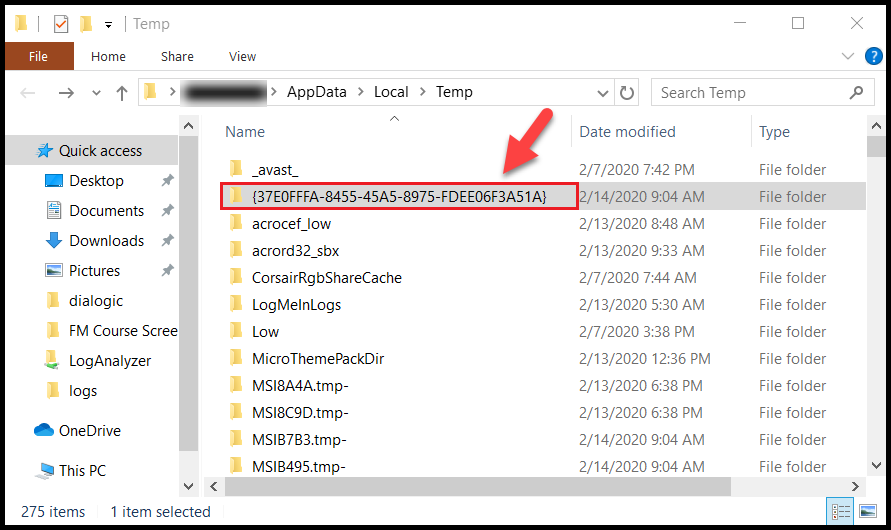
Type
%temp%and click OK. TheAppData\Local\Tempfolder opens where you see a folder with an alphanumeric title, as seen in the example screenshot below.
Note: The folder name is different each time. If you have run the installer multiple times, there will be more than one such folders. Review all folders until you find the correct one.
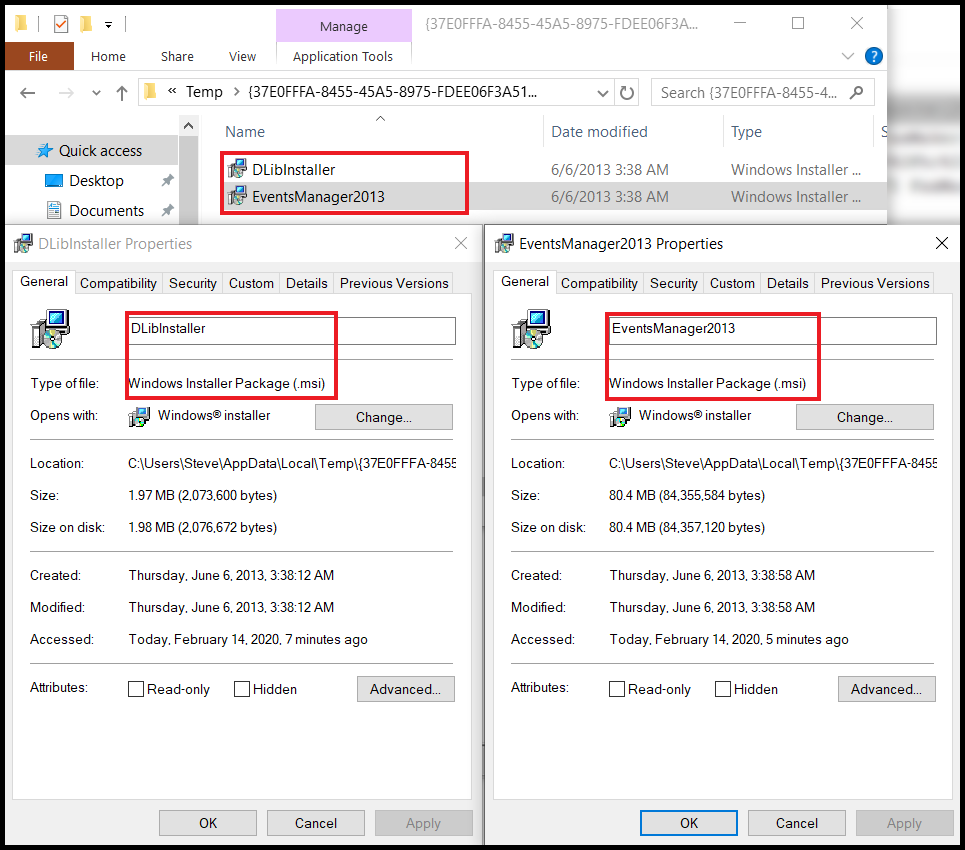
- Verify that the temporary folder created contains the following files:
- EventsManager2013.msi
-
DLibInstaller.msi
Note: Right-click on each file and double-check its Properties, as seen in the screenshot below.
- Copy these .msi files to the desired location.
- Cancel the installer that is currently running.
Priyanka Bhotika
Comments