Overview
Kerio Connect Client is a native desktop application for managing emails, chat messages, calendars, contacts, tasks, and notes.
This article guides you on how to install and configure the Kerio Connect Client on macOS.
Process
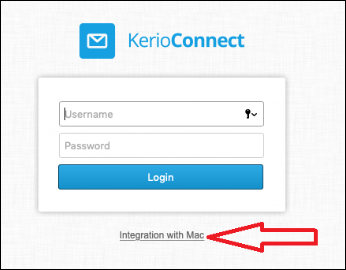
- Open a Safari browser and type your server name address and /webmail/login.
Example Link:https://mail.<domain name>/webmail/login - Click Integration with Mac.
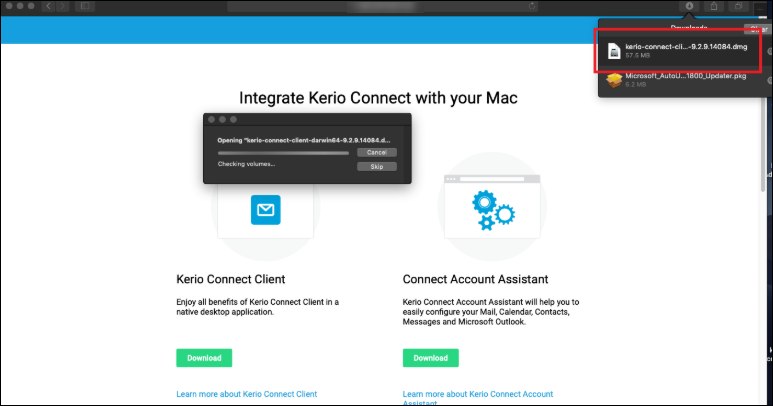
- Click Download under Kerio Connect Client.

-
Open the Downloads folder and double-click the Kerio Connect installer file .dmg format to install it.
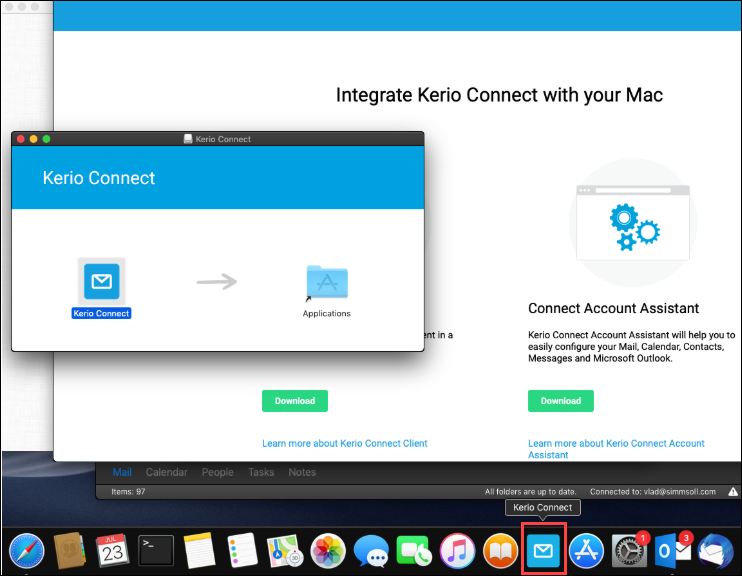
- Drag and drop the Kerio Connect icon to the Dock.
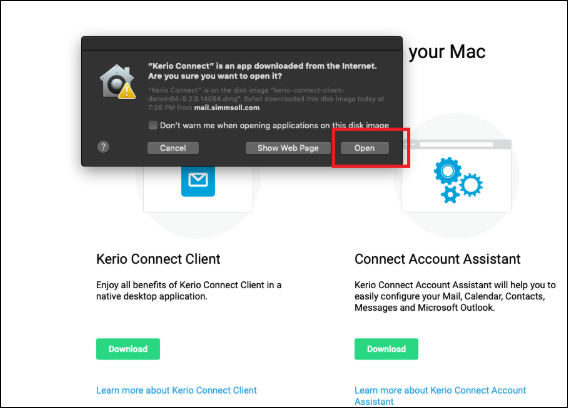
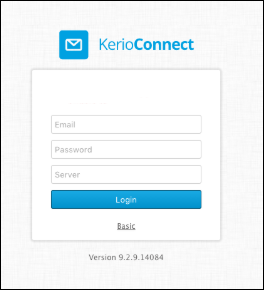
- Click on the Kerio Connect Client icon. If you see a warning pop-up message, just click Open to access the Kerio Connect login.
- Enter your complete username
user@domain.comand password.
Click Advanced if the server does not have Autodiscovery configured. Then type the server name or IP address in the Server field.
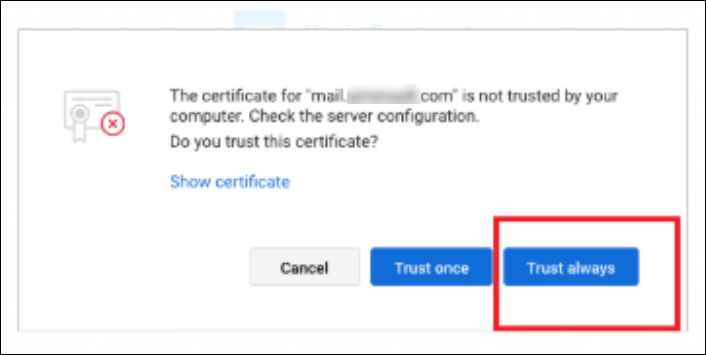
- Click Trust always if SSL certificate is issued by your Local Kerio Connect and not by trusted Certification Authority.
Confirmation
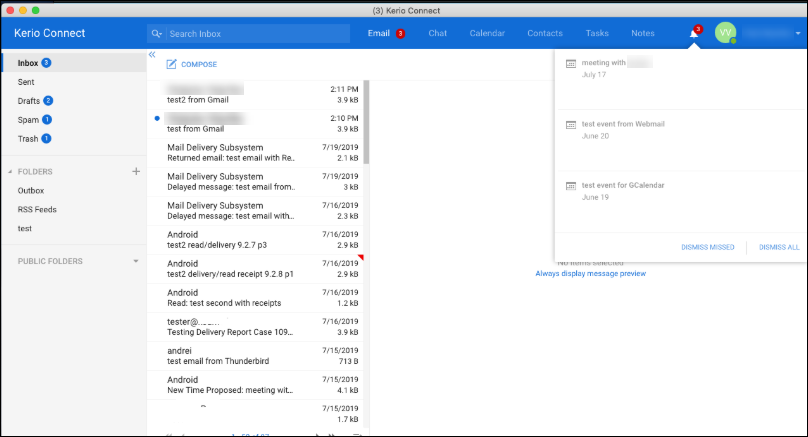
All your emails should now be displayed in Kerio Connect Client in macOS and are synched with the Webmail.
Priyanka Bhotika
Comments