Process
The following instructions describe how to send emails in Kerio Connect.
-
In the Kerio Connect Client Email section, click Compose above the list of incoming messages. This opens an editing window in your Kerio Connect Client.
-
To open the message in a new window, click on the
button.
-
If you have multiple addresses defined, select from which address you want to send the message from.
-
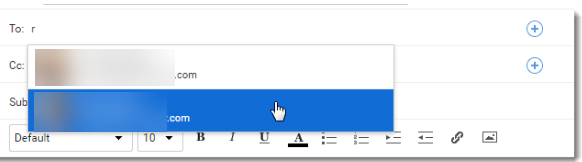
In the To and Cc text boxes, enter the email addresses of recipients. As you type, Kerio Connect Client offers you matching addresses from your contacts.
Also, you can click on the plus icon to select email addresses from your contacts.
Note: To protect the privacy of some recipients, you can hide their email addresses from other recipients by using the Bcc field: click Options > Bcc and type the email addresses in the Bcc text box. -
Enter the Subject of your message.
-
Write your message in the main text area.
-
You can insert images directly in the text. Kerio Connect Client displays the images in their original size. (New in Kerio Connect 9.1)
-
-
You can use additional options as needed:
-
To attach files to your message, drag files from your computer to the Compose window or click Attachment and select your files.
-
Digitally sign your message by clicking Security > Sign. For more information, refer to Digitally signing messages in Kerio Connect Client.
-
Encrypt your message by clicking Security > Encrypt. For more information, refer to Encrypting messages in Kerio Connect Client.
-
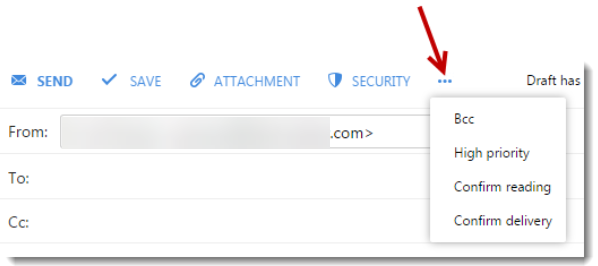
Click on the ellipsis icon to see additional options:
-
Mark the message as a high priority.
-
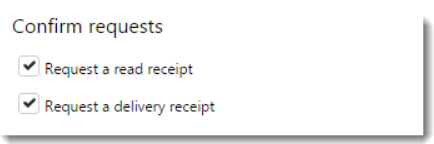
Request a read receipt (the Confirm reading option) and a delivery confirmation receipt (the Confirm delivery option). In the Email section of your Kerio Connect Client settings, you can select both options to be used automatically.
-
- Click Send.


Confirmation
On the left pane, select the Sent folder and verify that the email that you have dispatched appears on the list.
Priyanka Bhotika
Comments