Overview
This article shares the process of configuring forwarding email addresses in your Kerio Cloud account.
Preconditions
Process
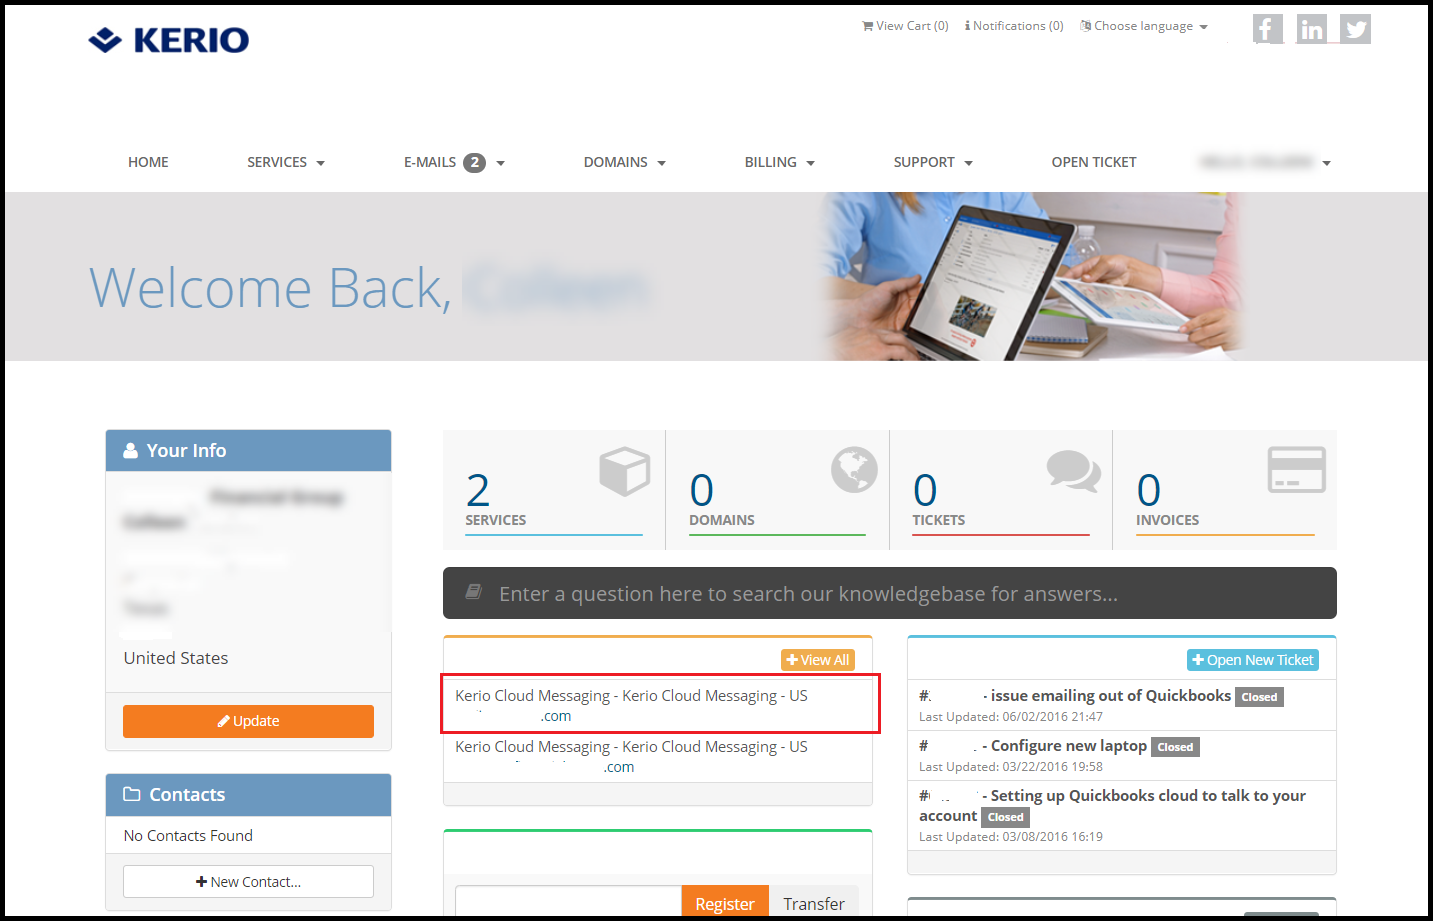
- Log into your Kerio Cloud instance and select the necessary service/domain.
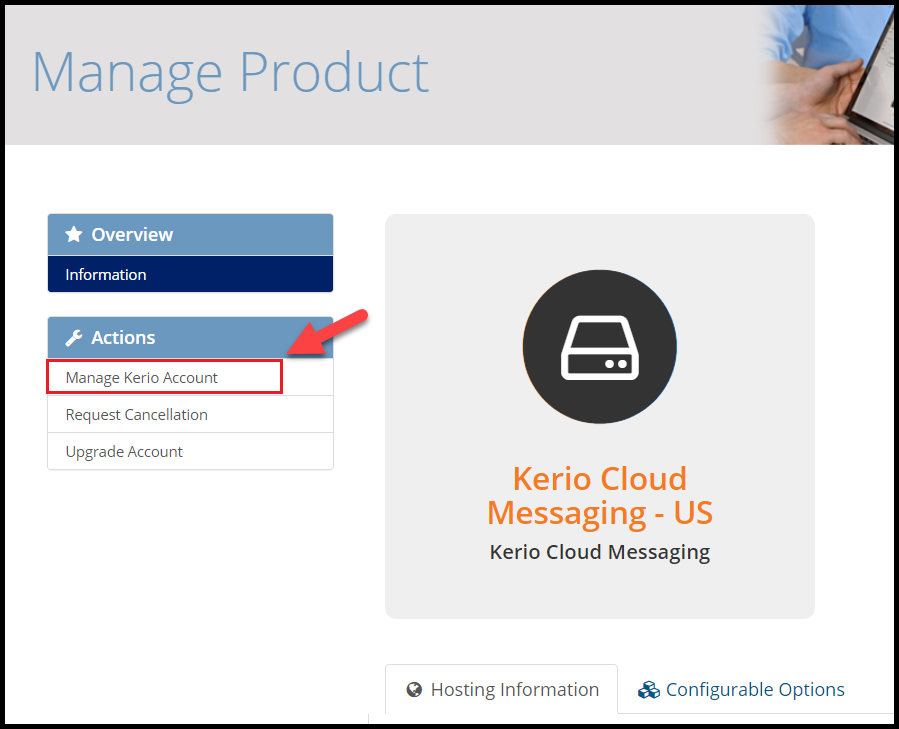
- Click on Manage Kerio Account.
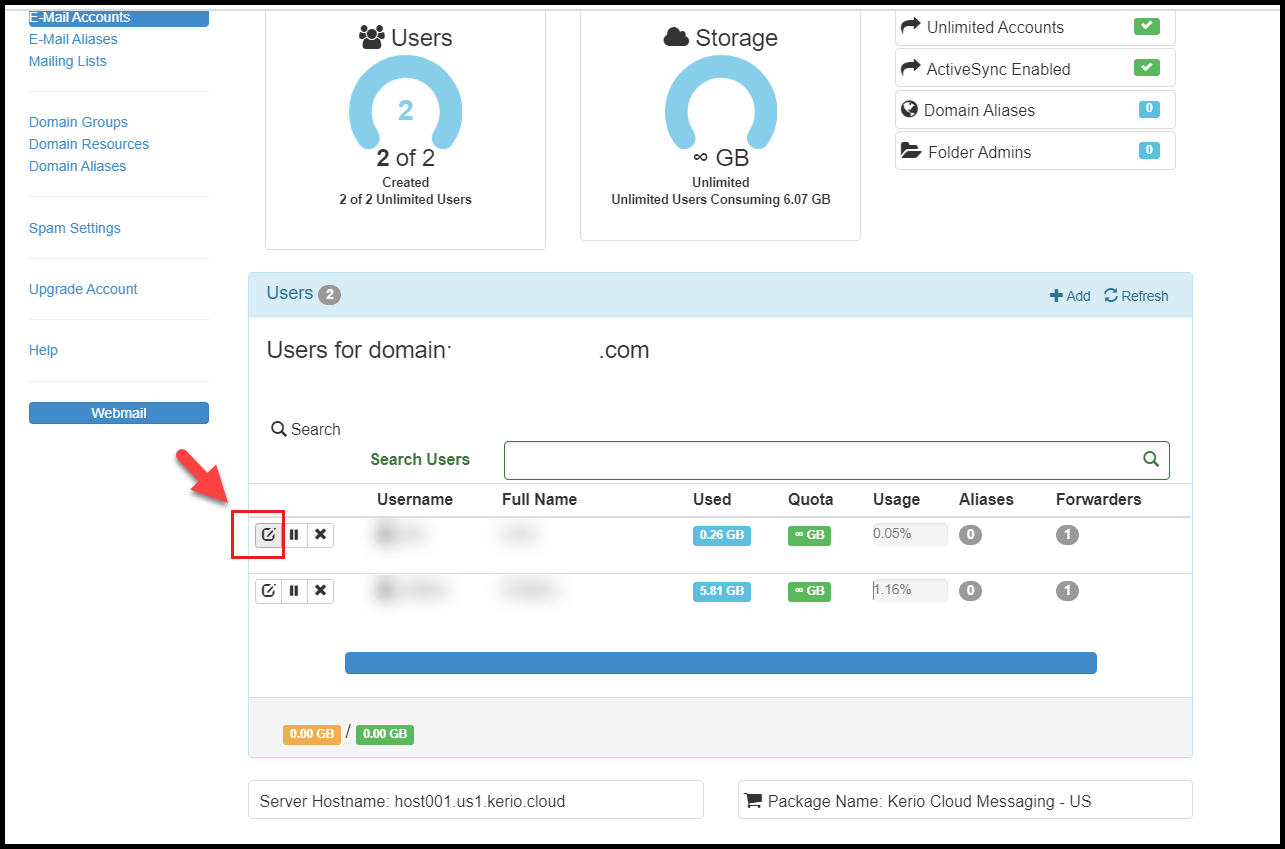
- Select the necessary user and click the Edit icon.
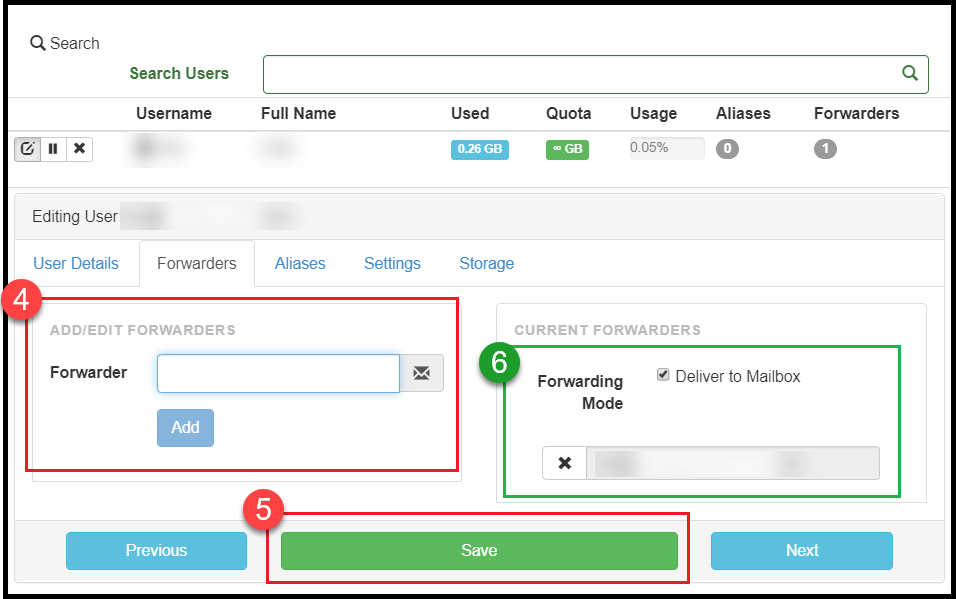
- Open the Forwarders tab and add the forwarder email address.
- Click on the Save button.
- Confirmation: The changes will appear in the Current Forwarders area (highlighted in green).
Additional User Settings
The same UI screen also allows configuring several other personal options. Refer to the information below to learn more about these options:
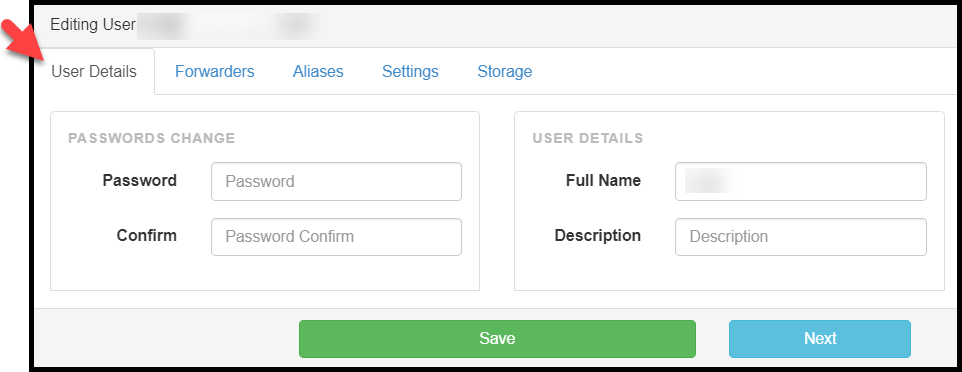
- User Details: You can use this tab to change the password, name, and description for the user.
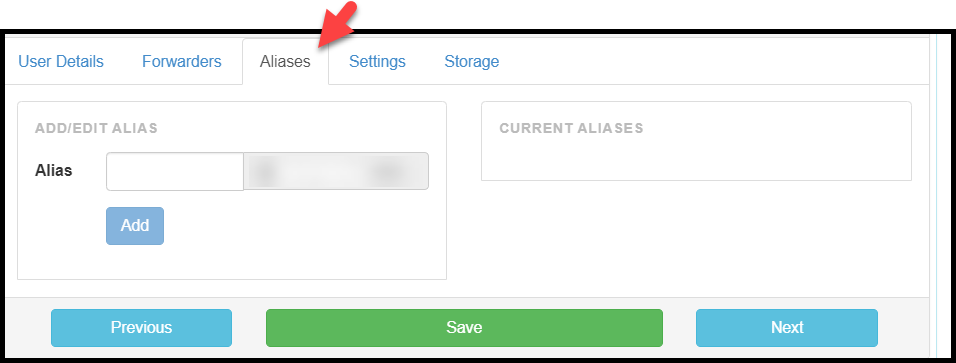
- Aliases: Use this tab to view current alias and add or edit additional alias.
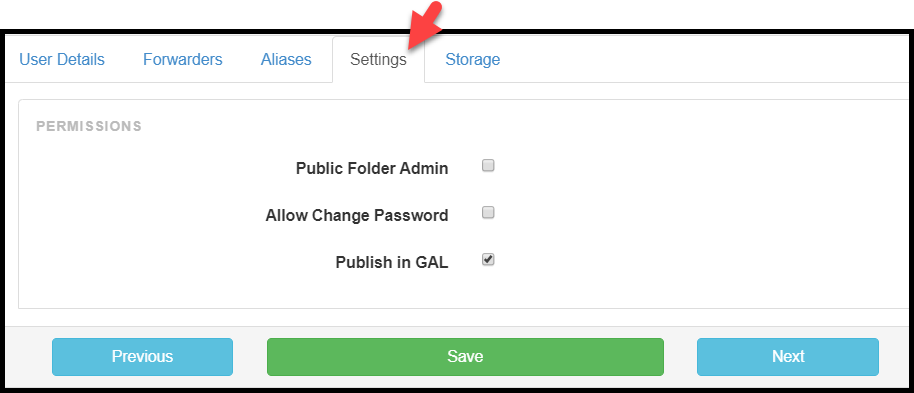
- Settings: You can use this tab to allow password change, public folder admin rights, and publish the user address in the Global Address List (GAL).
Priyanka Bhotika
Comments