Overview
This article guides you on how to set up the TCP (Transmission Control Protocol) and UDP (User Datagram Protocol) port for the Scanning Profile in the Network and Software Options in GFI LanGuard.
Process
- Access GFI LanGuard.
- Go to Configuration > Scanning Profile Editor. Alternatively, press CTRL + P to launch the Scanning Profiles Editor.
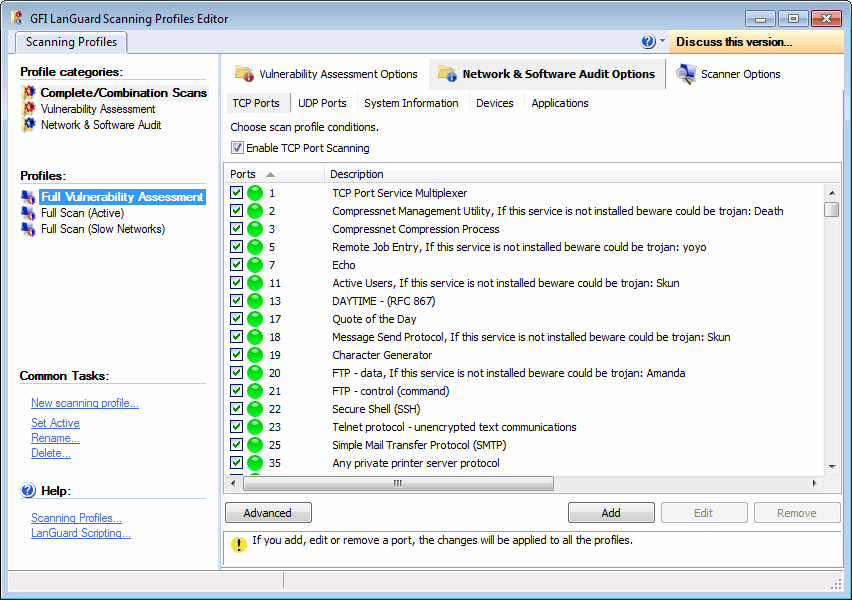
- Select the Network & Security Audit Options tab and choose the appropriate action needed from the list of options on the table below:
Option Description Enabling/disabling TCP Port scanning. - Go to TCP Ports.
- Select the appropriate scanning profile from the left pane under Profiles.
- Click the checkbox beside Enable TCP Port Scanning to enable it.
Configuring the list of TCP ports to be scanned. - Go to TCP Ports.
- Select the appropriate scanning profile from the left pane under Profiles.
- Select TCP Ports to analyze with this scanning profile.
Customizing the list TCP ports. - Go to TCP Ports.
- Select the appropriate scanning profile from the left pane under Profiles.
- Customize the list of TCP Ports through Add, Edit or Remove.
Apply the same steps to configure UDP in the UDP Ports tab.
NOTE: The list of supported TCP/UDP Ports is common for all profiles. Deleting a port from the list will make it unavailable for all scanning profiles.
Priyanka Bhotika
Comments